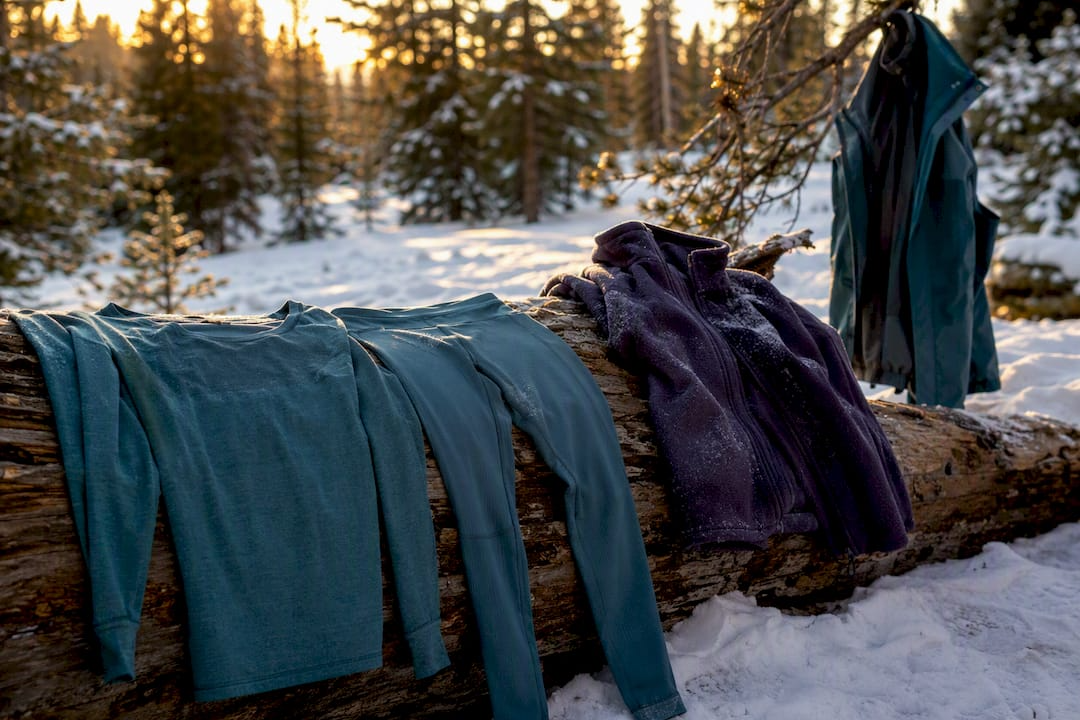
Wear three layers when winter hiking: a moisture-wicking base layer, an insulating mid layer, and a waterproof, windproof outer shell. Add a warm hat, insulated gloves, and wool socks, and carry an extra mid layer in your pack for emergencies. This system works because it moves sweat off your skin, traps warm air close to your body, and blocks wind and snow from stealing that heat.
- Base layer: wicks sweat away from skin
- Mid layer: traps body heat
- Outer shell: blocks wind, snow, and rain
- Extras: hat, gloves, wool socks, spare insulation in your pack
Pro Tip: Start your hike feeling slightly cool. If you're warm standing at the trailhead, you'll be soaked in sweat shortly after starting.
Key Takeaways
The three-layer system, a moisture-wicking base, insulating mid layer, and protective shell, works because it manages sweat, traps heat, and blocks weather at the same time.
| Point | Details |
|---|---|
| Skip cotton entirely | Cotton holds moisture against skin and accelerates heat loss; choose synthetics or merino instead. |
| Match insulation to conditions | Choose down for dry cold and packability; choose synthetic insulation for wet snow or damp conditions. |
| Adjust layers proactively | Vent or shed a layer before you sweat through it, and add insulation immediately at rest stops. |
| Protect extremities deliberately | Layer gloves, choose wool or synthetic socks, and carry traction devices for icy terrain. |
| Build your system with Life Camp Adventure | Life Camp Adventure's apparel and gear guidance covers base layers, insulated jackets, shells, and traction devices for winter trails. |
What Do Base, Mid, and Shell Layers Actually Do?
Each layer in a winter hiking system has one job. Confuse the jobs and you end up cold, wet, or both.
Your base layer sits against your skin and pulls sweat away before it can chill you. Lightweight synthetic fabrics (polyester or nylon blends) dry fast during aerobic pushes, while merino wool holds a fitted, next-to-skin feel and resists odor over multi-day trips. Either works. Cotton does not, for reasons covered in the next section.
Your mid layer traps the warm air your body generates and pulls moisture off the base layer. A fleece jacket handles this well during active movement because it breathes. An insulated puffy jacket adds serious warmth but works better at rest stops than while you're climbing, since it can trap sweat against your body. A vest is worth considering if your torso runs cold but your arms stay warm during aerobic effort.
Your outer shell stands between you and the weather. It blocks wind and precipitation without you needing to add much insulation underneath. Layering clothing outdoors only works if each piece does its specific job instead of overlapping.
Match the combination to your effort level:
- Low-output walk (flat trail, mild cold): base layer, light fleece, shell
- Medium-output climb: base layer, active fleece, shell open at the pits
- High-output push or summit stop: base layer, thin fleece while moving, puffy layered on at breaks, shell over everything
Pro Tip: If you're not sure which mid layer to grab, pack the fleece for movement and the puffy for standing still. You'll use both on most winter hikes.
Which Fabrics and Insulation Types Work Best in the Cold?
Skip cotton entirely. It soaks up moisture and holds it against your skin, which dramatically increases heat loss compared to synthetic or wool fabrics. A cotton t-shirt that gets wet from sweat or snow stays wet, and wet fabric pulls heat off your body far faster than dry fabric.
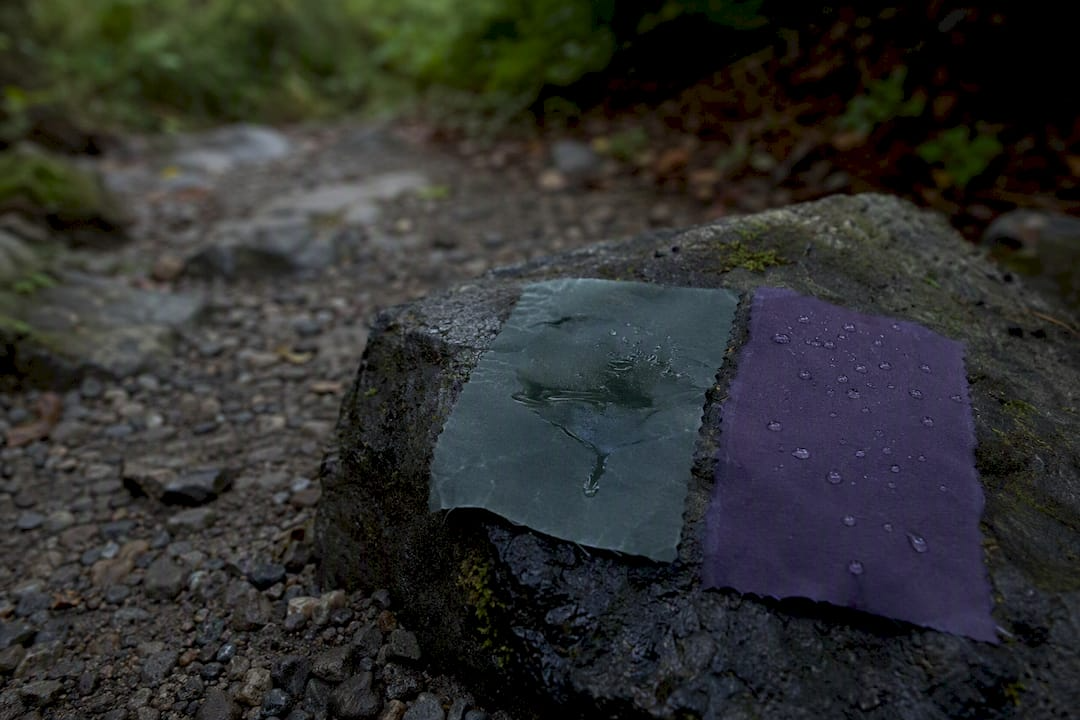
For base layers, synthetics dry quickest, which makes them the better call for high-output days where you'll sweat heavily. Merino wool blends cost more but resist odor across multiple days and still perform when damp.
For insulation, the decision comes down to conditions. Down delivers the best warmth for its weight and packs down small, but it collapses and loses insulating power when wet. Synthetic insulation weighs a bit more but keeps you warm even when damp, which makes it the safer pick for wet snow or uncertain forecasts.
Shell fabric matters too. Look for a strong waterproof rating plus a breathable membrane (measured by MVTR, or moisture vapor transmission rate), and pick a shell with pit zips or chest vents you can open during climbs to dump excess heat before it turns into sweat.
Pro Tip: Check your shell's vents before you buy. A jacket without pit zips forces you to strip the whole shell just to cool down mid climb.
How Should You Layer Your Top and Bottom Half?
Your top half typically needs more layers than your legs since your legs generate heat through constant movement while your torso and arms often sit still.
A dependable top combo: base layer, fleece, puffy for breaks, shell on top. Drop the fleece on aerobic climbs and rely on the base layer and shell alone until you stop moving.
For bottoms, a baselayer legging under a softshell or insulated hiking pant covers most conditions. Shell pants with side zips are worth carrying for wet snow or high wind, and insulated "puffy" pants earn their pack space on very cold, low-movement days like winter camping or long summit stops.
Fit matters as much as fabric. Base layers should sit snug against skin, mid layers need enough room to move without bunching, and your shell should fit loosely enough to layer over everything else without pulling tight at the shoulders.
Pro Tip: Try on your full layering system together before a big hike, not each piece separately. What fits fine alone can bind badly once stacked.
What Protects Your Head, Hands, and Feet From the Cold?
Extremities lose heat fastest and cause the most cold-related discomfort on winter trails. A wool or fleece hat covers basic needs, while a balaclava or neck gaiter adds face and neck protection during wind and heavy snow.
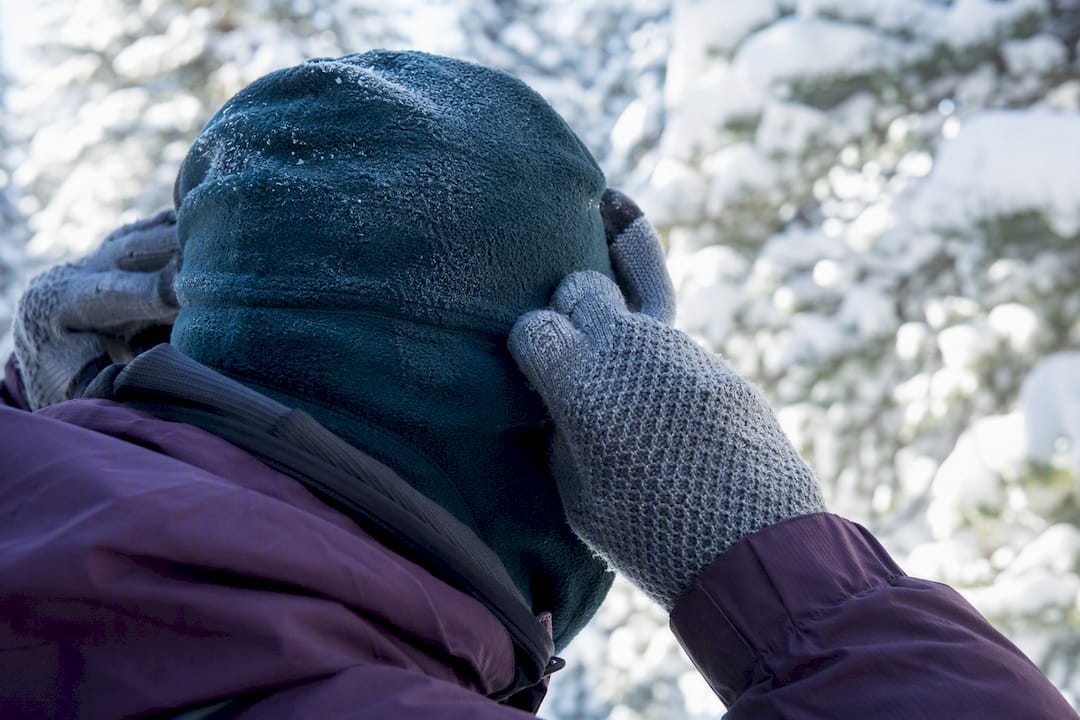
Glove systems work best in layers. A thin liner glove handles dexterity tasks like adjusting straps or eating a snack, an insulated glove covers general warmth, and a shell mitten or overmitt goes on top for extreme cold or wind. Mittens run warmer than gloves because your fingers share heat, but they cost you dexterity.
For feet, wool or synthetic socks (never cotton) paired with insulated, waterproof boots form the base. Gaiters keep snow out of your boot tops on deep-snow trails.
- Hat or balaclava for wind and cold
- Liner gloves for dexterity, insulated gloves for warmth, mittens for extreme cold
- Wool or synthetic socks, insulated waterproof boots, gaiters for deep snow
- Microspikes or crampons for icy or packed-snow terrain
Check your boots and gaiters for wear before a trip. A cracked gaiter seam or a boot with failing waterproofing turns a manageable cold day into a genuinely risky one.
When Should You Add or Remove a Layer on the Trail?
Layering isn't something you set once at the trailhead and forget. It's a dynamic process you manage throughout the hike, adjusting before conditions force your hand rather than after.
Start slightly cold. If you feel comfortable standing still at the trailhead, you're overdressed for movement. Anticipate changes in weather or terrain and add a shell before the wind picks up or precipitation starts, not after you're already wet.
Follow this order when you overheat: vent your shell first (open pit zips or the front zipper), then remove your mid layer if venting isn't enough. When you cool down, reverse it: add the mid layer back, then close vents, then add the shell if wind or snow returns.
- Feel yourself starting to sweat? Vent your shell immediately.
- Still too warm? Pull off the mid layer and stash it in your pack.
- Stopping for a break? Add your puffy layer right away, before you start feeling cold.
- Moving again? Shed the puffy before you start climbing to avoid soaking it with sweat.
A soaked base layer is dangerous in cold weather. It stops wicking, holds moisture against your skin, and accelerates heat loss right when you need warmth most. Insulated puffies make excellent stop layers but poor active mid layers for this same reason.
Pro Tip: The biggest mistake beginners make is waiting too long to adjust. By the time you feel cold, your base layer is often already damp from earlier sweat you didn't shed.
What Belongs in a Winter Hiking Pack Beyond Clothing?
Ten items support your clothing system and cover you if plans change:
- Traction device (microspikes or crampons) for ice and packed snow
- Headlamp with spare batteries for shorter winter daylight
- Insulated water bottle or a bottle stored upside down to slow freezing at the cap
- Extra dry base layer in case your first one gets soaked
- Extra mid layer or puffy for unplanned stops or dropping temperatures
- Emergency bivy or space blanket for worst-case scenarios
- Map and compass or GPS as backup navigation
- High-calorie snacks to fuel your body's heat production
- Firestarter for emergency warmth
- Sun protection (sunglasses, sunscreen) for snow glare
Pack your hat, gloves, and emergency insulation somewhere you can reach them without unpacking your whole bag. The National Park Service specifically flags extra insulation and freeze-prevention strategies as easy items hikers skip until they need them badly.
How Do You Size and Care for Winter Layers?
Base layers should fit snug against your skin for accurate moisture wicking. Mid layers need enough room for arm movement without bunching. Shells should fit loosely enough to layer over both without pulling at the shoulders or restricting your stride.
Wash merino wool on a gentle cycle with minimal detergent and skip the dryer's heat, which can damage the fibers. Down jackets need occasional reproofing and should tumble dry on low with clean tennis balls to restore loft. Reapply durable water repellent (DWR) to your shell once it stops beading water. Patch small tears with seam tape before they widen, and retire any layer that no longer performs its core job.
Why Layering Choices Directly Affect Hypothermia Risk
The layers you choose and how you manage them are your primary defense against hypothermia on a winter trail. Hypothermia sets in gradually as your core temperature drops, often starting with shivering, clumsy hands, and slurred speech. Wet clothing accelerates this process because damp fabric conducts heat away from your body far faster than dry fabric.
Recognizing overheating matters just as much as recognizing cold stress. Heavy sweating, a flushed face, and a soaked base layer signal that you need to vent or shed a layer immediately, not push through it. Ignoring these signs leaves you damp when you eventually stop moving, and that dampness turns into a hypothermia risk the moment your body heat production drops during a rest break.
The safest approach treats layering as constant maintenance rather than a one-time decision. Check in with how your body feels every 15 to 20 minutes of sustained effort. If your hands or feet start going numb, stop and address it right away rather than waiting to see if it passes. Numbness in extremities is often the first sign of frostbite risk, especially in wind.
Keep a spare dry base layer accessible at all times, not buried at the bottom of your pack. If you do soak through a layer unexpectedly, whether from sweat, stream crossing, or falling snow, changing into dry fabric before you stop for an extended break can prevent a minor inconvenience from becoming a genuine emergency.
How Should You Adjust Layers for Different Winter Conditions
Dry, extreme cold and wet snow demand almost opposite strategies, even though both fall under "winter hiking conditions."
In dry, very cold weather (well below freezing with low humidity), down insulation performs at its best since there's little risk of it getting wet. You can layer more aggressively at rest stops because the air itself isn't working against your gear. Focus extra attention on extremities here. Frostbite risk climbs fast in dry cold, especially with any wind, so a wind-blocking shell layer over your hands and face becomes non-negotiable rather than optional.
Wet snow and hovering-around-freezing temperatures call for a different approach. This is where synthetic insulation earns its keep over down, since it keeps insulating even when damp. Prioritize your shell's waterproof rating over its warmth rating, since precipitation is your bigger threat than raw cold. Gaiters become more important in wet snow too, since slush and melting snow soak into boot tops far more easily than dry powder.
Windy alpine conditions add another layer of complexity regardless of temperature. Wind strips heat off exposed skin and thin shells alike, so a genuinely windproof outer layer matters more here than it does on a still, cold day at the same temperature. Adjust your pace and layering rhythm to match: shorter, more frequent layering checks in wind and wet snow, since conditions change faster than they do in stable dry cold.
A Few Rules I Follow on Every Winter Hike
I start every hike slightly cold, always carry one extra dry base layer, and store my water bottle upside down so ice forms at the bottom, not the cap. On one ridge climb, that spare base layer turned a soaked, miserable descent into a comfortable one.
How Life Camp Adventure Fits Into Your Layering System
Getting the three-layer system right comes down to owning gear that actually does its job when conditions turn. Life Camp Adventure's outdoor apparel and gear guidance covers exactly the base layers, insulated jackets, shells, and traction devices this guide walks through, so you're not guessing which product category solves which problem.

If you're building a system from scratch, consider a simple bundle: one moisture-wicking base layer, one insulated mid layer, and one waterproof shell, matched to your typical trail's temperature range and snow conditions rather than the coldest day you might ever face. Milder day hikes call for lighter combinations; long winter summit pushes justify heavier insulation and a burlier shell. Browse Life Camp Adventure's outdoor gear to start building a layering system suited to where and how often you actually hike.
Sources
- Winter hiking tips | National Park Service
- How to layer for winter | Appalachian Mountain Club (AMC)
- How to layer for cold-weather hiking | Kit Authority
- What to wear hiking in winter | Treeline Review
