TL;DR:
- Following a prioritized wilderness survival workflow can help you stay alive and be rescued more effectively. Practicing essential skills and understanding the correct order of actions significantly improve your chances in an emergency.
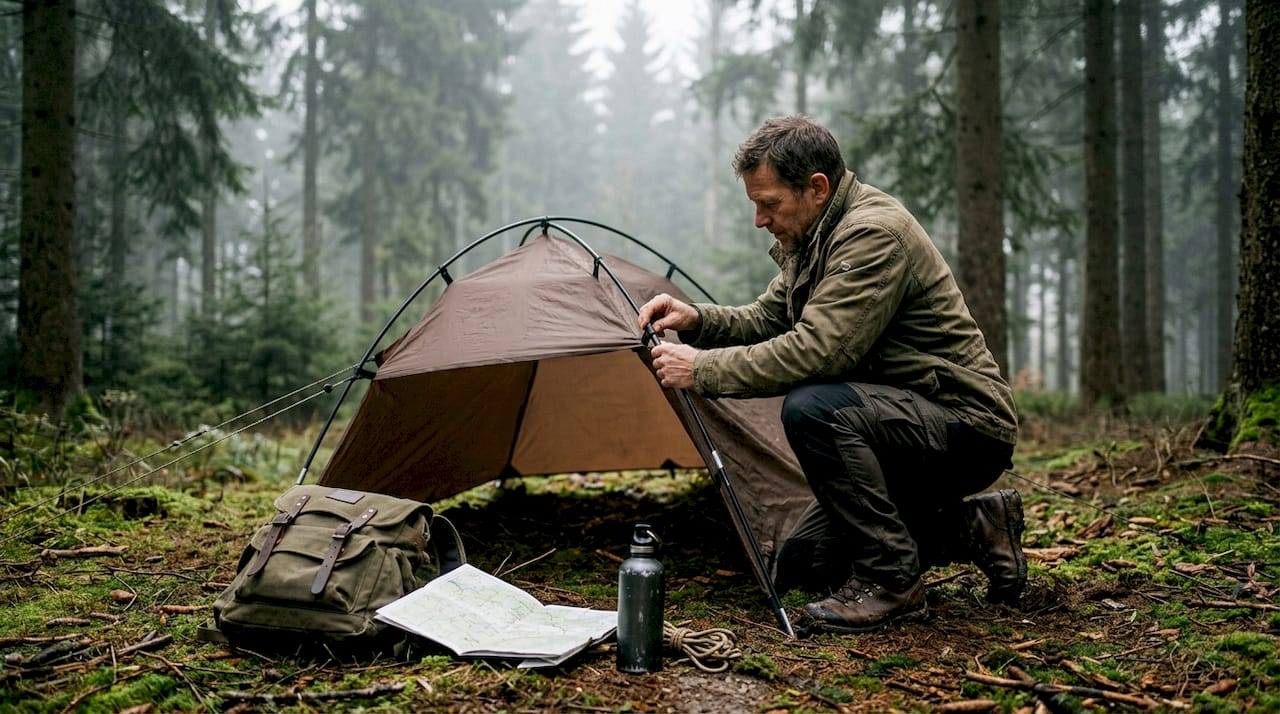
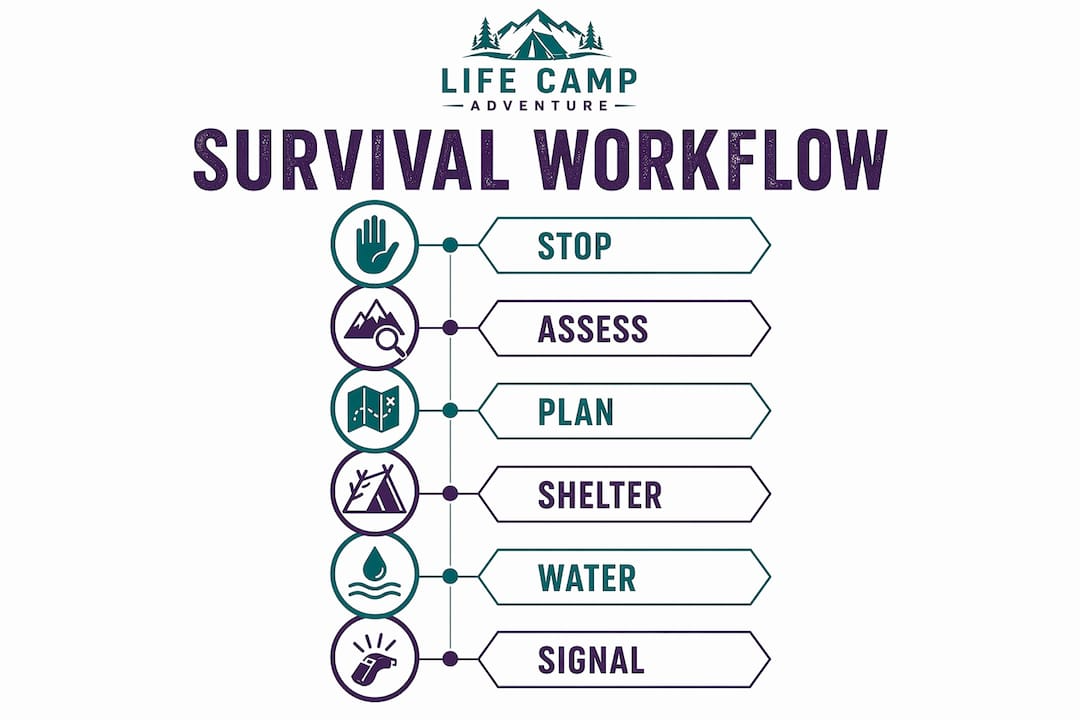
A wilderness survival workflow is a prioritized sequence of actions that keeps you alive and findable after an outdoor emergency. The framework follows a clear order: stabilize your mindset, build shelter, secure water, signal for rescue, and move only when necessary. Techniques like the S.T.O.P. method and the Rule of Threes give this sequence its structure. The U.S. National Park Service's 10 Essentials kit supports every stage of that sequence. Knowing the order before you need it is what separates a manageable crisis from a fatal one.
What is the wilderness survival workflow and why does it matter?
The wilderness survival workflow is not a single skill. It is a decision tree you run through in sequence, starting the moment something goes wrong. Survival instructors call the priority order the "survival pyramid": shelter first, water second, fire third, food last. Signaling runs parallel to all of them. The Rule of Threes gives you the time limits: three minutes without air, three hours without shelter in harsh conditions, three days without water, three weeks without food. Those numbers tell you exactly where to spend your energy first.
Most outdoor emergencies escalate because people skip steps. A hiker who immediately starts walking to find help burns energy, widens the search area, and often gets more lost. A hiker who follows the workflow stops, assesses, builds shelter, and gets found. The difference is not fitness or gear. It is process.
How to apply the S.T.O.P. method immediately when lost
The S.T.O.P. method is the single most important behavioral technique in wilderness survival. It prevents the most common and most deadly mistake: continuing to move when disoriented. Here is how to execute it.
- Stop. Sit down the moment you realize you are lost. Do not take another step until you have completed the remaining stages. Physical stillness reduces panic and conserves energy.
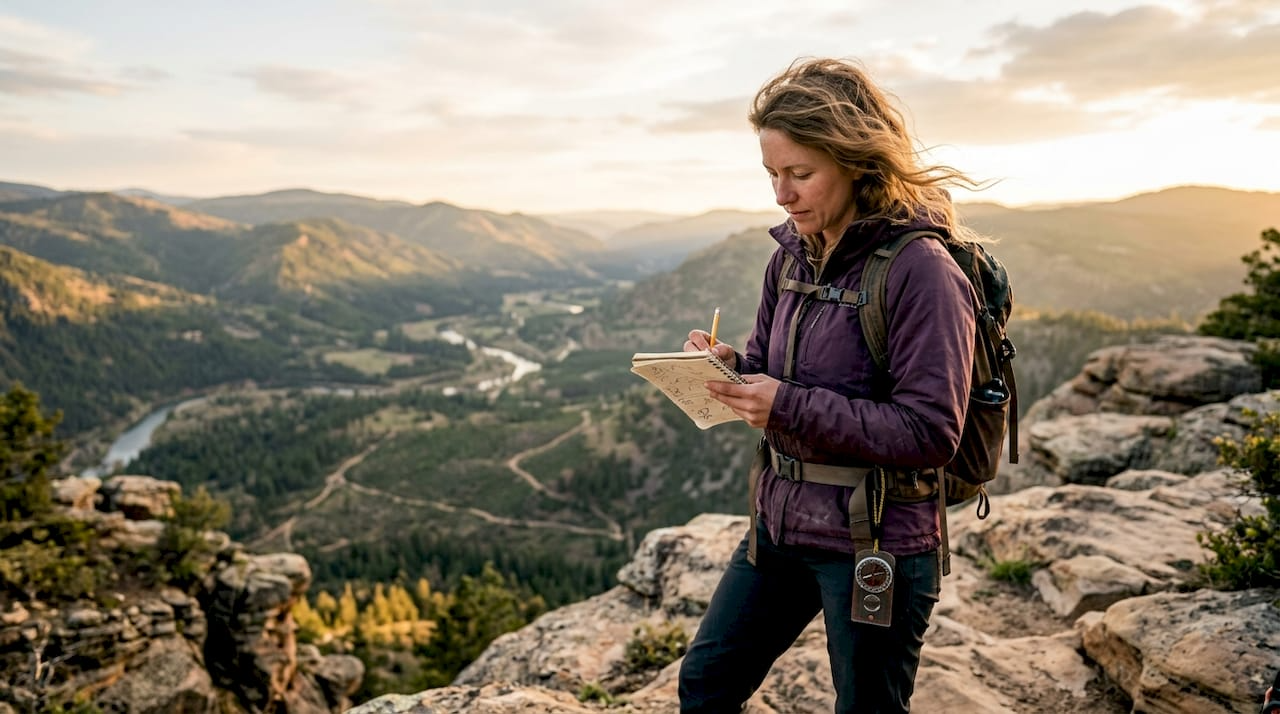
- Think. Recall your last known position. How long have you been walking? What landmarks did you pass? What direction were you heading? Write it down if you have paper.
- Observe. Look at your surroundings. Identify terrain features, sun position, water sounds, and any man-made structures. Check your gear inventory. Assess weather conditions and daylight remaining.
- Plan. Decide on one clear action. That action is almost always to stay put, build shelter, and signal. Moving unnecessarily when lost increases the search area and drains energy you cannot afford to lose.
Pro Tip: Leave a note at your shelter site before any movement. Write your name, the date, your intended direction, and the time you left. Search and rescue teams use these notes to narrow their search area dramatically.
The decision to move versus stay is the hardest call in a survival situation. Stay put unless you have a confirmed route to safety, the physical ability to complete it, and enough daylight. Search teams peak their efforts on days 2–3, so your best strategy in the first 72 hours is to be visible and stationary. Within the first six hours, focus on water sourcing, signaling, and shelter stabilization. Those three tasks keep you alive long enough to be found.
How do you build effective shelter and insulation in the wilderness?
Shelter is the first physical priority because hypothermia can kill in under three hours in wet or windy conditions. Most people think overhead cover is the main goal. It is not. Ground insulation is the priority. You lose body heat to cold ground far faster than to cold air.
Build your insulation layer before you build your roof:
- Pile at least 4–6 inches of dry leaves, pine needles, or grass beneath your sleeping area. This thickness creates a thermal barrier between your body and the ground.
- Add more debris than you think you need. Wet debris compresses and loses its insulating value overnight.
- Choose a site that is sheltered from wind, elevated slightly above low ground to avoid cold air pooling, and visible from the air or a trail for signaling purposes.
- A lean-to shelter uses a ridgepole between two trees with branches angled against it. It is fast to build and effective in mild conditions.
- A debris hut is slower to construct but far warmer. Pack debris over a frame until the layer is at least two feet thick on all sides.
Pro Tip: Layer your clothing before you feel cold. Once you start shivering, your body is already working hard to compensate. Trap heat early by adding your insulating layer while you still feel warm.
The insulation-first rule applies to your clothing as well. A wet cotton base layer against your skin accelerates heat loss. Wool and synthetic fabrics retain warmth even when wet. If you carry an emergency bivy or a space blanket in your survival gear kit, deploy it under you first, then over you second.
How do you find and purify water safely in a survival situation?
Water is the second priority after shelter. Dehydration impairs judgment within hours, and poor decisions kill faster than thirst does. Finding water is a skill you can learn before you ever need it.Natural indicators of water sources include:
- Animal trails that converge and head downhill
- Dense green vegetation in an otherwise dry area
- Insects, especially bees and flies, which rarely travel far from water
- Low ground, valleys, and canyon bottoms where water collects
Once you find water, treat it before drinking. Every untreated source carries biological risk.
| Purification method | How it works | Best use case |
|---|---|---|
| Boiling | Heat kills pathogens | Reliable when fire is available |
| Filtration | Physical barrier removes particles and bacteria | Fast, portable, no fire needed |
| Chemical treatment | Iodine or chlorine tablets kill most pathogens | Lightweight backup option |
| UV purification | Ultraviolet light disrupts pathogen DNA | Fast, effective, requires charged device |
Boiling water for one minute kills bacteria, viruses, and protozoa reliably. That makes it the most dependable method when you have fire. Filtration is faster and requires no heat source, making it the best everyday carry option. Chemical tablets are the lightest backup. Carry at least two methods.
Pro Tip: Do not ration water in the early hours of a survival situation. Drink when thirsty. Cognitive function drops sharply with even mild dehydration, and you need clear thinking more than you need to conserve your supply.
What signaling and navigation techniques maximize your rescue chances?
Signaling is not a one-time action. It is a routine you maintain throughout your survival situation. The goal is to make yourself as visible and audible as possible to search teams without burning all your energy.
Core signaling tools and techniques include:
- Whistle: The universal distress signal is three short blasts. Repeat at regular intervals. A whistle carries farther than your voice and uses a fraction of the energy.
- Signal mirror: A mirror or any reflective surface can flash sunlight miles away. Aim the reflection toward aircraft or distant ridgelines.
- Smoke signals: Build three fires in a triangle pattern. Three fires, three flashes, and three blasts are recognized globally as distress signals.
- Personal Locator Beacon (PLB): A PLB sends a GPS-coded distress signal to rescue coordination centers via satellite. It is the most reliable signaling device available to backcountry travelers.
- Ground-to-air signals: Stamp large X or SOS patterns in snow, sand, or open ground using rocks, logs, or disturbed vegetation. Make them at least 10 feet across to be visible from aircraft.
For backcountry navigation, carry a topographic map and compass as your primary tools. GPS devices and phone apps are useful but depend on battery life. Learn to read terrain features: ridgelines, drainages, and saddles appear on a topo map and in the landscape simultaneously. If you decide to self-rescue, mark your route with cairns or flagging, and leave written notes at each campsite.
How does mindset shape your survival outcome?
The survival mindset multiplies the effectiveness of every physical skill you have. A calm person builds a better shelter, makes better water decisions, and signals more consistently than a panicked person with identical gear. Panic burns calories, degrades decision-making, and leads to the wandering behavior that kills.Establish a daily routine as quickly as possible. Structure reduces anxiety and keeps you productive. A basic survival routine looks like this: morning water treatment and hydration, shelter inspection and reinforcement, signaling at regular intervals, midday rest during peak heat, afternoon firewood or debris collection, and evening shelter preparation before dark. Routine gives your brain something concrete to do instead of catastrophizing.
"The will to survive is not a feeling. It is a decision you make every hour. Calm is not the absence of fear. It is the choice to act despite it."
Skill practice before a trip is the most underrated form of mental preparation. A person who has built a debris hut in their backyard is not afraid of building one in the dark. A person who has only read about it is. Practice converts knowledge into confidence, and confidence is what keeps you methodical when everything goes wrong.
Pro Tip: Carry at least three fire-starting methods: a ferro rod, a windproof lighter, and waterproof matches. Redundancy in gear mirrors the redundancy you need in your thinking. When one approach fails, you move to the next without panic.
Key Takeaways
A sound wilderness survival workflow depends on executing the right actions in the right order, starting with mental control and ending with consistent signaling.
| Point | Details |
|---|---|
| Apply S.T.O.P. first | Stop moving, assess your situation, and plan before taking any action. |
| Insulate from the ground up | Lay 4–6 inches of debris beneath you before building any overhead shelter. |
| Treat all water before drinking | Use boiling, filtration, or chemical tablets. Never drink untreated water in the field. |
| Signal in threes | Three whistle blasts, three fires, or three flashes are the global distress standard. |
| Practice skills before you need them | Competence built in controlled settings prevents panic when conditions are real. |
What I have learned from years in the field
The workflow is only as strong as your weakest rehearsed skill
Most outdoor enthusiasts I have talked with carry good gear. Far fewer have practiced the skills that gear is supposed to support. I have seen experienced hikers freeze when their GPS died because they had never used a compass in the field. I have watched people skip ground insulation because they assumed their sleeping pad was enough, then spend a miserable, dangerous night losing heat to frozen soil.
The lesson I keep coming back to is this: build competence before you build your kit. Gear fails. Skills do not. A ferro rod is useless if you have never practiced fire-starting in wet conditions. A water filter is useless if you do not know how to find a water source in the first place.
The other thing I have learned is that redundancy is not paranoia. Carrying three fire-starting methods, two navigation tools, and two water purification options is not overkill. It is the difference between a bad day and a fatal one. The Outdoorsmans Pack is one example of a kit built around that redundancy principle, and it reflects the thinking that serious backcountry travelers apply to their loadout.
The workflow itself is not complicated. What makes it hard is executing it calmly under stress. That is why the mindset section is not a soft add-on. It is the foundation. Every physical skill in this guide depends on your ability to stay methodical when your brain is telling you to run.
— Billy
Gear that supports every step of your survival plan
Knowing the workflow is step one. Having the right gear to execute it is step two.
Lifecampadventure carries a curated selection of survival essentials built for the exact priorities covered in this guide: fire starters, emergency shelters, signaling devices, and water purification tools. Every product is selected for durability and field reliability, not just price. The essential survival steps guide on the Lifecampadventure site pairs gear recommendations with skill context so you understand not just what to carry, but why each item earns its weight in your pack. Review the full selection and build a kit that matches your terrain and trip length.
FAQ
What is the first step in a wilderness survival workflow?
The first step is applying the S.T.O.P. method: stop moving, think about your last known position, observe your surroundings, and plan one clear action. Staying put is almost always the right initial decision.
How much ground insulation do you need to prevent hypothermia?
Lay at least 4–6 inches of dry debris beneath your body before building any overhead shelter. Ground conduction pulls heat from your body faster than cold air does.
What is the universal distress signal in the wilderness?
Three short whistle blasts repeated at regular intervals is the globally recognized distress signal. Three fires, three mirror flashes, or three of any signal pattern carry the same meaning to search and rescue teams.
How do you purify water without a filter in the wild?
Boil water for one minute to kill bacteria, viruses, and protozoa. Chemical treatment tablets are a reliable backup when fire is not available.
Why is practicing survival skills more important than buying gear?
Gear fails under field conditions. Skills do not. A FEMA-trained Wilderness First Responder approach emphasizes practicing in controlled settings so that techniques become automatic under stress, regardless of what equipment is available.
