TL;DR:
- Proper layering manages moisture, temperature, wind, and rain for outdoor comfort and safety.
- The three-layer system includes base, mid, and shell layers, each with specific functions.
- Flexibility, understanding personal body responses, and quality gear are key for effective layering.
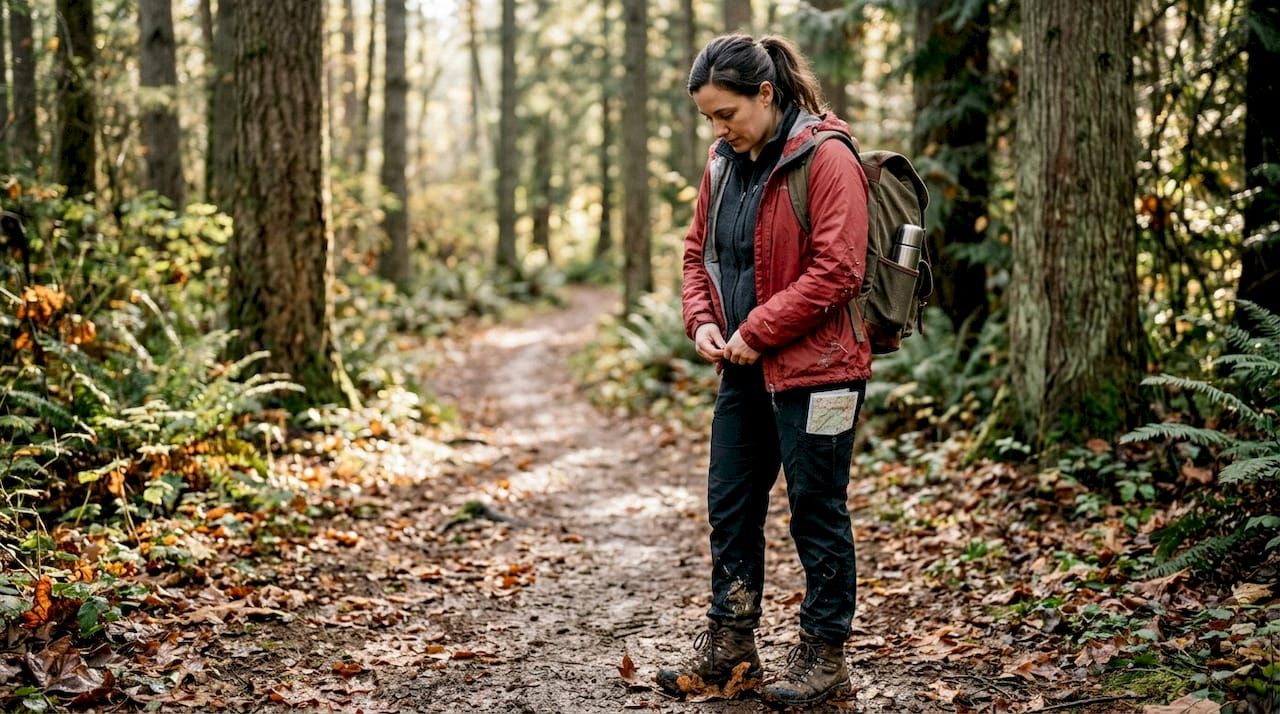
Overdressing is one of the most common mistakes new campers and hikers make. You pile on every jacket you own, hit the trail, and within 20 minutes you're soaked in sweat and shivering at the first rest stop. More clothing does not automatically mean more warmth. What actually keeps you comfortable and safe outdoors is a smart, flexible layering system that manages moisture, regulates temperature, and shields you from wind and rain. This guide breaks down the science behind layering, the function of each layer, how to adjust on the fly, and the mistakes that even experienced adventurers still make.
Key Takeaways
| Point | Details |
|---|---|
| Layering regulates comfort | The right clothing layers manage sweat, heat, and weather protection for outdoor adventures. |
| Three layers work together | Base, mid, and outer layers each serve a unique role to keep you dry, warm, and protected. |
| Adapt layers dynamically | Add or remove layers as your activity and weather conditions change to stay safe and comfortable. |
| Use the right materials | Choose synthetic or wool for base layers and avoid cotton to prevent getting cold and wet. |
| Mistakes are learning | Every outdoor enthusiast refines their system through experience, so treat errors as essential steps. |
The science behind layering: How your body loses heat outdoors
Your body is constantly producing heat, but it loses that heat in four main ways: conduction (contact with cold surfaces), convection (wind pulling heat away from your skin), evaporation (sweat cooling your skin as it dries), and radiation (heat simply radiating off your body into cold air). Understanding this is the foundation of layering for comfort outdoors.
Sweat is the sneaky villain here. When you work hard on a steep climb, your body sweats to cool down. That's normal. But if that moisture stays against your skin, it accelerates heat loss dramatically. A wet base layer in cold air can drop your core temperature fast, even if you're wearing a thick outer jacket on top.
This is exactly why heavy single-layer clothing fails you. A thick wool sweater might feel warm at the trailhead, but once it absorbs sweat, it becomes a cold, wet blanket against your body. There's no way to remove or adjust it without stripping down entirely.
Here's what your body actually needs in the outdoors:
- A layer that pulls moisture away from your skin
- A layer that traps warm air close to your body
- A layer that blocks wind, rain, and external cold
"The standard layering system consists of three main layers: base, mid, and shell."
This three-layer approach works because it gives you options. You can add or remove pieces based on effort level and weather. Understanding what is layering in camping means recognizing that your clothing system should breathe, flex, and adapt just like you do on the trail.
Layering is not about piling on more. It's about building a system that responds to your body and the environment around you.
What are the three main layers and what do they do?
Now that you know why simpler isn't always better, let's break down the core components of a proper layering system. As noted by outdoor experts, the three-layer system includes a base, mid, and shell, and each one has a specific job to do.
1. Base layer: Keep your skin dry The base layer sits directly against your skin. Its only job is to move sweat away from your body so it can evaporate. Synthetic fabrics like polyester and nylon do this well. Merino wool is another excellent option because it wicks moisture, resists odor, and stays warm even when slightly damp. Never use cotton here. Cotton holds moisture and stays wet, which is dangerous in cold conditions.
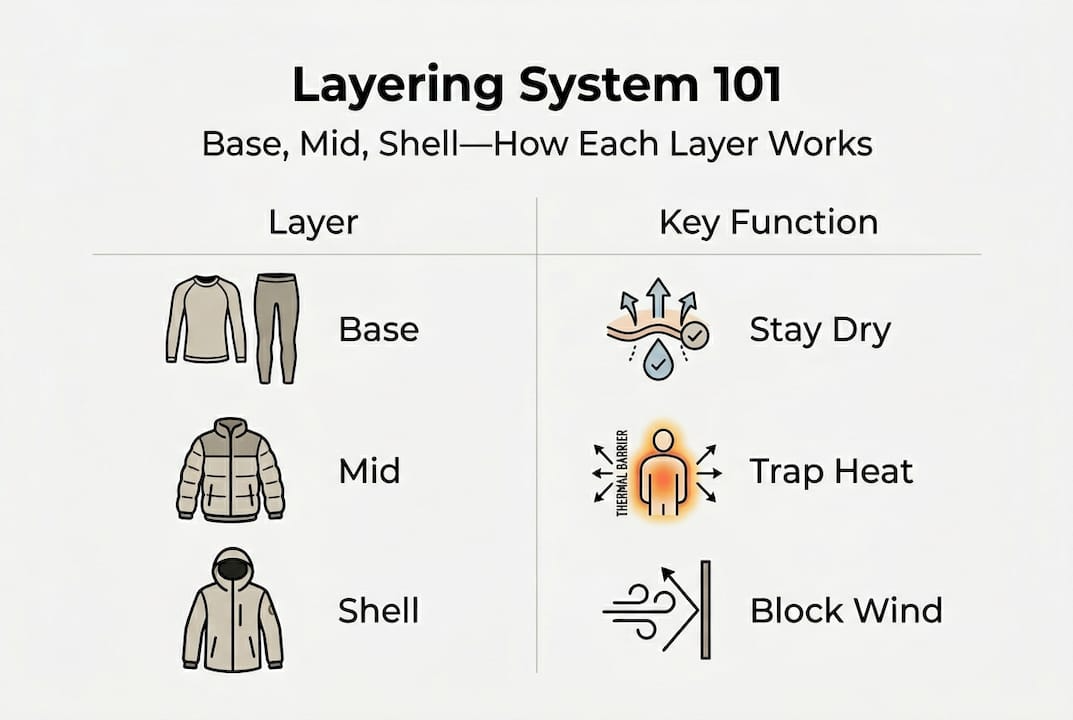
2. Mid layer: Trap warmth The mid layer is your insulation. It holds warm air close to your body and slows heat loss. Fleece is the most popular choice because it's lightweight, breathable, and dries quickly. Down is another option, offering exceptional warmth for its weight, though it loses insulating power when wet. Synthetic insulation fills the gap, staying warm even in damp conditions.
3. Shell layer: Block the elements The outer shell is your defense against wind, rain, and snow. A good shell doesn't need to be thick. It needs to be waterproof or water-resistant and breathable so moisture can still escape from inside. Hard shells offer maximum protection. Soft shells trade some weather resistance for more flexibility and breathability.
| Layer | Primary function | Best materials |
|---|---|---|
| Base | Moisture wicking | Merino wool, polyester |
| Mid | Insulation | Fleece, down, synthetic fill |
| Shell | Weather protection | Gore-Tex, nylon, softshell |
Choosing the right materials also depends on understanding outdoor fabrics resistance to elements like wind and water. Pairing that knowledge with quality weatherproof apparel makes a real difference on longer trips.
Pro Tip: Fit matters as much as fabric. Each layer should fit comfortably over the one beneath it without restricting movement or trapping dead air in awkward ways. Snug but not tight is the goal.
When and how to adjust your layers: Practical scenarios
Understanding each layer's role is only helpful if you know how to apply them in real outdoor situations. The most important concept here is proactive adjustment. Don't wait until you're soaked or shivering to make a change.
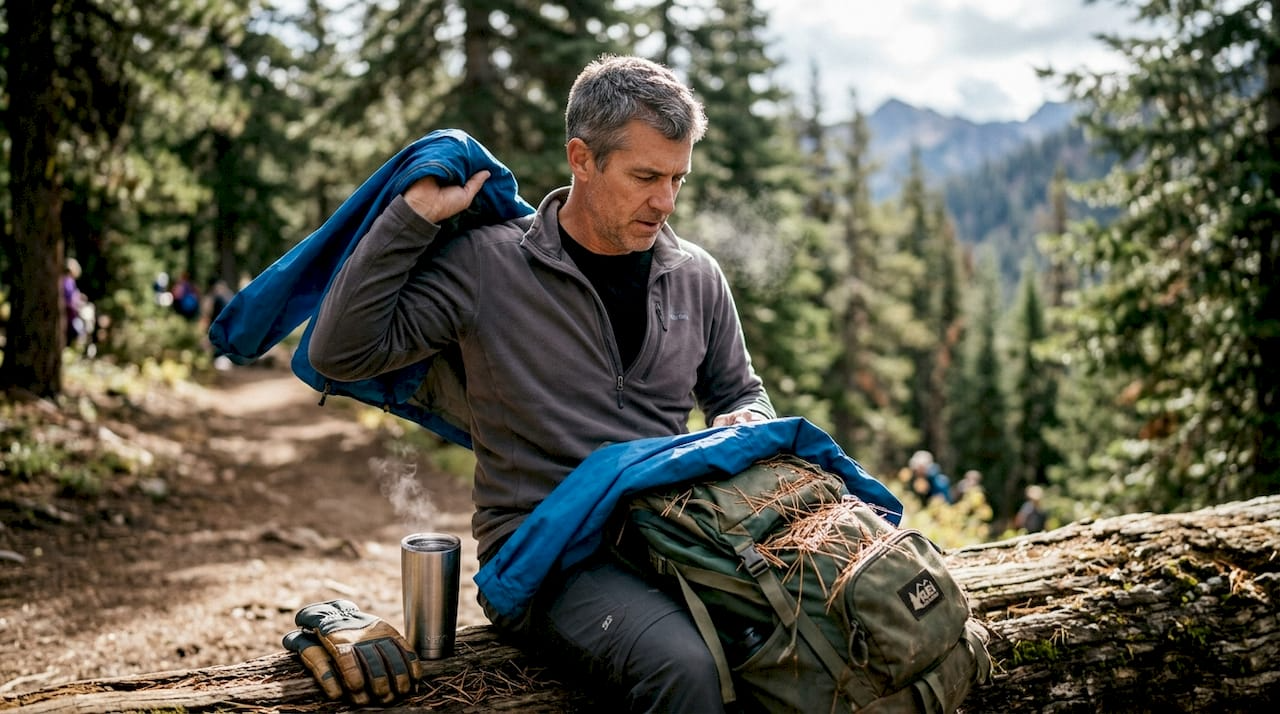
One of the best rules in outdoor adventure is "be bold, start cold." Begin your hike with slightly fewer layers than you think you need. Your body will warm up within the first 10 to 15 minutes of activity, and starting too warm means you'll be sweating before you've even found your rhythm. This approach, also used in beginner running workflow planning, keeps moisture buildup low from the start.
Here's how to think about layering across different scenarios:
- Hiking uphill: Remove the mid layer or open zippers to release heat. Keep the base layer working.
- Taking a rest break: Add your mid layer immediately. Your body cools fast when you stop moving.
- Rain starts: Pull on your shell layer before you get wet. Reactive layering is always less effective.
- Wind picks up: Even a light shell blocks convective heat loss significantly.
- Temperature drops at night: Add all layers and consider a camp-specific insulated piece.
| Condition | Recommended layers | Key action |
|---|---|---|
| Active hiking, mild weather | Base only | Vent or remove mid layer |
| Rest stop, cool temps | Base + mid | Add mid immediately |
| Rain or wind | Base + shell | Pull shell before getting wet |
| Cold camp evening | Base + mid + shell | Full system, add extras |
A good rule of thumb: check your layers at every natural break. This keeps you ahead of the weather instead of reacting to it. Reviewing your hiking essentials before each trip and following a solid hiking step by step preparation plan will help you pack the right pieces for any condition.
Always carry at least one extra dry layer. Flexibility is not just comfort. It's safety.
Common mistakes and expert tips for mastering layering
Even with a good understanding of the system and processes, small mistakes can cause big problems. Let's look at the most common ones and how to fix them.
Overdressing at the start This is the most frequent mistake. You feel cold at the trailhead, so you put everything on. Within 20 minutes, you're drenched. Wet clothing in cold air is a fast track to hypothermia. Remember the "be bold, start cold" principle and resist the urge to over-layer before you start moving.
Skipping the shell layer Many hikers leave the rain jacket at home to save weight. Then a surprise shower rolls in and their insulation layer gets soaked. A wet mid layer loses most of its warming ability. A packable shell weighs almost nothing and protects everything beneath it.
Using cotton as a base layer Cotton is comfortable at home. Outdoors, it's a liability. It absorbs sweat and holds it against your skin, making you colder faster. This risk goes up significantly in cold or wet conditions. Swap it for synthetic or merino wool every time.
- Never use cotton for any layer in cold or wet conditions
- Always carry a spare dry base layer in a waterproof bag
- Check weatherproof zippers on your shell before every trip
- Choose packable gear so extra layers don't feel like a burden
Ignoring warm-up time Just like athletes follow a warm-up before running to prepare their bodies, hikers should plan their first 10 to 15 minutes as a transition period. Start with less, let your body heat up, then adjust.
Pro Tip: Pack your extra dry layer at the top of your bag, not buried at the bottom. When you need it, you'll need it fast.
A seasoned adventurer's take: What most guides forget about layering
Most layering guides hand you a checklist and call it done. Base layer, mid layer, shell. Got it. But here's what we've learned from years on the trail: layering is a mindset, not a formula.
Every person runs a different internal thermostat. Some people sweat heavily on a mild day. Others stay dry in conditions that would soak someone else. No article can tell you exactly when to add or remove a layer because your body is unique. The benefits of outdoor adventures go far beyond fresh air. They include learning to read your own body and trust what it tells you.
Mistakes are part of the process. You will overdress. You will get wet. You will forget your shell on a day it rains. Each of those moments teaches you something a checklist never could. The goal is not perfection. It's building the awareness to adapt faster next time.
Experienced adventurers don't follow layering rules rigidly. They use the principles as a starting point and then customize based on their own patterns, the specific terrain, and the forecast. That flexibility is what separates a comfortable trip from a miserable one.
Get adventure-ready with the right gear
Knowing the system is only half the equation. The other half is having gear that actually performs when conditions get tough. Cheap shells leak. Thin base layers bunch and chafe. Mid layers that don't breathe trap moisture instead of managing it.

At Life Camp Adventure, we stock essential camping gear built for real conditions, not just fair-weather trips. Whether you're gearing up for your first overnight or planning a multi-day backcountry route, our best camping gear 2026 guide helps you find the right pieces for every layer. Gear that fits your system means you spend less time managing discomfort and more time enjoying the trail.
Frequently asked questions
Do I always need all three layers when hiking or camping?
No, you adapt layers based on weather and activity, but having all three types available means you can stay dry, warm, and protected as conditions shift. The three-layer system is designed to be adjustable, not mandatory all at once.
Why is cotton a bad choice for layering outdoors?
Cotton holds moisture against your skin instead of moving it away, which accelerates heat loss and raises your risk of hypothermia. Your base layer should always wick moisture, not trap it.
How do I know when to add or remove layers?
If you start sweating, remove a layer. If you feel a chill coming on, add one. The "be bold, start cold" rule helps you stay ahead of moisture buildup, and checking at every break keeps you proactive.
Can the layering system be used year-round?
Yes. You simply adjust the thickness and number of layers for each season. Summer might mean a light base and a packable shell. Winter calls for all three layers with heavier insulation. The layering system scales to any season.
