TL;DR:
- Packing smart for glamping means confirming site-provided amenities before overpacking and organizing gear into zones. Essential items include a pillow, warm layers, safety kits, lighting, and season-specific clothing based on the site and weather. Small adjustments like a rechargeable lantern and layered sleep system improve comfort and setup efficiency in remote locations.
Pack these essentials and you'll arrive comfortable, safe, and ready to enjoy every moment. Before you throw a single item into a bag, do one thing first: pull up your glampsite's reservation page and read the "what's included" section carefully. Luxury operators like AutoCamp and Under Canvas typically provide bedding and basic furniture, while Hipcamp-style rustic sites may supply nothing beyond four walls. That single check shapes your entire packing list.
Your 10-item absolute essentials list:
- Pillow (even if bedding is provided, bring your own)
- Compact throw blanket or extra layer
- Quick-dry towel
- Toiletry kit with biodegradable soap and sunscreen (SPF 30 minimum)
- Insect repellent with DEET 20–30% or picaridin
- Basic first-aid kit with antihistamine and blister care
- Headlamp with fresh batteries
- Phone charger and a 10,000 mAh power bank (one per two people)
- Reusable water bottle (a size suitable for personal hydration)
- One set of warm layers for night-time temperature drops
One-night mini-kit (when you're only staying over once): pack one outfit plus a warm layer, your pillow, a compact toiletry pouch, a single meal or snack, your phone charger, and a headlamp. That's genuinely all you need if the site provides bedding and cookware.
Pro Tip: Call or email the site directly to confirm outlet availability and whether USB charging is accessible. If power is limited or shared, a charged 10,000 mAh power bank covers two people for a full overnight stay.
What should you bring for sleeping and bedding at a glamping site?
Confirm first. Many glamping sites include sheets, pillows, and blankets, but mid-tier and rustic sites vary widely. Never assume. Once you know what's provided, you can pack smart instead of packing heavy.
Even when bedding is fully supplied, a few personal comfort items are worth the trunk space:
- Your own pillow. Site pillows are often flat or unfamiliar. A compressible down pillow packs small and makes a real difference.
- A compact throw blanket. Merino wool or a lightweight fleece throw works for both warmth at night and lounging outside by the fire.
- Sleep mask and earplugs. Nature sounds are lovely until a neighboring site's generator kicks on at 6 AM.
- A sleeping bag liner. Adds warmth on cold nights and keeps the site's bedding clean.
If the site provides no bedding at all, your sleep system depends on the shelter type. A self-inflating foam pad or an air mattress with a topper works well for cabin-style glamping. For a tent or yurt without a bed frame, a quality sleeping bag rated to at least 10°F below the expected low temperature is the safer call.
To compress bulky bedding, use a large compression stuff sack. Leave the full-size duvet at home if the site provides one. Doubling up on duvets wastes space and creates heat you don't want.
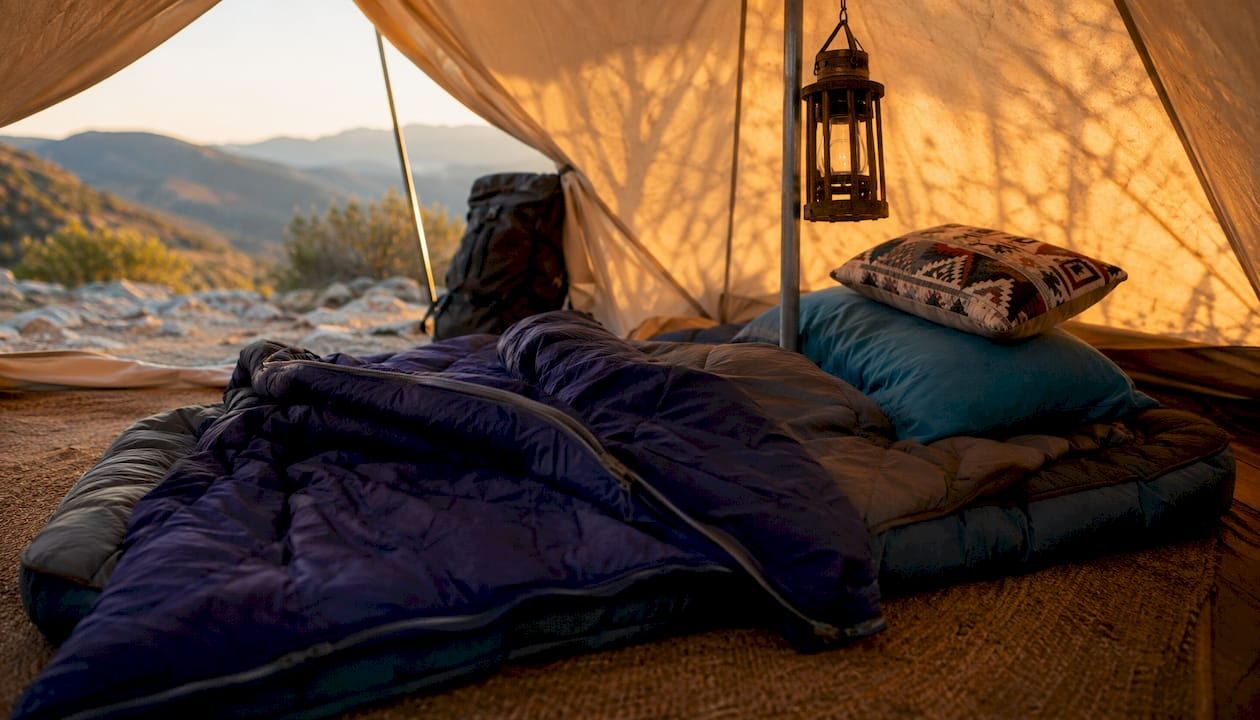
Pro Tip: Pack your pillow in a clean pillowcase and stuff it with tomorrow's outfit. It saves space and keeps your clothes wrinkle-free.
How should you pack clothing and footwear for glamping?
Layering is the core strategy. Glamping sites, especially forest and mountain locations, can drop 30–40°F after sunset even in summer. Three layers handle that range without overpacking.
The layering framework:
- Base layer (moisture-wicking): merino wool or synthetic. Merino regulates temperature and resists odor across multiple days, which matters when laundry isn't an option.
- Insulating mid-layer: a fleece pullover or a lightweight down jacket. This is your primary warmth source once the sun drops.
- Waterproof shell: a packable rain jacket. Even on clear-forecast trips, mountain weather shifts fast.
Seasonal callouts:
- Summer: prioritize quick-dry fabrics, a sun hat, and UV-rated long sleeves for lake and desert sites.
- Shoulder season (spring/fall): pack an extra mid-layer and consider thermal base layers for nights.
- Winter glamping: heavyweight down jacket, insulated pants, wool socks, and a neck gaiter.
- Desert: loose, light-colored long sleeves protect against sun and sand. Avoid dark colors that absorb heat.
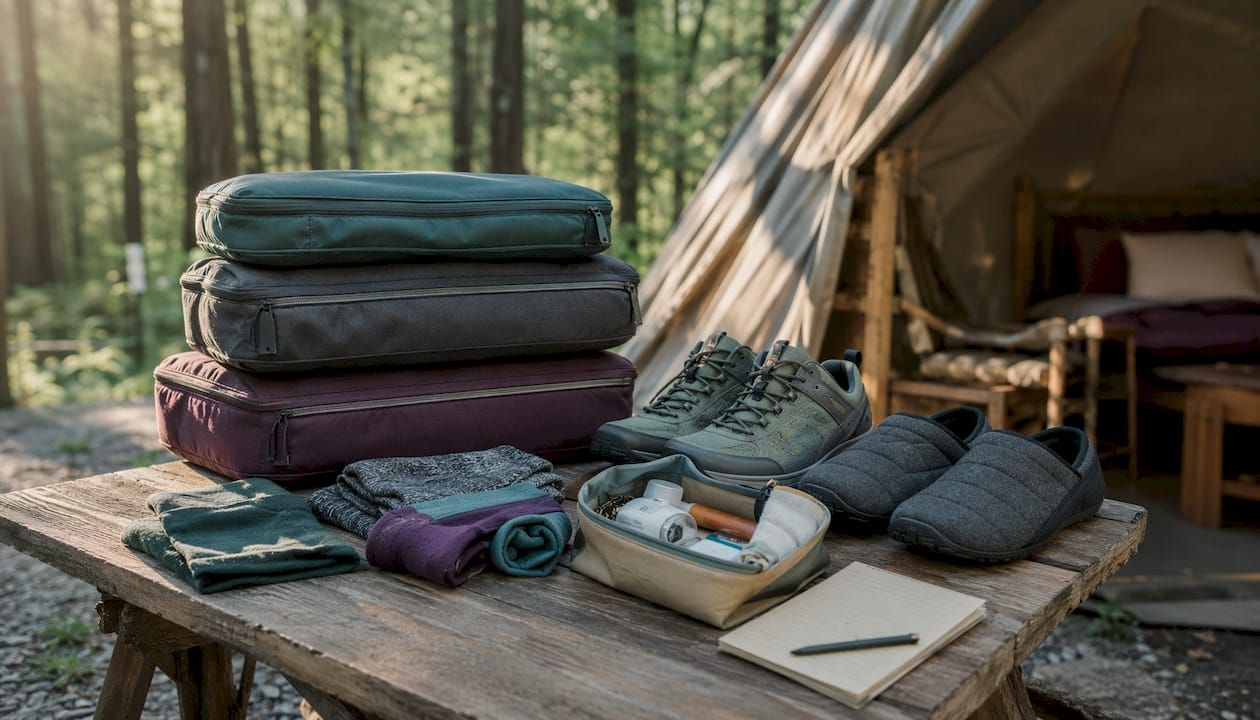
For footwear, match the activity:
- Hiking boots for trail days (waterproof, broken-in before the trip)
- Camp sandals or slip-ons for around-site comfort
- Water shoes for lake or river glamping sites
Packing count guideline: for a 3-night trip, pack 2 tops, 2 bottoms, 3 pairs of socks, and 3 sets of underwear. Add one nicer outfit in earth tones for sunset photos. Earth tones photograph better outdoors and hide campfire soot far better than white or light gray. Check out layering clothing strategies if you want a deeper breakdown by fabric and activity type.
What personal care and health items should you prioritize?
The basics are straightforward: toothbrush, toothpaste, biodegradable soap, quick-dry towel, deodorant, and a hanging toiletry bag (glamping bathrooms tend to be small). The items people most often forget are the ones that prevent real discomfort.
Health and safety priorities:
- Sunscreen: SPF 30 minimum for everyday exposure; SPF 50 for water activities or desert sites. Reapply every two hours.
- Insect repellent: DEET 20–30% or picaridin is recommended for forest and lake regions with heavier mosquito and tick activity. Picaridin is odorless and gentler on skin and gear.
- First-aid kit: include adhesive bandages, antibiotic ointment, blister pads (Moleskin works well), antihistamine tablets, pain reliever, and a tick removal tool. Add any prescription medications with a backup supply.
- Fire safety: if you're cooking over an open flame or using a wood burner, pack a compact fire extinguisher or at minimum a fire blanket. Know the site's fire rules before arrival.
A quick note on ticks: permethrin-treated clothing offers durable protection. Spray your hiking clothes and socks about 48 hours before departure and let them dry completely before packing. The CDC recommends this approach for tick-heavy regions, and it remains effective through several washes.
Pro Tip: Pack a small zip-lock bag with a 3-day supply of any daily medications plus one extra day's worth. Losing your main pill organizer on day one of a remote trip is a solvable problem only if you planned for it.
What cooking and food supplies do you need for glamping?
Start with the site, not the gear. Check whether your accommodation includes a stove, cookware, utensils, and refrigeration. Many glamping sites only have a hob and no oven, and some provide nothing at all. Your answer determines whether you pack a full camp kitchen or just a few personal items.
Core camp kitchen kit (when you must supply it):
| Item | Why it matters |
|---|---|
| Lightweight skillet (cast iron or non-stick) | One pan handles breakfast, dinner, and everything between |
| Compact kettle | Coffee, tea, and boiling water for simple meals |
| Sharp chef's knife + cutting board | Prep is faster and safer with a real knife |
| Reusable dinnerware set | Enamel plates and mugs feel intentional, not disposable |
| Biodegradable dish soap + small sponge | Leave-no-trace cleanup |
A quality skillet and a compact spice kit are the two items that most elevate a campsite kitchen from practical to genuinely enjoyable. Pre-portion spices and oils into small containers at home. A tiny spice kit weighs almost nothing and removes the need to pack full bottles.
Meal planning method:
- Write out every meal before you pack.
- Prep ingredients at home: marinate proteins, chop vegetables, pre-mix dry ingredients.
- Pack perishables in a quality cooler with ice packs; plan to use them within the first two days.
- Keep days 3+ meals shelf-stable: pasta, rice, canned goods, quality snacks.
For glamping-friendly menus, think one-pan dinners (shakshuka, stir-fry, pasta with jarred sauce), premarinated proteins that go straight onto a grill, and a quality charcuterie spread for the first night. The U.S. National Park Service recommends focusing on dry foods like rice and pasta to save space and reduce odors, especially in bear country. For cookware picks, the camping cookware reviews at Lifecampadventure are a solid starting point.
What power and lighting gear should you bring glamping?
Check for on-site electricity before you pack anything. If outlets are available, a standard phone charger and a small multi-port USB hub cover most needs. If power is limited or shared, a 10,000 mAh power bank per two people is the right baseline.
Lighting kit:
- Headlamp: non-negotiable for nighttime bathroom trips and camp navigation. Bring a spare set of batteries.
- Rechargeable lantern with a dimmer: warm-white light creates ambiance and handles practical tasks. A dimmable model lets you shift from task lighting to mood lighting without swapping gear.
- Warm-white LED string lights: battery-operated string lights are one of the highest-impact, lowest-weight ambiance items you can pack. Drape them over a tent entrance or around a seating area and the space transforms immediately.
Tech backups:
- Spare USB-C and Lightning cables (pack duplicates of single-failure items like cables and batteries)
- Offline downloads: maps via Google Maps or Gaia GPS, music, podcasts, and any streaming content you want. Cell service at many glamping sites is patchy at best.
- For extended stays of 3+ nights, a small solar charger or a compact power station handles camera batteries, Bluetooth speakers, and laptop charging without depending on site power.
Etiquette note: keep Bluetooth speaker volume low after 9 PM, check whether the site prohibits generators, and if you're in a group, designate one charging station so everyone's devices don't compete for the same outlet.
Pro Tip: Download offline maps the night before departure, not in the car on the way. Cell service often drops before you reach the site entrance.
What safety tools and pre-arrival steps should you take?
Surprises at a glamping site are usually avoidable. A short pre-arrival checklist and a handful of practical tools handle most of them.
Tools to pack:
- Multi-tool (knife, pliers, screwdriver in one)
- Lighter plus waterproof matches (pack both; one is a backup)
- Extra paracord or rope (tent repairs, clothesline, tarp rigging)
- Duct tape (a small roll fixes almost anything temporarily)
- Compact trowel for leave-no-trace waste management at remote sites
Pre-arrival checklist:
- Print your reservation confirmation and note the site access code.
- Download offline maps of the route and the surrounding area.
- Share your itinerary and site address with someone not on the trip.
- Check the site's fire rules and any active burn bans for the area.
- Confirm emergency contact numbers for the nearest urgent care and the site host.
For remote sites without reliable tap water, pack a water filter or purification tablets. The NPS recommends filtering or purifying all backcountry water before drinking or cooking with it. In desert locations like Joshua Tree, carry at least a 32 oz reusable bottle per person as a baseline, and double that in summer heat.
Group tip: assign zones before you arrive. Sleep zone, kitchen zone, lounge zone, and hygiene zone. Each person knows where their gear goes, setup takes half the time, and teardown is just reversing the process zone by zone.
What comfort and entertainment extras make glamping feel luxurious?
The gap between a good glamping trip and a great one usually comes down to five or six small items that weigh almost nothing.
Ambiance kit:
- Warm-white LED string lights (battery-operated, no outlet needed)
- Dimmable rechargeable lantern
- Outdoor rug (a small 4x6 defines the lounge space and keeps dirt out of the shelter)
- Two or three weather-resistant throw pillows for the seating area
Entertainment:
- One analog game per night: a deck of cards, a travel-sized board game, or a set of dice games. These work without power and tend to generate better conversation than screens.
- A paperback or a small sketchbook and pencils for solo downtime.
Dining touches: cloth napkins, unbreakable wine glasses, and an enamel mug set cost almost nothing in weight but make every meal feel deliberate rather than improvised. A good mug for morning coffee by the fire is one of those details that people remember.
Pro Tip: A folding side table does double duty: it holds your lantern at the right height for ambient light and keeps your coffee, book, and phone off the ground. Look for multi-use gear that earns its trunk space by serving more than one purpose.
How should you organize your packing for easy setup and teardown?
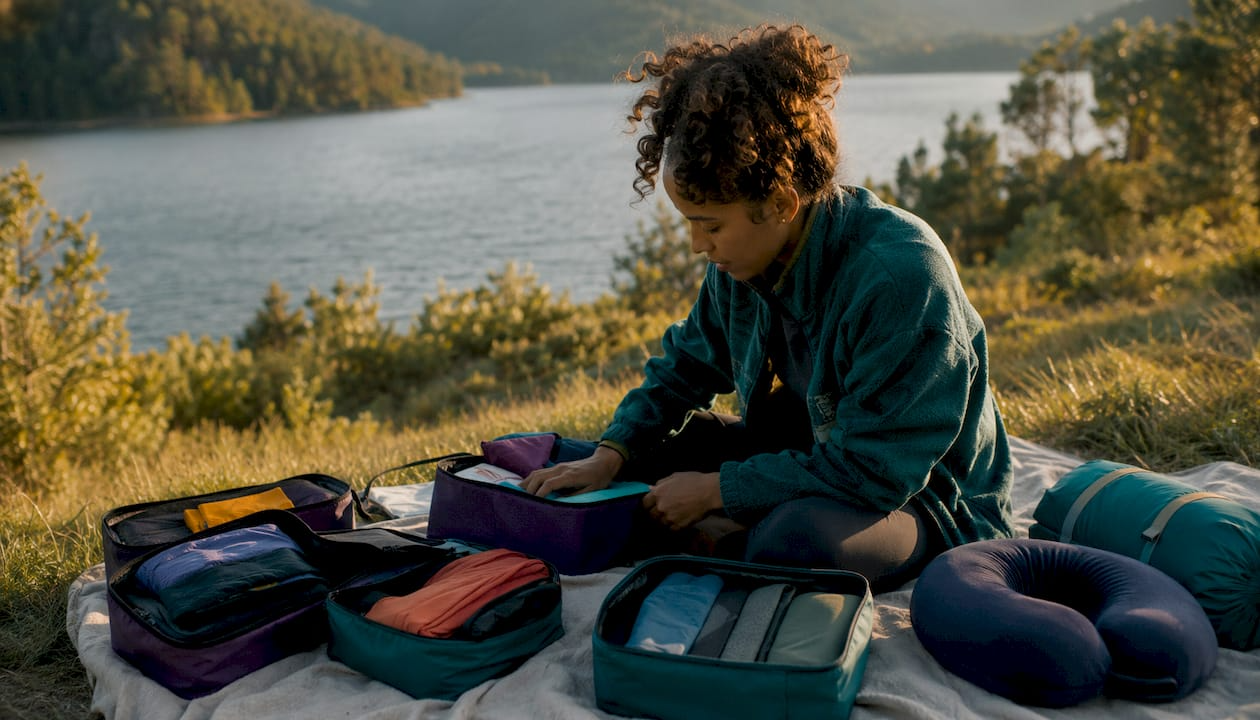
Zone-based packing is the most practical system for glamping. Organize gear by zone — sleep, kitchen, lounge, and hygiene — and pack each zone into its own labeled crate or bag. On arrival, each crate goes directly to its area. On departure, everything goes back into the same crate.
Zone breakdown:
- Sleep zone: bedding, pillow, sleep mask, earplugs, headlamp
- Kitchen zone: cookware, food, utensils, cooler, spice kit
- Lounge zone: chairs, blankets, string lights, games, outdoor rug
- Hygiene zone: toiletry bag, quick-dry towel, first-aid kit, medications
Car-loading order:
- Heavy items (cooler, crates) go in first, low and toward the back.
- Soft bags and clothing fill gaps.
- Frequently needed items (snacks, phone charger, headlamp) go in last, accessible from the back seat.
Use color-coded packing cubes for clothing and shared trips. Assign each person a color. It eliminates the "whose fleece is this?" conversation at 10 PM. For packable gear choices that compress well into crates, Lifecampadventure has a useful breakdown by category.
Teardown checklist: walk the site in a grid pattern, check under furniture and behind the shelter, collect all trash and recycling, restore any moved furniture, and do a final fire-safety check before loading the car.
Pro Tip: Pack a small "first night" bag that stays accessible in the back seat: headlamp, phone charger, one snack, and your toiletry pouch. You won't need to unpack every crate just to brush your teeth after a late arrival.
What should you add or remove based on season and site type?
Season and site type change your list more than trip length does. A summer lake trip and a shoulder-season mountain stay require genuinely different gear.
| Site type | Priority adds | What to skip |
|---|---|---|
| Forest/lake (summer) | Bug spray, water shoes, sun hat, extra water | Heavy insulation, gaiters |
| Mountain/shoulder season | Extra mid-layer, hot water bottle, rain pants | Light sandals, minimal sleep system |
| Desert (summer) | 64 oz water per person, dust cover for electronics, SPF 50 | Heavy wool layers |
| Coastal | Wind layer, rain shell, salt-resistant bag covers | Dust protection |
| Winter glamping | Insulated sleeping pad, 0°F sleeping bag, hand warmers | Lightweight sandals, minimal layers |
Summer: hydration is the priority. Carry at least a 32 oz bottle per person and additional water jugs for the car at desert sites. Light, quick-dry layers handle daytime heat while a fleece handles the evening drop.
Shoulder seasons (spring and fall): night temperatures can fall 30–40°F from the afternoon high. An insulating mid-layer, a hot-water bottle for the foot of the sleeping bag, and an extra duvet cover the range. Layering in outdoor apparel explains exactly how to build a system that works across a 40-degree swing.
Winter: upgrade the sleep system first. An insulated sleeping pad (R-value 4 or higher) matters as much as the sleeping bag because ground cold is what wakes you up. Cold-weather cookware considerations include a windscreen for your stove and insulated mugs that keep drinks hot.
Desert and coastal specifics: for desert sites, a dust cover or dry bag for electronics prevents grit damage. For coastal sites, a wind layer and salt-resistant bag covers protect gear from spray and corrosion.
Pro Tip: If you're glamping near a lake or river and plan to do yoga or morning stretching, a compact travel mat takes almost no space. A travel yoga accessories checklist covers what to bring without adding bulk.
Expert notes: temperature regulation and kitchen prep that actually matter
Two areas separate comfortable glamping from a trip you spend compensating for poor planning: how you manage temperature and how you set up your kitchen.
On temperature regulation: the single most effective system is three layers — a breathable moisture-wicking base, an insulating mid-layer (fleece or down), and a waterproof shell. Night-time drops of 30–40°F are common at forest and mountain sites even in summer. A base layer that holds moisture against your skin will make you colder, not warmer. Merino wool or a synthetic wicking fabric solves this. The shell doesn't need to be heavy — a packable rain jacket under 1 lb handles wind and light rain without adding bulk.
On the kitchen side, the temptation is to pack too much. A focused camp kitchen — one good skillet, a kettle, a sharp knife, and a small spice kit — consistently outperforms a full camping kitchen in both ease and quality. A cast-iron skillet and a compact spice kit are the two items most cited for elevating a campsite meal. Pre-portioning at home is the real multiplier: spices, oils, and marinades in small containers mean you cook faster, waste less, and clean up in minutes.
For tick protection, the CDC recommends permethrin-treated clothing for areas with heavy tick activity. Spray your hiking clothes and socks about 48 hours before departure and let them dry fully before packing. The treatment survives multiple washes and works while you move through brush without needing to reapply.
Pro Tip: Spray your sleeping clothes with permethrin two days before departure if you're heading to a tick-heavy region. Let them dry completely before folding them into your bag.
One-night glamping kit and a packing timeline
For a single overnight, the list gets short fast. The goal is to cover sleep, safety, and one good meal without overpacking.
One-night minimal kit:
- 1 outfit + 1 warm layer (fleece or down jacket)
- Your own pillow (compressed in a stuff sack)
- Basic toiletry pouch: toothbrush, toothpaste, face wash, deodorant
- Sunscreen and insect repellent
- Adhesive bandages and pain reliever
- 1 meal's worth of prepped ingredients or quality snacks
- Phone charger + 10,000 mAh power bank (one per two people)
- Headlamp
- Reusable water bottle
Packing and arrival timeline:
- Night before: pack all zones, charge the power bank fully, prep and refrigerate perishables.
- Morning of: load the car (heavy items first), add perishables to the cooler, print the reservation and note the site access code.
- On arrival: set up sleep zone first (pillow, blanket, lighting), then kitchen, then lounge. Getting the sleep zone ready before dark removes the most stressful part of a late arrival.
- Before bed: confirm food is stored properly, check that any fire is fully extinguished, and set your headlamp where you can find it in the dark.
Screenshot this list or copy it to a phone note before you leave. Adapt it by adding one item per extra person or one extra layer per additional night in cold conditions.
Pro Tip: Pack your one-night kit in a single soft duffel that fits in the back seat. You won't need to open the trunk at all until you're ready to set up.
Key Takeaways
Confirm what your glampsite provides before packing a single item — that one step eliminates most overpacking and prevents the most common first-timer mistakes.
| Point | Details |
|---|---|
| Confirm site provisions first | Check bedding, cookware, power, and towels before packing to avoid duplicates. |
| Sleep and safety come first | Pack your pillow, a warm layer, first-aid basics, and a headlamp before anything else. |
| Use the zone system | Organize gear into sleep, kitchen, lounge, and hygiene zones for fast setup and teardown. |
| Pack seasonally | Night drops of 30–40°F are common; always include a base layer, mid-layer, and waterproof shell. |
| Lifecampadventure gear | Lifecampadventure carries sleep systems, cookware, lighting, and organization gear suited to glamping packing lists. |
The setup detail that changed how I pack
Most glamping guides tell you to bring more. My honest take is the opposite: the trips that go smoothest are the ones where every item in the car has a clear job. The single setup choice I come back to every time is a dimmable rechargeable lantern placed on a folding side table at the entrance to the shelter. It handles ambiance, task lighting, and navigation in one object. No string of single-use items, no hunting for a flashlight at midnight.
The other adjustment I always make based on the site: if the glampsite is remote or the forecast shows a 20-degree overnight drop, I swap the compact throw for a full sleeping bag liner. It adds almost no weight and eliminates the 3 AM "I'm freezing" problem entirely. That's the kind of small, specific decision that makes a checklist actually useful rather than just comprehensive.
Gear worth having before your next glamping trip
Lifecampadventure stocks the gear categories that matter most on a glamping trip: sleep systems, camping cookware, lighting, and organization essentials built for outdoor use. Everything is chosen for durability and packability, which means it earns its space in the car rather than sitting unused.
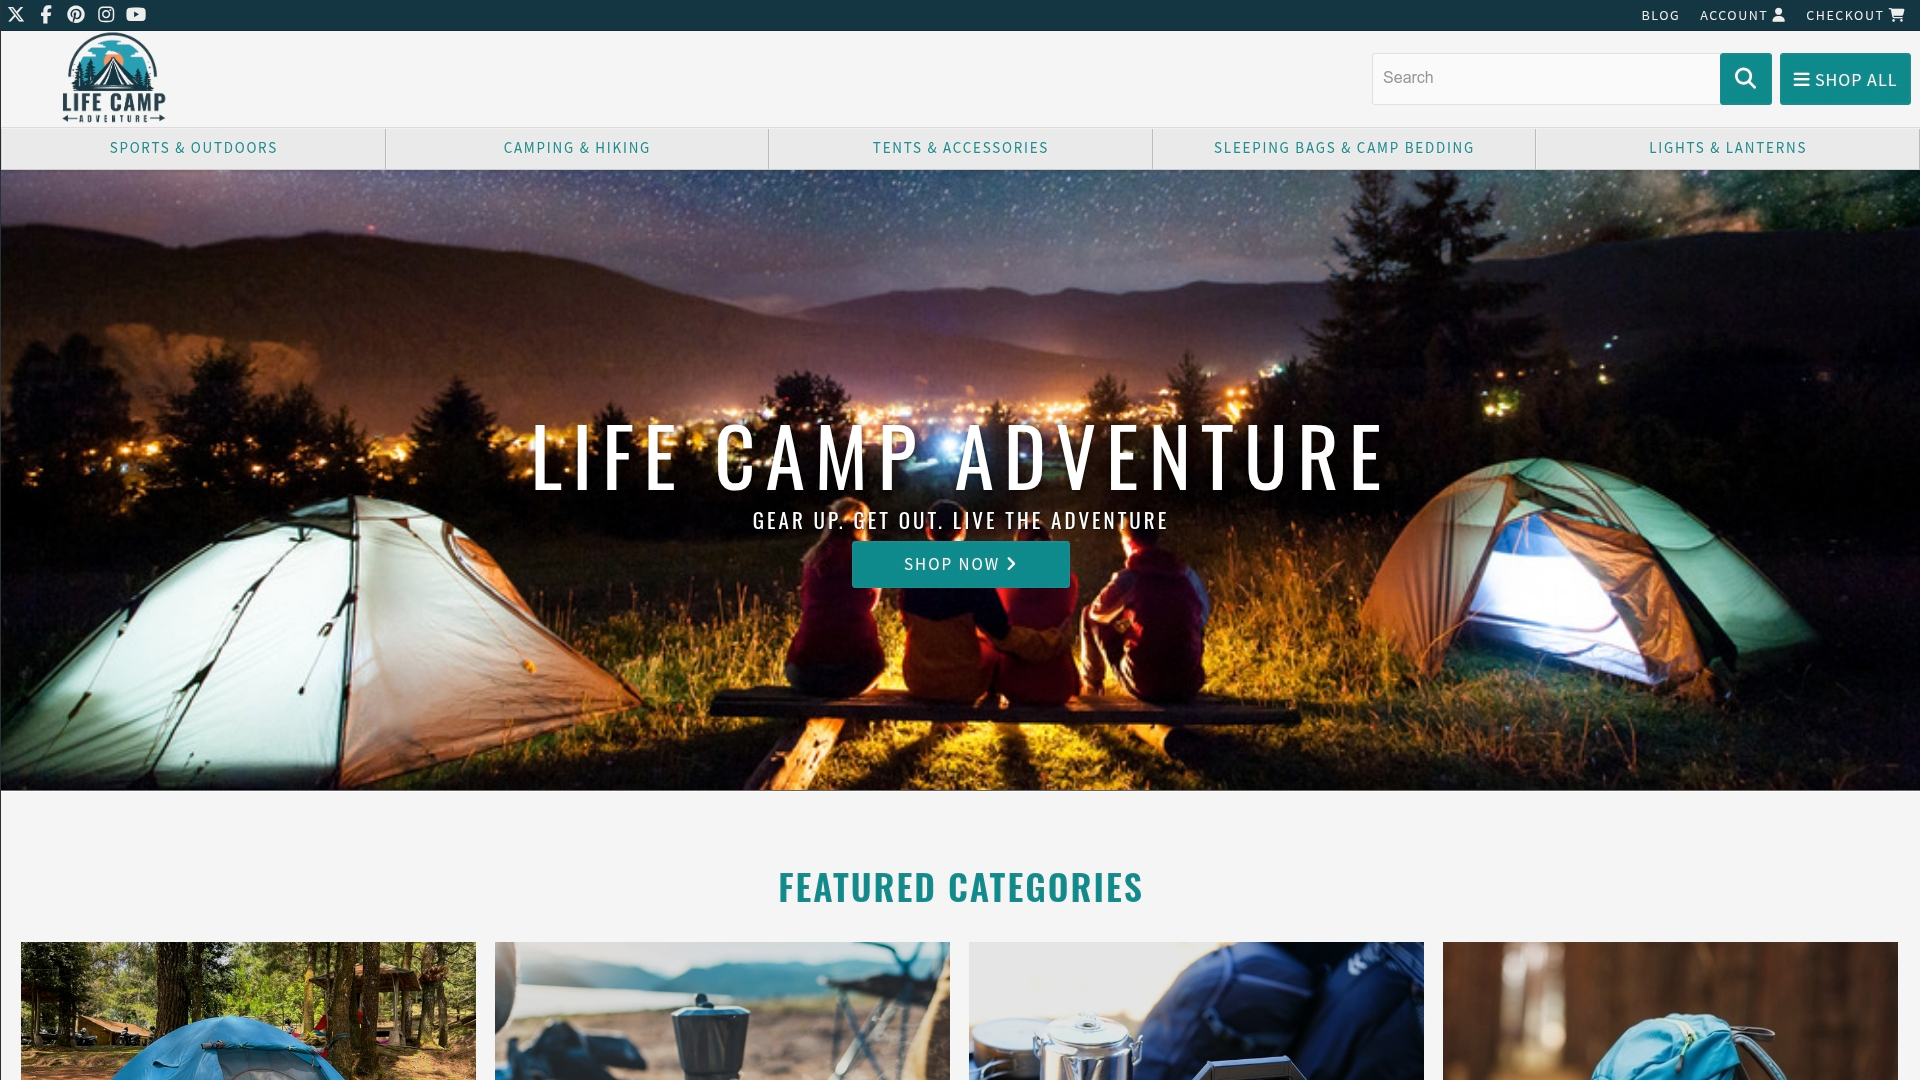
If you're building out your kit from scratch or upgrading a specific category, the best camping gear guide at Lifecampadventure covers vetted picks across sleep, kitchen, and power. Browse the full range and find what fits your next trip at lifecampadventure.com.
Useful sources and further reading
- U.S. National Park Service — What to Bring Camping: authoritative guidance on water, food storage, shelter, and cooking supplies for U.S. campsite conditions.
- CDC — Insect Repellents and Tick Protection: official guidance on DEET, picaridin, and permethrin use for outdoor health and safety.
- Travel Vient — Glamping Packing List: Forest, Desert & Lake: practical site-type breakdowns and power-bank guidance.
- Urbaki Outdoor — Glamping Essentials: The Ultimate Packing Guide: kitchen and ambiance kit recommendations.
- Elegant Camping — Glamping Checklist: zone-based organization and ambiance item guidance.
- Emily Luxton — Glamping Essentials Packing List: detailed clothing, toiletries, and kitchen checklists with practical notes.
- Lifecampadventure — Why Pack Layering Clothing for Outdoor Adventures: in-depth layering strategy by fabric and activity.
- Lifecampadventure — Outdoor Survival Checklist: safety and first-aid gear guidance for outdoor trips.
- Yune Yoga — Travel Yoga Accessories Checklist: compact yoga and wellness gear for active glampers.
