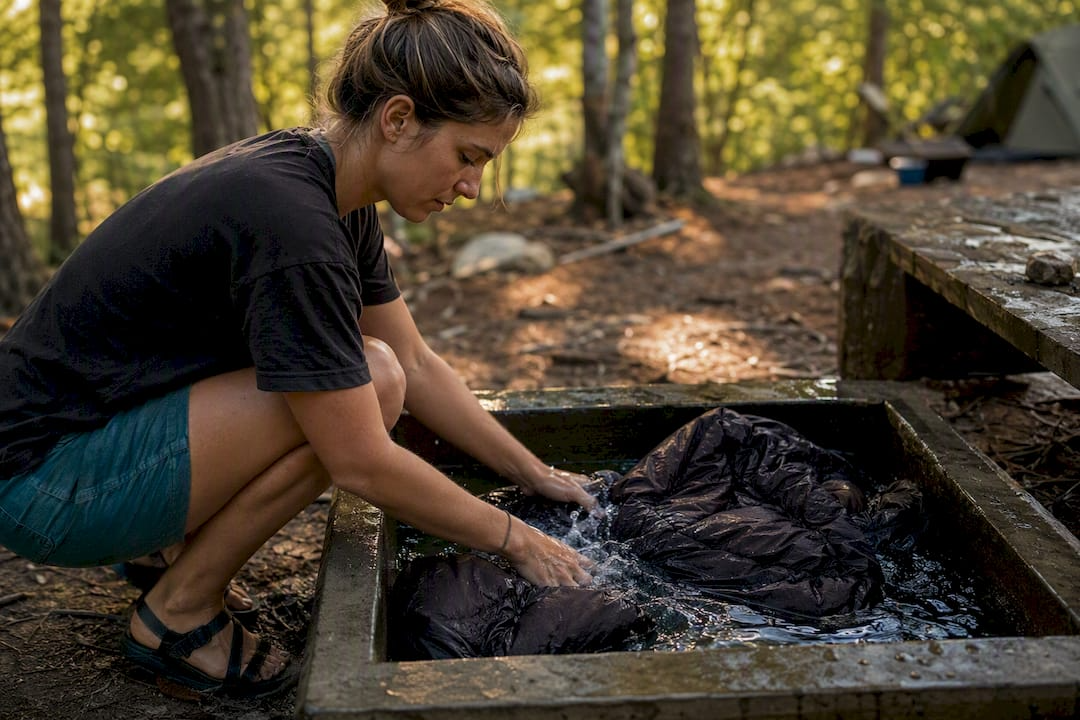
Yes, you can wash a down sleeping bag safely if you skip the regular laundry routine and follow a gentler process built for down. That means a down-specific cleaner, a large front-loading machine or a tub, and low-heat drying with dryer balls to break up clumps as they form. Plan on 3 to 6 hours from start to finish, and check your bag's manufacturer care label before you touch a drop of water, since it overrides any generic advice here.
Before you start, gather:
- A down-specific wash (never regular detergent, bleach, or fabric softener)
- Access to a front-loading washer or a clean tub
- 3 to 6 tennis balls or dryer balls
- A large-capacity dryer, or several hours of patience for air-drying
- Two clean towels for handling the bag once it's wet and heavy
Key Takeaways
Washing a down sleeping bag safely comes down to using a down-specific cleaner, a front-loading machine or tub, and patient low-heat drying with dryer balls.
| Point | Details |
|---|---|
| Check the label first | Manufacturer care instructions override any general washing method. |
| Use down-specific cleaner | Nikwax Down Wash Direct, Grangers Down Wash, or Gear Aid ReviveX only, never regular detergent. |
| Avoid top-loading agitators | Use a front-loading machine or a laundromat unit to prevent baffle snags and tears. |
| Budget real drying time | Expect 4 to 6 hours total, with periodic hand-teasing to break up clumps. |
| Store loose, not compressed | Keep the bag in a roomy mesh or cotton sack between trips to protect long-term loft. |
When Should You Wash a Down Sleeping Bag?
Most down bags don't need a full wash nearly as often as owners assume. A wash is worth the effort when you notice persistent odor that airing out doesn't fix, visible heavy soil, or a bag that no longer puffs back up to its usual loft after a night in the stuff sack.
Short of that, airing the bag out in the sun or spot-cleaning a dirty patch handles most everyday grime. A liner also cuts down on how much body oil and dirt reaches the shell fabric in the first place.
- Full wash: persistent smell, visible grime, or flattened loft after fluffing
- Spot-clean or air out: light dust, minor sweat smell, occasional trail dirt
- Frequency: once a season at most, or only when performance actually drops
Washing too often works against you. Each wash strips some of the natural oils that keep down clusters supple, and airing the bag out often revives loft without a wash at all. Save full washes for when they're genuinely necessary.
How Do You Spot-Clean a Down Sleeping Bag?
Collars, hoods, and foot boxes take the brunt of body contact, so they're usually the first spots to need attention between full washes.
- Dampen a soft cloth with water and a small amount of down wash, or diluted white vinegar for stubborn stains.
- Dab the stained area gently, working from the outside in rather than scrubbing hard.
- Use a soft toothbrush along seams and zipper teeth, where grime tends to collect.
- Rinse the spot with a clean, damp cloth and blot until no soap residue remains.
- Let the area air dry completely before folding or stuffing the bag.
Pro Tip: Never soak a spot-clean area more than necessary. Down that stays wet inside the shell for too long can clump before it ever sees a dryer, and a small stain isn't worth risking a lumpy patch that takes hours to fix.
How Do You Machine Wash a Down Sleeping Bag?
Start by reading the tag. Manufacturer care labels take priority over generic steps, and some bags call for specific water temperatures or cycle settings that differ from the general approach below.
- Empty every pocket, close all zippers and Velcro closures, and remove the bag from its stuff sack entirely.
- Load the bag into a large front-loading washer. Home units without a big enough drum mean a trip to the laundromat, where oversized commercial machines handle bulky items like this without crushing them.
- Add a down-specific cleaner such as Nikwax Down Wash Direct, Grangers Down Wash, or Gear Aid ReviveX, following the dosing instructions on the bottle.
- Set the machine to a gentle or delicate cycle with cold or lukewarm water, matching whatever the care label specifies.
- Add at least one extra rinse cycle. Down cleaner residue left in the fill can affect loft, so the extra rinse matters more here than it does with regular laundry.
- Start the spin cycle slow, then increase it cautiously if the machine allows, to avoid overstressing wet seams.
A few things to avoid entirely:
- Never use a top-loading washer with a center agitator. The agitator arm can snag or tear the baffle fabric, and that kind of damage isn't a quick fix.
- Skip dry cleaning altogether. The solvents used in professional dry cleaning can damage both the fill and the shell fabric.
- Don't lift a soaked bag by one end. A waterlogged bag can weigh several times its dry weight, and that extra strain on the seams and baffles is exactly how tears happen. Support it with both arms, or lay a towel underneath and slide it out as a unit.
Can You Hand-Wash a Down Sleeping Bag in a Tub?
If you don't have access to a large front-loader, a clean tub works as a reliable backup, and it's actually gentler on aging bags with softer seams.
- Fill a clean tub or large basin with lukewarm water and mix in a down-specific soap at the amount the label recommends.
- Slide the bag in slowly. Tucking it into an open stuff sack first, then submerging that, helps push out trapped air pockets that would otherwise stress the stitching.
- Knead the fabric gently by hand, working soap through the fill without twisting or wringing, then let it soak for the time your cleaner's instructions suggest.
- Drain the tub and refill it with clean water, repeating the rinse until no suds appear. This usually takes several rinse cycles, since down cleaner is formulated to rinse clean but still needs a thorough flush.
- Press or roll the bag against the side of the tub to push out water. Never wring it, since twisting is one of the fastest ways to tear a baffle.
- Carry the drained bag with two hands, cradled like a heavy sack of flour, or set it in a laundry bucket for the trip to the dryer.
A tub wash still leaves the bag heavy with residual water, and a spin cycle and dryer afterward removes bulk moisture far faster than air-drying alone, which also raises the risk of clumping.
How Long Does a Down Sleeping Bag Take to Dry?
Drying is where most of the real time investment happens, and rushing it is how bags end up with permanent clumps.
- Use a large-capacity dryer on low heat, or the air-only tumble setting if your machine has one.
- Toss in 3 to 6 clean tennis balls or dryer balls. They knock clusters apart as the bag tumbles, which keeps the fill distributing evenly instead of settling into dense clumps.
- Check the bag every 30 to 60 minutes and hand-tease any clumps you feel through the shell. Relying on balls alone often isn't enough to break up stubborn clusters, so pause the cycle and work them apart by hand.
- Run the lump test before you call it done: squeeze sections of the bag through the fabric and feel for hard, compressed spots. If you find any, keep drying.
Statistic Callout: The full wash-and-dry process typically runs 4 to 6 hours, and drying is almost always the longer half of that window.
If you don't have a dryer big enough for the job, air-drying works, but budget more time and expect to tease clumps by hand more frequently since there's no tumbling action doing the work for you. Lay the bag flat in partial shade rather than direct sun, which can degrade shell fabric over long exposure.
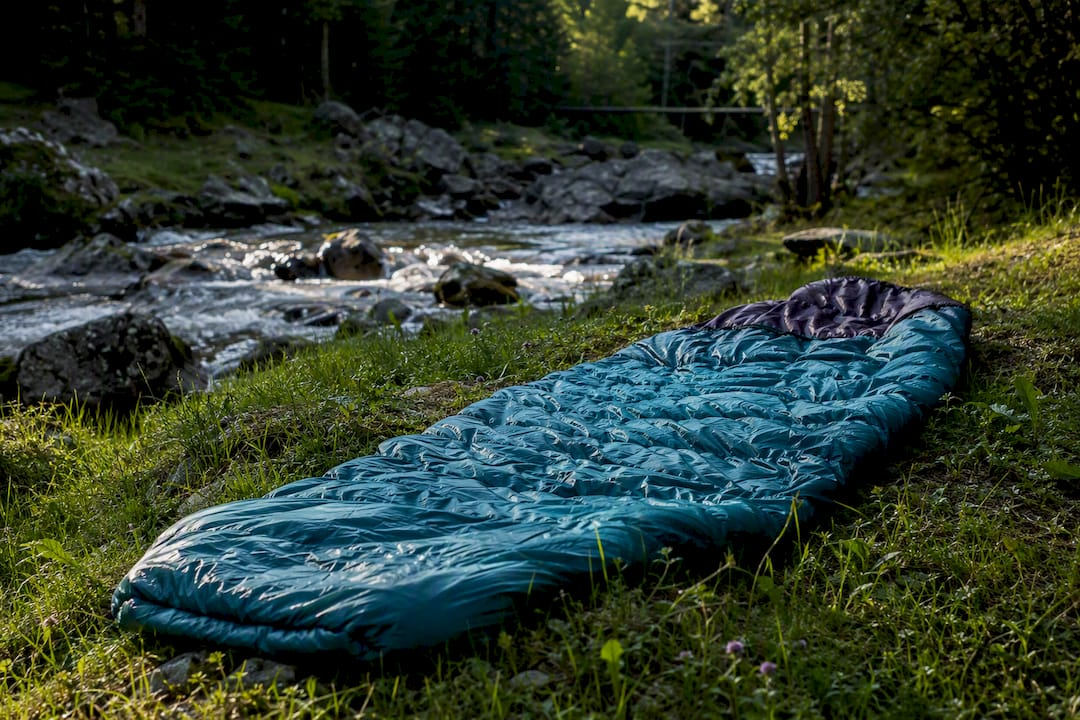
Pro Tip: Don't judge "dry" by the shell alone. The outer fabric dries fast, but down clusters near the center of thick baffles hold moisture much longer. Squeeze deep into a few baffles near the middle of the bag before you trust it's fully dry.

Should You Reapply DWR After Washing?
Washing strips more than dirt. It often degrades the durable water repellent (DWR) finish on the shell fabric, which is why reapplying it after washing but before final drying preserves the shell's water resistance.
- Spray a DWR product formulated for down shells evenly over the fabric once the bag is rinsed, following the product's own instructions on timing and dry heat.
- If the shell beads water poorly even after fresh DWR, that's usually a sign of wear rather than a product failure.
- Inspect zippers for grit or corrosion, and run a bit of zipper lubricant along the teeth before storage.
- Small tears found during washing can often be closed with specialist repair tape made for technical fabrics. Structural baffle damage, where the internal chambers holding the down are torn, is a job for a professional repair service rather than a home fix.
How Should You Store a Down Sleeping Bag Between Trips?
How you store a bag matters almost as much as how you wash it. Compression is the enemy of loft over time.
- Store the bag loosely in a roomy cotton or mesh storage sack, never inside the tight stuff sack you use on the trail.
- Air the bag out after every trip and let it fully dry before packing it away, even if it only feels slightly damp.
- Add a liner or wear clean sleep clothing to limit how much body oil and dirt reaches the down in the first place, which stretches the time between full washes considerably.
- Keep stored bags somewhere dry and away from direct sunlight or heat sources.
A primer on how loft affects warmth explains why compressed storage is such a quiet killer of bag performance over multiple seasons.
What If Clumps or Odor Remain After Washing?
A wash that doesn't go perfectly isn't a lost cause. Most post-wash problems have a straightforward fix.
- If clumps remain, keep drying on low heat and hand-tease the affected spots. Don't raise the heat to speed things up. High heat can scorch the shell fabric or damage the down itself.
- If odor lingers, the bag likely still holds moisture somewhere inside a baffle. Confirm it's completely dry, and if the smell persists even then, an additional rinse cycle or a professional cleaning service built for down gear is the next step.
- If you find damaged seams or torn baffles, a specialist repair tape works as a temporary fix for small tears. Larger structural damage, where down is actively leaking out, calls for a professional repair rather than a patch job.
What Field-Tested Tips Does Lifecampadventure Recommend?
Lifecampadventure backs the same core approach outdoor gear experts recommend: a front-loading machine, a down-specific cleaner, and patience through the drying stage. Skipping any one of those three steps is where most home washes go wrong.
- If you're heading to a laundromat, bring your own down wash rather than relying on whatever detergent is dispensed on-site.
- Carry a couple of large towels specifically for handling the bag once it's wet. A soaked bag laid across a towel and lifted from both ends avoids putting sudden strain on any single seam.
- Check the drum size before you pay for a cycle. A machine that looks big enough for a comforter often isn't roomy enough for a mummy bag to move freely.
For deeper background on how fill type affects care requirements, Lifecampadventure's guide to why regular maintenance keeps sleeping bags reliable and the broader outdoor gear maintenance guide cover zipper care, DWR upkeep, and storage habits that apply beyond just sleeping bags.
If years of trail use have finally worn a bag past the point washing can fix, Lifecampadventure's camping gear comparison is a reasonable place to start looking at replacements built for the conditions you actually camp in.
Where Can You Learn More About Down Sleeping Bag Care?
For step-by-step detail beyond this guide, GearJunkie's down sleeping bag washing walkthrough and REI's sleeping bag care guide cover manufacturer-specific instructions and DWR reapplication in more depth. These sources back the drying-time estimates and cleaner recommendations used throughout this article.
Is All the Fuss Over Washing Down Really Necessary?
Most of the anxiety around washing a down bag comes from treating it like a delicate art rather than a straightforward process with a few non-negotiable rules. The conventional advice out there tends to bury the useful parts under vague warnings about "damaging your investment," without ever specifying what actually causes damage. It's the top-loading agitator, the regular detergent, and rushed high-heat drying. Avoid those three, and the rest is mostly patience.
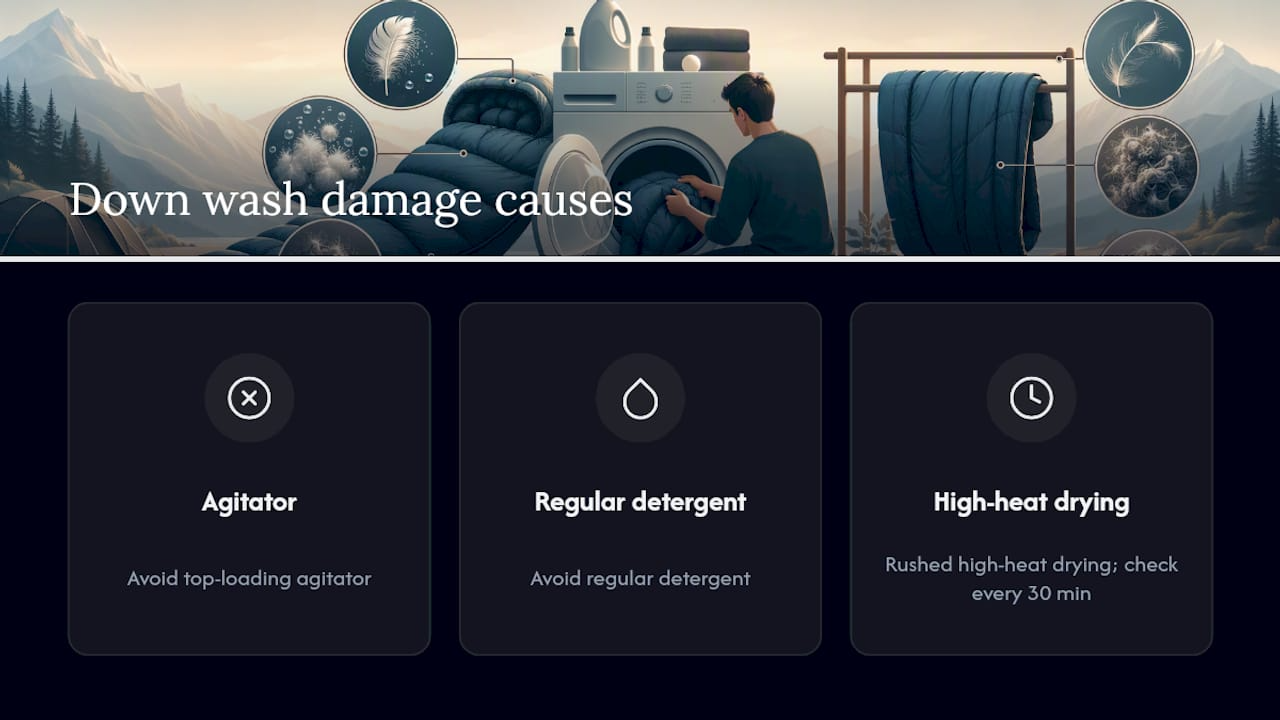
What gets underrated is the drying stage. People treat washing as the hard part and drying as an afterthought, when it's the reverse. A rushed dry cycle is where loft actually gets lost. If you take one thing from this guide, let it be this: budget the full time window, check the bag every half hour, and don't call it done until it passes the lump test. That habit alone prevents most of the post-wash regret stories you'll find in gear forums.
Sources
- How to Wash a Down Sleeping Bag | GearJunkie
- How to Wash a Down Sleeping Bag | CleverHiker
- Sleeping bag care and maintenance | Outside
