TL;DR:
- Regular gear maintenance involves scheduled inspections, cleaning, lubrication, repairs, and proper storage to extend equipment lifespan. Consistent routines at daily, weekly, monthly, and seasonal intervals prevent gear failures and costly replacements. Keeping detailed service logs and acting quickly on small repairs ensure gear remains reliable and ready for every adventure.
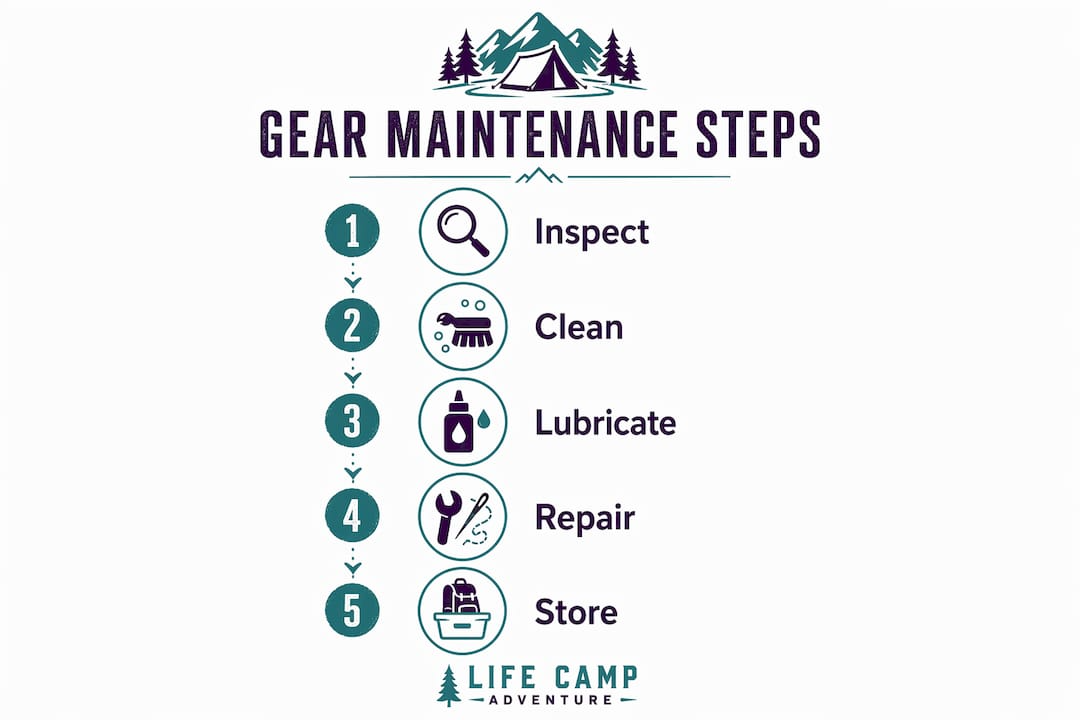
Step by step gear maintenance is the systematic process of inspecting, cleaning, lubricating, repairing, and storing outdoor equipment to maintain peak performance and prevent premature failure. Gear upkeep instructions from industry standards recommend four maintenance cycles: daily visual checks, weekly cleaning, monthly lubrication, and seasonal full overhauls. Skipping any one of these cycles accelerates wear and turns a minor issue into a costly replacement. Lifecampadventure builds gear designed to last, but even the best equipment fails without a consistent gear maintenance guide behind it.
What tools and supplies do you need before starting?
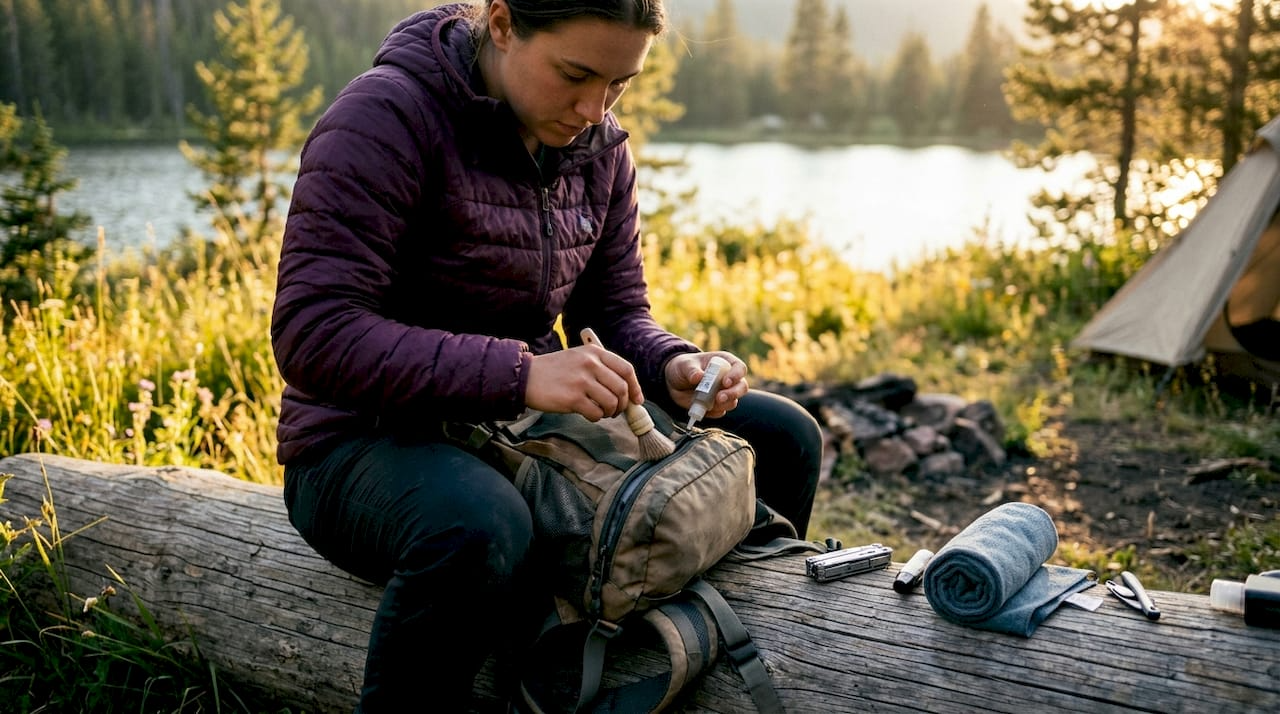
Effective gear maintenance starts before you touch a single piece of equipment. A clean, well-lit workspace prevents you from missing damage and keeps contaminants away from gear components. Gather everything you need first so the process stays uninterrupted.
Core maintenance tools:
- Soft-bristle cleaning brushes (one stiff, one soft)
- Mild, non-detergent soap or technical gear wash
- Microfiber cloths and a sponge
- Zipper lubricant (wax-based stick or liquid)
- DWR renewal spray such as Nikwax TX.Direct Spray
- Seam sealant such as McNett Seam Grip+WP
- Repair patches (fabric and inflatable)
- Needle, thread, and seam ripper
- Nitrile gloves and a ventilated area for chemical products
Safety first: Always work in a ventilated space when applying sealants or DWR sprays. Nitrile gloves protect your skin from adhesives and chemical treatments.
| Supply | Purpose | Frequency of use |
|---|---|---|
| Zipper lubricant | Prevents binding and corrosion | Weekly to monthly |
| DWR spray | Restores water repellency on shells | Every 20–30 uses |
| Seam sealant | Seals stitch holes to stop leaks | Annually |
| Repair patches | Fixes tears in fabric or inflatables | As needed |
| Technical gear wash | Removes oils without stripping DWR | Weekly to monthly |
Pro Tip: Keep a dedicated maintenance kit in a small dry bag. When you unpack after a trip, the kit is already there and the habit forms naturally.
How to perform daily and weekly gear maintenance checks
Daily and weekly routines are the foundation of any gear upkeep system. They catch small problems before they grow into expensive repairs. The time investment is low, but the payoff in gear lifespan is significant.
Daily inspection routine
- Visual scan. After every use, lay your gear flat in good light. Look for tears, fraying seams, bent buckles, and mud packed into zipper teeth.
- Moisture check. Feel inside stuff sacks, sleeping bag baffles, and tent corners for dampness. Wet gear stored in a bag grows mold within 24 hours.
- Zipper test. Run every zipper from end to end. A zipper that skips or catches needs attention now, not on the trail.
- Hardware inspection. Check buckles, clips, and trekking pole locks for cracks or deformation. Replace cracked hardware before the next trip.
- Quick wipe-down. Wipe mud and grit off zippers, buckles, and pole joints with a damp cloth. Grit acts like sandpaper on moving parts.
Weekly cleaning routine
- Rinse fabric gear. Use lukewarm water and a technical gear wash to hand-wash shells, sleeping bag covers, and tent footprints. Avoid standard laundry detergent, which strips DWR coatings.
- Clean zippers thoroughly. Use a soft brush to remove dirt from zipper teeth, then apply a wax-based zipper lubricant. This single step prevents most zipper failures.
- Rinse after coastal or salty use. Salt residue degrades gear components faster than almost any other environmental factor. Open every zipper, snap, and fastener before rinsing to flush salt from hidden areas.
- Air dry completely. Hang gear in a shaded, ventilated area. Direct sunlight degrades nylon and polyester over time.
- Check repair patches. Press down any patch edges that have started to lift. Catching a lifting patch early takes seconds. Replacing a failed patch in the rain takes much longer.
Pro Tip: Set a recurring 15-minute block every Sunday to run through your weekly checks. Consistency matters more than perfection.
Proactive inspection of seams and zippers extends gear lifespan more than fabric quality alone. A $400 shell jacket with neglected zippers fails faster than a $150 jacket with well-maintained ones.
What are the monthly and seasonal maintenance tasks?
Monthly and seasonal care goes deeper than weekly cleaning. This is where you address waterproofing, lubrication of mechanical parts, and full storage preparation. These tasks take more time, but they are what separate gear that lasts two seasons from gear that lasts ten.
Monthly maintenance tasks
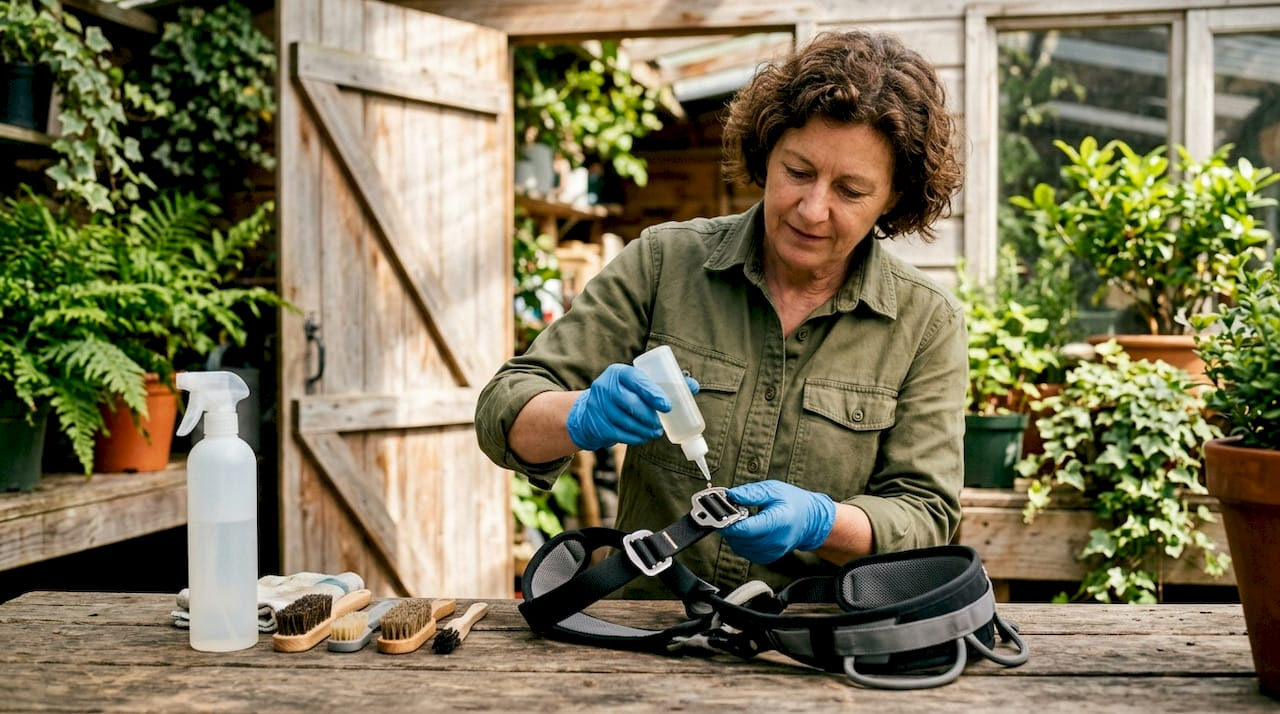
Lubricate mechanical components. Apply zipper lubricant to every zipper on tents, packs, and jackets. Work buckle pivots with a drop of silicone-based lubricant. Trekking pole locking mechanisms benefit from a light wipe of dry lubricant to prevent seizing.
Inspect and re-apply DWR. DWR treatment requires refreshing every 20–30 uses or whenever water stops beading on the fabric surface. Start by washing the garment with a technical cleaner to remove body oils. Body oils are the primary cause of DWR breakdown, and washing before re-application makes the treatment last significantly longer.
Check seams on tents and rain gear. Run your fingers along every seam and press lightly. Soft or tacky seam tape signals delamination. Address it now with a seam sealant rather than discovering the leak during a storm.
Seasonal overhaul tasks
Full gear audit before storage. Before putting gear away for winter or summer, inspect every item against your service log. Repair anything that needs it while the gear is accessible and dry.
DWR heat reactivation. Washing technical shell garments removes body oils that degrade DWR, and applying moderate heat after washing significantly restores repellency. Use a tumble dryer on low heat or a warm iron. Always place a damp cloth between the iron and the fabric to avoid melting synthetic fibers.
Seam sealant inspection. Hold tent fabric up to light to detect delamination. Bubbling or peeling seam tape means the waterproof barrier is compromised. Apply McNett Seam Grip+WP carefully along affected seams and allow 24 hours to cure before packing.
Storage best practices:
- Store sleeping bags uncompressed in large cotton or mesh sacks to preserve loft.
- Keep tents loosely rolled, not stuff-sacked, to prevent crease damage to the waterproof coating.
- Store gear away from direct sunlight and heat sources, which degrade UV-sensitive materials.
- Place silica gel packets near leather boots and technical fabrics to absorb moisture and prevent mold.
- Hang inflatable sleeping pads slightly inflated to prevent valve deformation.
Pro Tip: Photograph your gear before seasonal storage. A quick photo of each item gives you a baseline to compare against when you unpack next season.
Checking your hiking essentials list during the seasonal audit is a practical way to confirm every item is accounted for and in working condition before the next adventure.
How do you troubleshoot and repair common gear issues yourself?
Most gear problems have a DIY fix. Knowing the right technique saves money and keeps you in the field. The key is acting quickly. A small tear becomes a large one after one more use.
Zipper repairs
- Skipping zipper. Run the slider backward over the skipping section several times. Reversing the slider re-meshes the teeth without any tools. If the problem persists, use pliers to gently squeeze the slider body, which widens over time with use.
- Stuck zipper. Apply wax-based zipper lubricant directly to the teeth and work the slider slowly. Never force a stuck zipper. Forcing it bends teeth and turns a $5 fix into a $50 repair.
- Broken pull tab. Thread a small carabiner or a loop of paracord through the slider hole. This works as a permanent field fix.
Sleeping pad leak repair
- Inflate the pad fully and submerge it in a bathtub. Watch for bubbles to locate the leak.
- Dry the area completely before applying any patch.
- Clean the surface with rubbing alcohol to remove oils.
- Apply the patch from your repair kit and press firmly for 60 seconds. Note that old patch kits lose adhesiveness over time. Replace your kit every two seasons regardless of use.
Fabric tears and waterproofing
- Use self-adhesive fabric patches for clean tears on tents and jackets. Round the patch corners to prevent peeling.
- For waterproofing loss on a specific area, apply DWR spray directly to that section after cleaning.
- Seam failures on rain gear respond well to a thin bead of seam sealant applied to the inside of the seam.
Common DIY mistakes to avoid:
- Applying patches to damp fabric. The adhesive will not bond.
- Using standard super glue on flexible gear. It cracks under movement.
- Skipping the cleaning step before any repair. Dirt prevents adhesion.
Pro Tip: Carry a small field repair kit on every trip: two fabric patches, a zipper pull, duct tape, and a tube of seam sealant. That kit handles 90% of trail emergencies.
When a repair requires specialized equipment or structural stitching, professional gear repair is the right call. Attempting complex repairs without the right tools often causes more damage than the original problem.
Key Takeaways
Consistent, frequency-based gear maintenance is the single most effective way to extend equipment lifespan and avoid costly replacements in the field.
| Point | Details |
|---|---|
| Follow a maintenance schedule | Use daily, weekly, monthly, and seasonal cycles to catch problems early. |
| Refresh DWR every 20–30 uses | Wash first to remove body oils, then apply heat to reactivate the coating. |
| Inspect seams and zippers proactively | Seam and zipper condition determines gear lifespan more than fabric quality. |
| Keep a service log | Tracking repairs and cleanings helps you predict failures before they happen. |
| Act fast on small repairs | A patch applied today prevents a full replacement next season. |
Why I stopped waiting for gear to break before fixing it
The turning point for me was a tent zipper that failed at 11 PM in a rainstorm. I had noticed it skipping two trips earlier and told myself it could wait. It could not. That night cost me sleep, dry gear, and a $60 zipper replacement I could have avoided with five minutes and a wax stick.
Routine maintenance feels like extra work until you do the math. A quality tent costs $300 or more. A tube of seam sealant costs $10 and takes 20 minutes to apply. The math is not complicated. What surprises most campers is how little time a proper routine actually takes once it becomes a habit. The weekly check I run takes about 12 minutes. The monthly lubrication takes 20. The seasonal overhaul is the longest at around two hours, but I do it while watching a film.
The service log changed how I think about gear. I started keeping one after reading about usage histories for safety-critical equipment. Now I know exactly when each zipper was last lubricated, when each tent seam was last sealed, and which items are approaching the end of their useful life. That knowledge removes guesswork and builds real confidence before a trip. You stop wondering if your gear will hold. You know it will.
The ultracyclist safety checklist approach from endurance sports translates directly to camping gear. Structured pre-use inspections, not reactive repairs, are what keep athletes and campers safe. Treat your gear like a piece of safety equipment, because on a remote trail, it is.
— Billy
Gear that's ready when you are: Lifecampadventure
Maintaining your gear is only half the equation. The other half is starting with equipment built to last.

Lifecampadventure carries camping tents and gear selected for durability, repairability, and field performance. Every product in the catalog is chosen with longevity in mind, which means your maintenance routine actually pays off over multiple seasons. If you are building out your kit or replacing gear that has reached the end of its life, the best camping gear picks for 2025 page is a practical starting point. Quality gear and consistent care work together. One without the other is a compromise.
FAQ
What is step by step gear maintenance?
Step by step gear maintenance is a structured process of inspecting, cleaning, lubricating, repairing, and storing outdoor equipment on a regular schedule. Industry standards recommend daily, weekly, monthly, and seasonal maintenance cycles.
How often should I re-apply DWR to my rain gear?
DWR treatment needs refreshing every 20–30 uses or when water stops beading on the fabric surface. Wash the garment first to remove body oils, then apply heat to reactivate the coating.
Can I fix a broken zipper myself?
Most zipper problems are fixable at home. Running the slider backward over skipping teeth re-meshes them without tools, and a wax-based lubricant resolves most stuck zippers.
How do I find a leak in my sleeping pad?
Inflate the pad fully and submerge it in a bathtub. Bubbles mark the leak location. Dry the area completely, clean it with rubbing alcohol, and apply a patch from your repair kit.
Why should I keep a gear service log?
A service log tracks every repair, cleaning, and component replacement, which helps you predict failures before they happen and maintain safety-critical gear on a reliable schedule.
