TL;DR:
- Most hiking accidents are caused by poor planning, navigation errors, or falls, all preventable.
- Effective route planning involves multiple tools, flexible strategies, and adapting to changing conditions.
- Continuous re-evaluation, backup navigation tools, and proper gear are essential for safe hikes.
Most hiking accidents aren't caused by bad luck or extreme terrain. They happen because someone skipped a step in planning. Navigation errors, falls, and getting lost are the leading causes of trail incidents, and nearly all of them are preventable. The difference between a great hike and a dangerous one often comes down to what you did the night before you hit the trail. In this guide, we break down the real risks of unplanned routes, show you what smart planning actually looks like, and give you the tools to make every hike safer and more enjoyable.
Key Takeaways
| Point | Details |
|---|---|
| Most accidents are avoidable | Planning your trail route can prevent falls, getting lost, and other top hiking mishaps. |
| Checklists and maps matter | Equipping yourself with maps, GPS, and essentials dramatically boosts hiking safety. |
| Adapt your plans | Adjust your route for weather, season, and solo hikes to avoid preventable incidents. |
| Smart tools enhance planning | Modern navigation aids and preparation resources can make outdoor adventures smoother and safer. |
The real risks of unplanned trails
Most hikers think experience is their best protection. It helps, but it isn't enough. The data tells a different story. Falls cause 42% of hiking injuries and poor planning contributes to 22% of all trail incidents. That means a significant portion of rescues and injuries happen not because the terrain was impossible, but because someone didn't prepare for what they'd encounter.
Think about what an unplanned hike actually looks like. You start with a rough idea of the trail, maybe a screenshot of a map on your phone. Halfway through, the path splits. You pick a direction. The light starts to fade. What felt like a manageable detour turns into a two-hour scramble through unfamiliar terrain. This is how most incidents begin. Not with a dramatic fall, but with a small, avoidable mistake that compounds.
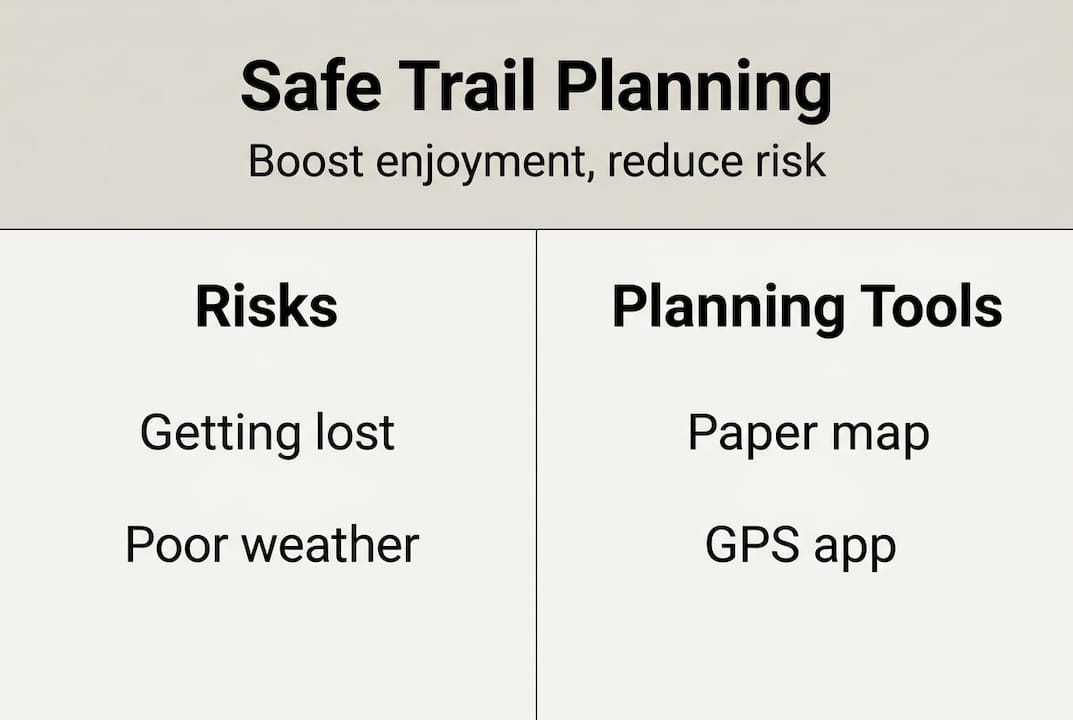
| Risk factor | Percentage of incidents |
|---|---|
| Falls | 42% |
| Poor planning | 22% |
| Getting lost | 18% |
| Weather-related issues | 11% |
| Other causes | 7% |
The three most common danger zones are falls, getting lost, and navigation errors. Each one connects directly to planning. Falls often happen when hikers don't know what surface type or elevation change is ahead. Getting lost happens when there's no clear route or backup map. Navigation errors spike when hikers rely on a single tool, like a phone app with no offline capability.
"The biggest risk on the trail isn't the mountain. It's the gap between what you expected and what you actually find."
When you're planning a safe hiking trip, you're essentially closing those gaps before they open. You're building a mental map of what's ahead, identifying where things could go wrong, and deciding in advance how you'll respond. That's not overcaution. That's smart hiking.
The role of GPS and hiking safety is also worth understanding here. GPS helps, but it's a tool, not a plan. Relying on it without a broader route strategy is one of the most common mistakes we see. Technology fails. Batteries die. Signal drops. Your plan shouldn't depend on any single point of failure.
What effective trail route planning looks like
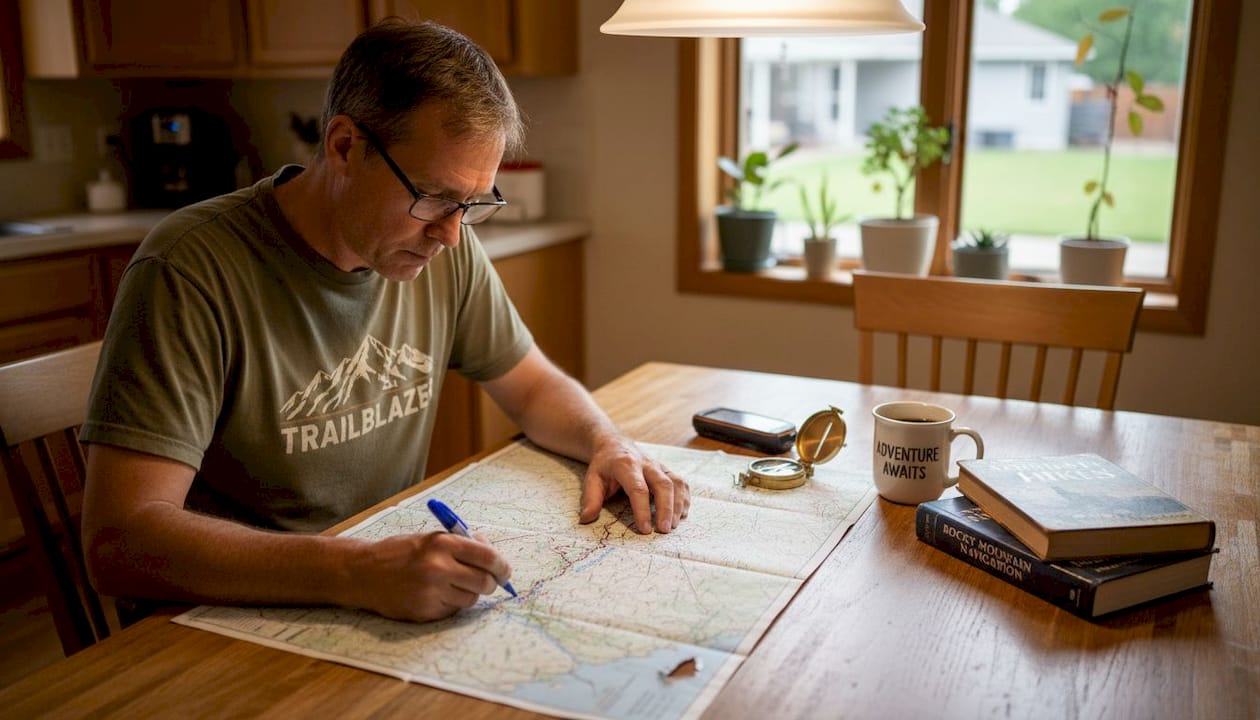
Once you understand the dangers, knowing how to actively plan is your next crucial step. Route planning isn't just drawing a line on a map. It's a layered process that accounts for terrain, time, weather, fitness level, and gear.
The USDA Trail Design Guide and Brown University both stress that route knowledge and carrying the right essentials are the foundation of trail safety. That's where the 10 Essentials framework comes in. Originally developed for mountaineering, it applies directly to route prep for any hike.
Here's how the 10 Essentials connect to planning:
- Navigation tools: Map, compass, and GPS device, not just one
- Sun protection: Know your sun exposure based on your route's elevation and open terrain
- Insulation: Plan for temperature drops, especially on longer or higher routes
- Illumination: Know your turnaround time and carry a headlamp regardless
- First aid supplies: Tailor your kit to the specific hazards of your route
- Fire starting: Critical for emergency warmth on remote trails
- Repair tools and knife: Route-specific gear maintenance needs
- Nutrition and hydration: Plan water sources along your specific route
- Emergency shelter: Know if your route has exposed sections
- Communication device: Especially important on trails with no cell service
For essential gear and skills, the 10 Essentials aren't just a packing list. They shape how you choose and adjust your route.
Mapped loops vs. point-to-point hikes each have real trade-offs:
| Trail type | Pros | Cons |
|---|---|---|
| Loop trail | No car shuttle needed, familiar exit | Harder to bail early if needed |
| Point-to-point | Flexible pacing, can stop anywhere | Requires two vehicles or a shuttle |
| Out-and-back | Simple navigation, easy turnaround | Can feel repetitive on longer trips |
For backcountry hiking essentials, point-to-point routes often require more detailed planning because there's no natural return path built in.
Pro Tip: Never rely on a single navigation source. Cross-reference your primary app with a printed topo map and a compass. If one fails, you have two backups. This habit alone prevents a large share of trail navigation errors.
Adapting plans for changing conditions and special cases
Even the best plans need tweaking for real-world challenges. Conditions on the trail change fast, and your plan needs to change with them.
Altitude illness affects 13% of hikers in high-elevation areas, and swollen rivers, snow-covered trails, and sudden weather shifts create entirely different risk profiles than what you'd see on a dry summer day. Planning for these edge cases isn't pessimistic. It's what separates prepared hikers from rescued ones.Here's a step-by-step process for updating your plan when conditions shift:
- Check conditions 24 hours before departure. Look at trail-specific reports, not just general weather forecasts. Apps like AllTrails and Gaia GPS show recent user updates.
- Identify your bailout points. Before you leave, mark two or three spots on your route where you could exit safely if conditions worsen.
- Adjust for snow or rain. Wet trails change your pace significantly. Add 30 to 50 percent more time to your estimated finish if you're hiking in rain or post-snowfall.
- Plan around river crossings. Spring snowmelt can turn a calm stream into an uncrossable torrent. Always have an alternate route that avoids water crossings if you're hiking in early season.
- Account for altitude. If your route climbs above 8,000 feet, build in acclimatization time and watch for symptoms like headache, nausea, or dizziness.
- Solo hikers: share your plan. Always leave a detailed itinerary with someone who isn't on the trail. Include your route, expected return time, and what to do if you don't check in.
When you pack for any trail condition, you're not just bringing the right gear. You're building flexibility into your plan. And if you're heading somewhere truly remote, planning for off-grid trips requires even more detailed contingency thinking.
Pro Tip: Set a hard turnaround time before you leave, and stick to it regardless of how close the summit feels. Most accidents happen when hikers push past their planned limits because the goal is in sight.
Your planning toolkit: maps, GPS, and essentials
Equipped with the logic for planning, here are the best tools to support you. The right toolkit doesn't have to be expensive or complicated. It just has to be reliable.
Getting lost without a map or GPS accounts for 25% of hiking rescues. That's a striking number, and it's almost entirely avoidable. The key is understanding what each tool does well and where it falls short.
Navigation tools every hiker should carry:
- Topographic paper map: Doesn't need batteries, doesn't lose signal, and shows elevation changes that road maps miss. Learn to read contour lines before your trip.
- Compass: Works alongside your topo map for true directional accuracy. A basic orienteering compass costs under $20 and lasts a lifetime.
- GPS device: Dedicated hiking GPS units like Garmin's inReach series offer satellite communication and offline maps. More reliable than a phone in remote areas.
- Navigation apps: Gaia GPS, AllTrails, and CalTopo all offer downloadable offline maps. Download your route before you leave home, not at the trailhead.
- Printed route summary: Write down key waypoints, distances, and landmarks. If your phone dies, this simple sheet keeps you on track.
For using GPS for navigation, the best practice is to treat it as a backup, not a primary tool. Your paper map and compass are your foundation.
Before every hike, run through your beginner's hiking checklist the night before. Cross-check your planned route against current trail conditions, verify your GPS is charged and loaded with offline maps, and confirm your emergency contacts have your itinerary. This 15-minute habit catches most planning gaps before they become trail problems.
25% of hiking rescues involve hikers who had no map or GPS. Carrying both costs almost nothing compared to the risk of going without.
A smarter approach: What most hikers still miss
Here's something we've noticed after years of helping hikers prepare for the trail. Most people plan once and then stop. They build a route, pack their bag, and treat the plan as finished. That's the gap where things go wrong.
The best hikers we know treat planning as a continuous process, not a checklist task. They check conditions the morning of the hike. They reassess at every major waypoint. They're willing to turn around without feeling like they've failed. That mindset is harder to teach than any navigation skill, but it matters more.
Static planning works fine on easy, well-marked trails. But the moment conditions shift, a rigid plan becomes a liability. Trip planning strategies that build in flexibility, like pre-identified bailout points and time buffers, give you room to adapt without losing your safety margin.
The uncomfortable truth is that most near-misses happen to experienced hikers who got comfortable. They've done the trail before. They skip the weather check. They don't tell anyone where they're going. Experience builds confidence, but confidence without current information is just overconfidence. Treat every trip as if it's your first time on that route. Your planning process will be sharper for it.
Upgrade your hikes with the best tools and expert tips
Ready to level up your own planning process? The right resources make route planning faster, more accurate, and a lot less stressful before every trip.
At Life Camp Adventure, we've built a library of practical guides and gear recommendations specifically for hikers who want to prepare smarter. Start with our outdoor survival checklist to make sure your kit matches your route demands. If you're evaluating new gear or upgrading what you already carry, our guide on why choose camping equipment helps you make confident, informed decisions. From navigation tools to emergency essentials, we're here to help you hit every trail with a plan that actually holds up.
Frequently asked questions
What is the most common mistake hikers make when planning routes?
The most common mistake is ignoring navigation backup options and failing to prepare alternate routes. Falls and navigation errors are the leading causes of hiking injuries and rescues, and both are directly linked to poor pre-trip planning.
How do weather and seasons impact trail plans?
Seasonal changes can alter terrain, river safety, and trail conditions dramatically. Planning for weather and building in backup options is one of the most effective ways to avoid seasonal hazards.
Should solo hikers plan routes differently?
Yes. Solo hikers need live location sharing, more conservative turnaround times, and carefully selected routes with clear bailout options. Solo hiking requires more detailed contingency planning than group hiking.
Is GPS enough for safe navigation on a trail?
No. GPS is a powerful tool but should always be paired with a paper map and basic compass skills. Getting lost accounts for 25% of hiking rescues, and many of those hikers had GPS but no backup.
What essential items help with safe trail route planning?
Maps, a compass, a GPS device, weather checks, emergency contacts, and the 10 Essentials are the core of any solid route plan. USDA and Brown University both emphasize that route knowledge and essential gear are non-negotiable for trail safety.
Recommended
- Hiking Trip Planning Guide for Safe Memorable Adventures
- How GPS enhances hiking safety: 6 proven techniques
- Day hike preparation checklist: pack smarter for every trail
- Master the role of maps in outdoors for safer adventures
- E-Bike-Reichweite verstehen: Tipps für sichere Planung
- Tuscany Trail 2023 | BENTHO
