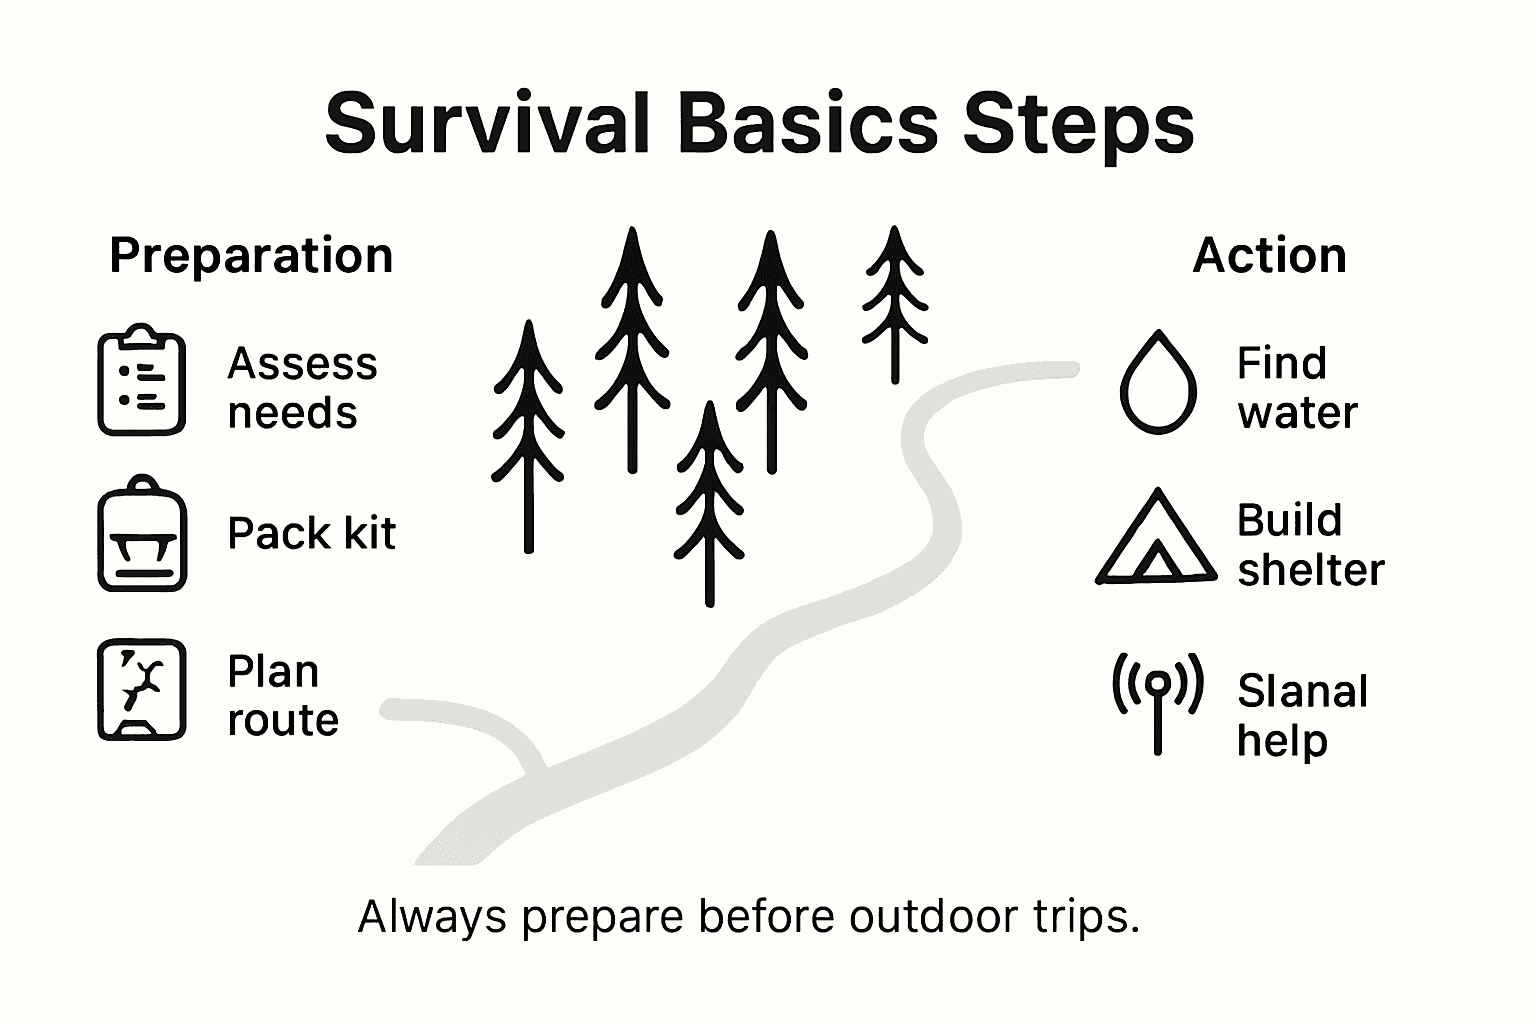
Outdoor Survival Basics: Essential Steps for Beginners
Most American adults admit they feel unprepared for even a basic outdoor emergency. Whether you are heading out for a weekend camping trip or just want to feel more confident in the wild, survival know-how makes a difference. This guide breaks down easy steps to help urban Americans assess their needs and pack smart, so every adventure feels safer and more enjoyable from the start.
Quick Summary
| Key Point | Explanation |
|---|---|
| 1. Assess Individual Needs for Survival Kit | Tailor your survival kit based on personal health issues, dietary needs, and potential risks to ensure maximum safety and effectiveness. |
| 2. Choose Campsite Wisely for Safety | Select a flat area away from hazards, ensuring natural wind breaks and managing water runoff to provide a secure shelter. |
| 3. Purify Water to Avoid Illness | Always use reliable purification methods like boiling or filters to ensure safe drinking water and prevent waterborne diseases. |
| 4. Master Fire Building Techniques | Build a fire safely for warmth and cooking, ensuring the site is clear of hazards and always have multiple ignition methods on hand. |
| 5. Signal for Help Effectively | Use tools like mirrors and whistles to make your location known, while assessing your safety and conserving energy in emergencies. |
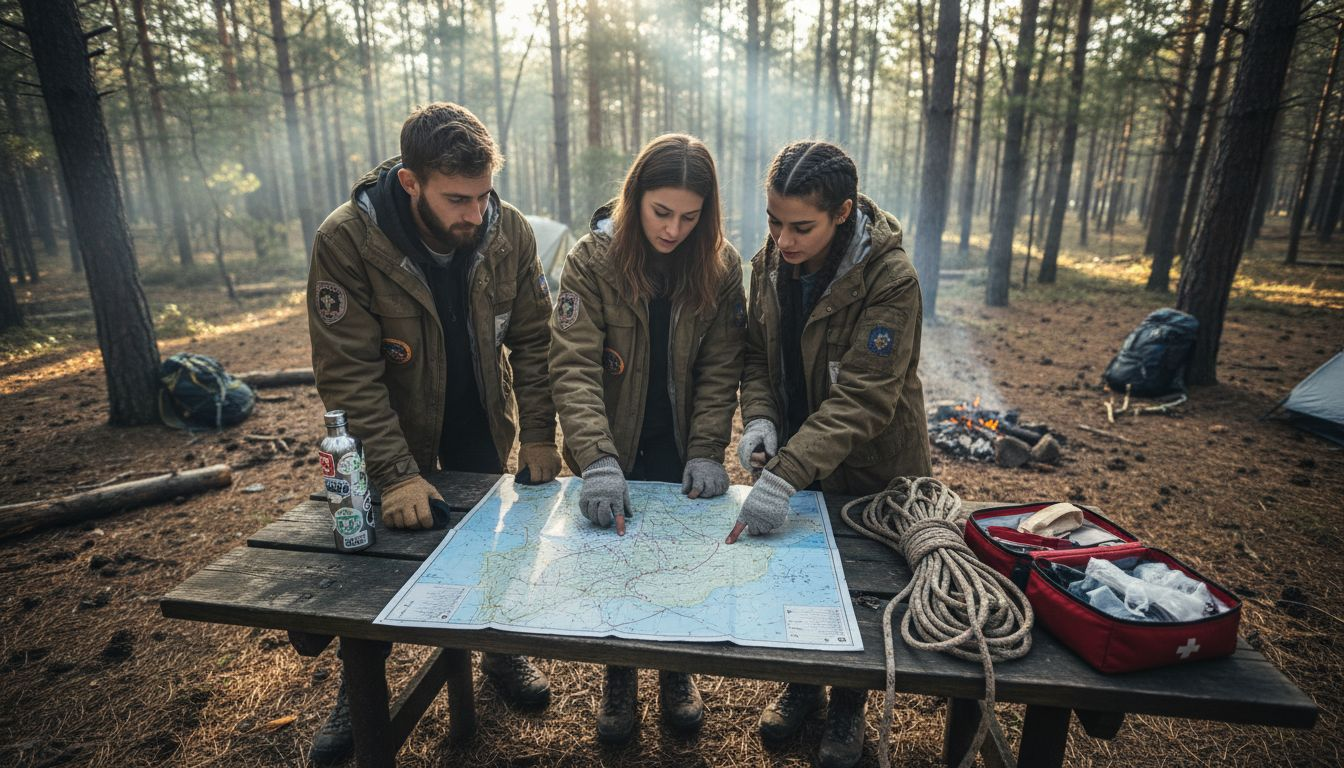
Step 1: Assess Personal Needs and Pack Survival Essentials
Successful outdoor survival starts with smart preparation and understanding your unique needs. Your survival kit isn't just a collection of random items it's a personalized emergency resource tailored to your specific situation and potential challenges.
Begin by conducting a thorough personal assessment of potential risks and requirements. What medical conditions do you have? What are your physical limitations? Do you have any allergies or special dietary needs? Answering these questions helps you customize your survival strategy. The Mayo Clinic emergency essentials guide recommends creating a kit that addresses individual health and personal circumstances.
When packing survival essentials, follow a strategic approach that covers critical needs categories: water, food, shelter, first aid, and communication. Pack enough water for at least three days one gallon per person per day. Choose compact non perishable foods with high nutritional value like energy bars, dried meats, and nuts. Include a manual can opener lightweight waterproof matches and a reliable flashlight with extra batteries. A compact first aid kit with personal medications is absolutely crucial.
Consider the environment and potential scenarios you might encounter. A wilderness survival kit for mountain terrain will differ significantly from an emergency kit for desert or coastal regions. Always pack items that serve multiple purposes lightweight multipurpose tools are invaluable. Waterproof matches can start fires and signal for help lightweight tarps can provide shelter and collect water.
Here's a helpful summary of key differences in survival kit priorities based on the environment:
| Terrain Type | Key Considerations | Recommended Extra Items |
|---|---|---|
| Mountain | Cold, wind, altitude | Insulation, hand warmers |
| Desert | Heat, dehydration | Electrolyte packets, sunshade |
| Coastal/Beach | Moisture, salt exposure | Corrosion-proof gear, rainfly |
| Forest | Bugs, dense foliage | Bug repellent, machete |
Pro tip: Test and rotate your survival kit contents every six months. Check expiration dates on food and medications replace batteries and ensure all equipment remains functional and ready for immediate use.
Step 2: Select a Safe Campsite and Set Up Shelter
Choosing the right campsite and setting up a secure shelter are critical skills that can make or break your outdoor adventure. The goal is to create a safe, comfortable base that protects you from the elements and potential hazards.
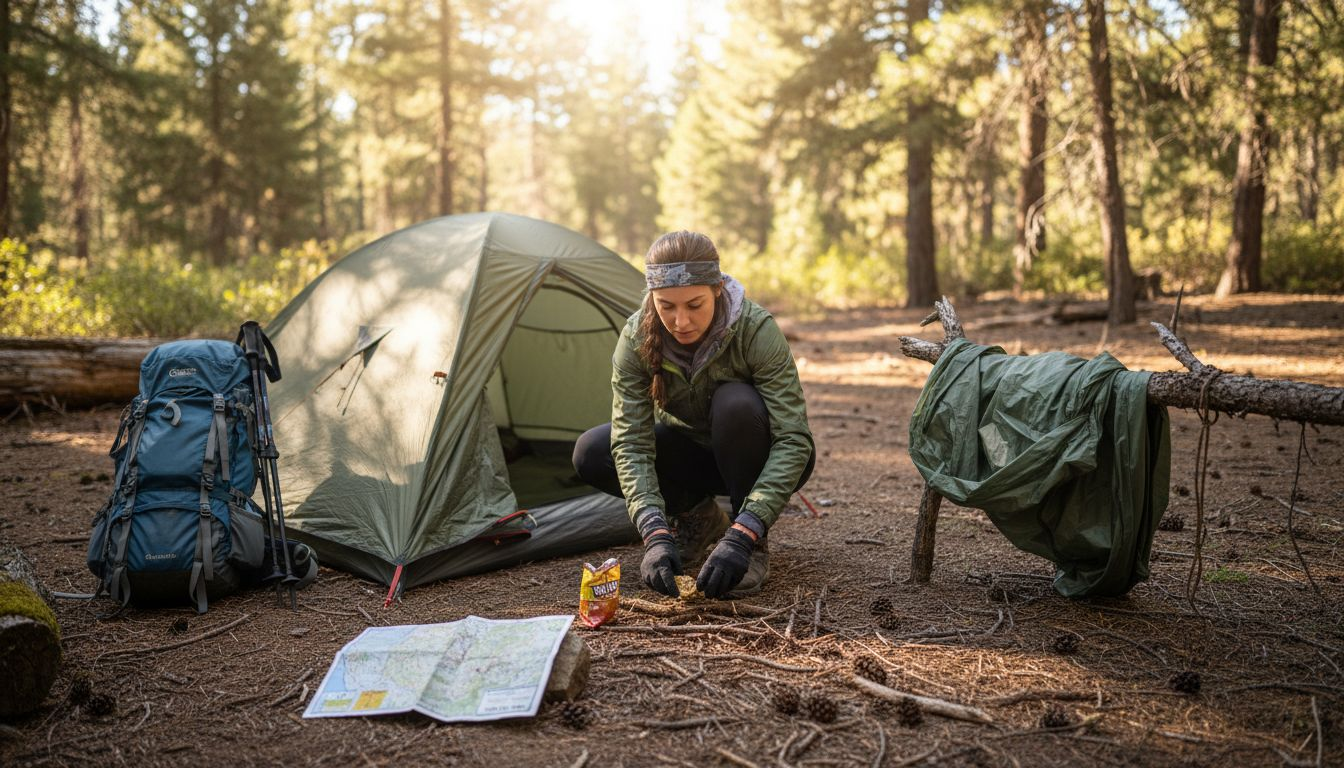
Start by carefully evaluating potential campsite locations. Scouting America recommends selecting a flat area free of debris and away from low hanging branches that could potentially fall during wind or storms. Look for natural wind breaks like large rock formations or tree lines that can provide additional protection. Assess the ground for signs of potential water runoff or flooding risks especially if rain is in the forecast. Avoid setting up directly in dry creek beds or low lying areas where water might accumulate.
When setting up your shelter, prioritize stability and protection. The University of Maine Outdoor Leadership Curriculum suggests using paracord and tarps effectively to create versatile shelter configurations. If using a tent ensure you clear the ground of sharp objects rocks and sticks that could damage your tent floor. Stake down your shelter securely using robust tent stakes and consider using additional guy lines for extra stability in windy conditions. Position your tent entrance away from prevailing winds and create a slight slope beneath the tent to prevent water pooling.
Remember that your campsite is more than just a sleeping area. Establish separate zones for cooking eating and waste management to maintain a clean and organized camp. Keep cooking areas at least 15 feet from your sleeping area to minimize fire risks and reduce potential wildlife interactions.
Pro tip: Always carry a lightweight tarp in addition to your tent. A tarp provides emergency shelter backup creates additional rain protection and can be used for multiple survival purposes from ground cover to water collection.
Step 3: Locate and Purify a Reliable Water Source
Finding safe drinking water is a critical survival skill that can mean the difference between life and death in outdoor environments. Understanding how to identify, collect, and purify water will keep you hydrated and healthy during your wilderness adventure.
Deschutes County Search and Rescue emphasizes the critical importance of carrying water purification methods to ensure your survival. When searching for water sources prioritize moving water like streams and rivers over stagnant pools. Look for clear running water without visible debris or discoloration. Avoid water near animal tracks or potential contamination sources like industrial areas or agricultural lands. Ideally select water sources upstream from any potential pollution points and away from animal congregation areas.Purification is non negotiable in wilderness survival. The University of Wisconsin Extension recommends carrying multiple water treatment options such as iodine tablets water filters and boiling equipment. Boiling remains the most reliable purification method killing nearly all harmful bacteria and parasites. If you have a portable water filter use it according to manufacturer instructions. When using chemical treatments like iodine tablets follow precise dosage recommendations and allow sufficient contact time for effective purification.
During water collection use containers that can be sealed tightly and avoid direct contact with potentially contaminated surfaces. Collect water from the clearest part of the stream or river typically near the center where water moves fastest. If possible create a makeshift filter using available materials like cloth or sand to remove larger particulates before your primary purification method.
Use this quick reference to compare three major water purification methods:
| Method | Effectiveness | Best Use Scenario |
|---|---|---|
| Boiling | Kills most pathogens | Campsites with cook gear & fire |
| Water filter | Removes bacteria/particles | On the move or for clear streams |
| Iodine tablets | Kills bacteria/viruses | Lightweight backup, limited taste |
Pro tip: Always carry multiple water purification methods as backup. A combination of water filter tablets and the ability to boil water provides the most comprehensive protection against waterborne illnesses during outdoor adventures.
Step 4: Build a Fire for Warmth and Cooking
Mastering fire building is a fundamental survival skill that provides warmth protection and a means to prepare food in wilderness environments. Your ability to create and maintain a fire can be the difference between comfort and potential hypothermia.
Scouting America provides critical guidelines for responsible and safe fire building, emphasizing the importance of using only dead wood found on the ground. Select a clear area away from overhanging branches and clear a space down to mineral soil. Create a small ring using rocks to contain your fire and prevent potential spread. Gather three types of materials dry tinder like dead grass or bark small kindling sticks and larger fuel wood. Arrange your materials in a strategic manner starting with the smallest most flammable materials at the base and progressively adding larger pieces.
Start your fire using multiple potential methods a lighter waterproof matches or a ferrocerium rod. When using a ferrocerium rod scrape it with a sharp edge like a knife blade to create sparks directed onto your tinder. Blow gently to provide oxygen and help the flame grow. Once your initial flame takes hold gradually add progressively larger sticks creating a sustainable fire. Position your fire to provide maximum warmth while maintaining a safe distance from your shelter and any potentially flammable materials.
Cooking over a wilderness fire requires careful technique. Create a separate cooking area with a stable surface for your cookware. Use green branches or a portable grill grate to support pots and pans. Always keep water nearby for emergency extinguishing and maintain constant supervision of your fire. When finished cooking thoroughly extinguish the fire by spreading out the embers and dousing them completely with water. Stir the ashes and add more water until they are cool to the touch.
Pro tip: Always carry multiple fire starting methods including waterproof matches a lighter and a ferrocerium rod. Store these in separate waterproof containers to ensure you always have a backup fire starting option in emergency situations.
Step 5: Signal for Help and Verify Safety
In a survival situation understanding how to effectively signal for help and assess your safety can mean the difference between rescue and prolonged isolation. Your primary goal is to make yourself visible and communicate your location to potential rescuers while simultaneously ensuring your immediate survival.
Deschutes County Search and Rescue recommends carrying a comprehensive signal kit that includes critical tools like a signal mirror whistle and trail marking tape. Use your signal mirror during daylight by angling it to reflect sunlight towards potential rescue aircraft or distant search teams. With a whistle alternate between three sharp blasts a universal distress signal that carries much further than shouting and requires less energy expenditure. If possible create large ground signals using contrasting materials rocks branches or clothing that spell out SOS or form an international rescue symbol visible from above.
Verifying your safety involves a systematic approach that combines navigation assessment and risk management. The University of Wisconsin Extension emphasizes the importance of carrying a map and compass to help you understand your precise location and potential rescue routes. Survey your immediate environment for potential hazards like unstable terrain extreme weather conditions or wildlife threats. Identify natural shelters potential water sources and areas with clear visibility that could aid rescue efforts. If you have a working communication device use it sparingly to conserve battery but attempt to send your GPS coordinates or a brief distress message.
Remain calm and conserve your energy while signaling. Create signals during peak daylight hours and choose locations with maximum visibility. If you are in a group assign specific signaling responsibilities to maintain consistent communication efforts. Stay near your original location unless immediate danger exists as this increases the likelihood of rescuers finding you.
Pro tip: Practice using your signaling devices before your outdoor adventure. Familiarize yourself with mirror reflection techniques whistle communication patterns and ground signal creation to ensure you can execute these skills effectively under stress.
Gear Up for Outdoor Success with Life Camp Adventure
Outdoor survival requires not just knowledge but dependable gear designed to meet challenges like water purification, fire building, and shelter setup. The article highlights the need for lightweight multipurpose tools, reliable fire starters, and comprehensive first aid kits. These pain points show how critical it is to have durable equipment that supports your safety and comfort in any environment.
Don’t leave your adventure to chance. At Life Camp Adventure, we provide high-quality survival essentials and camping gear built for real outdoor conditions. Whether you need compact water filters, sturdy tarps, or trusted fire-starting tools, our products help you prepare confidently and act swiftly.
Start your journey prepared today and explore with peace of mind. Visit Life Camp Adventure now to discover gear that turns survival basics into lasting adventure skills. Your next outdoor success begins with the right equipment at your side.
Frequently Asked Questions
What should I include in my survival kit for outdoor adventures?
To create a comprehensive survival kit, include essentials like water, food, first aid supplies, a reliable flashlight, and multipurpose tools. Aim to pack enough water for at least three days and choose non-perishable food with high nutritional value, like energy bars and nuts.
How do I select the best campsite when camping outdoors?
When choosing a campsite, look for a flat area that is free of debris and away from low-hanging branches. Also, avoid locations prone to flooding, and assess the area for natural windbreaks and potential hazards.
What are the steps to purify water when I find a source?
To purify water from a natural source, first look for clear moving water, then collect it using a clean container. Use boiling as the primary method, as it effectively kills harmful pathogens; ensure you boil the water for at least one minute before consumption.
How can I effectively build a fire for warmth and cooking?
To build a fire, select a clear area away from overhanging branches and create a small ring with rocks. Gather dry tinder, kindling, and larger fuel wood, arranging them from smallest to largest; ignite using matches, a lighter, or a ferrocerium rod.
What signals should I use to indicate my location for rescue?
Use a signal mirror, whistle, or create large ground signals such as SOS to indicate your location. For whistle signals, alternate between three sharp blasts, as this is recognized as a universal distress signal.
How can I verify my safety while in a wilderness survival situation?
To verify your safety, assess your immediate surroundings for hazards and your location using a map and compass. Stay calm, conserve energy, and signal for help during peak visibility times, ensuring you remain in a recognizable location.