TL;DR:
- Navigation skills are learnable by practicing structured methods with essential tools like maps and compasses. Proper technique, including map orientation and triangulation, enables hikers to navigate confidently and accurately. Regular drills and understanding of declination improve outdoor safety and reduce dependence on technology.
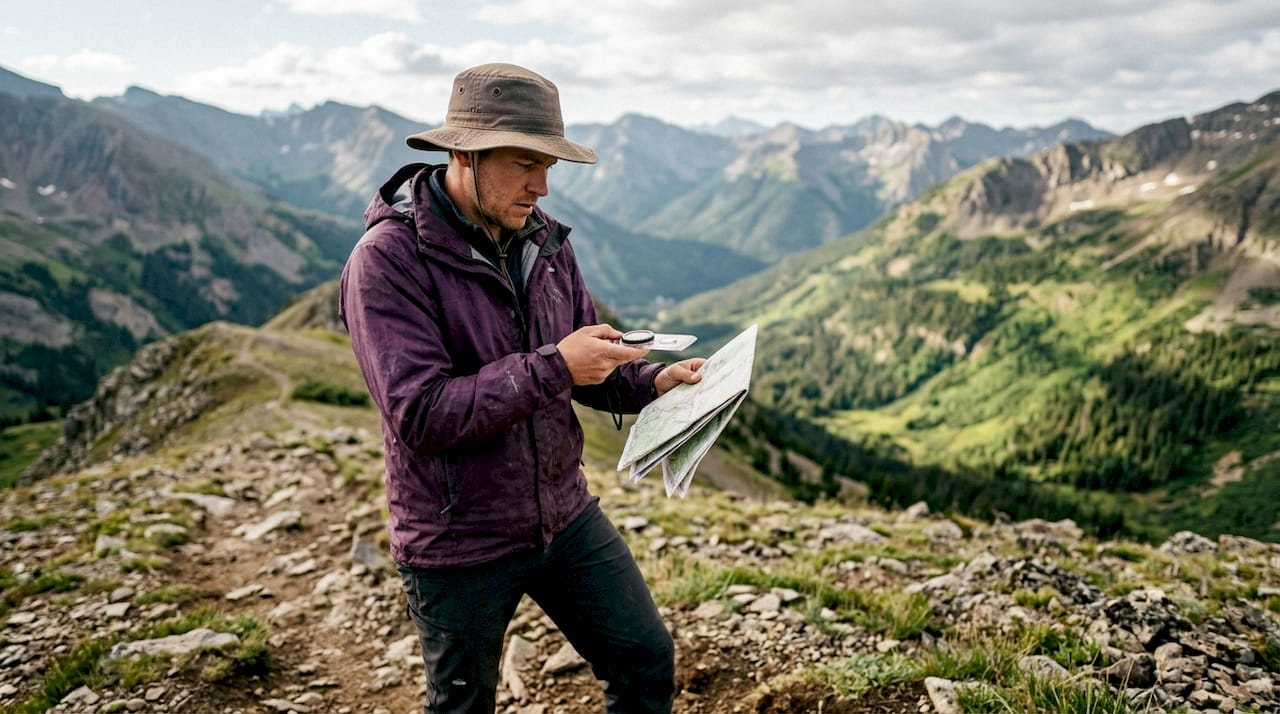
Navigation skills, defined as the ability to determine your position and direction using maps, compasses, and terrain observation, are learnable by any hiker or camper willing to practice a structured method. The standard industry term for this discipline is land navigation, and it covers everything from reading a topographic map to triangulating your position from visible landmarks. Functional proficiency in map orientation, bearing, and triangulation can be achieved in a single afternoon session. This guide walks you through navigation skills step by step, from gear selection to field drills, so you can move through the backcountry with real confidence.
What tools and knowledge do you need before you start?
Every effective navigation techniques guide starts with the right gear. Three tools form the foundation: a topographic map of your area, a baseplate compass, and a GPS device used as a backup only. Relying on GPS alone is a common beginner mistake. GPS and paper maps complement rather than replace each other, functioning as redundant safety systems when one fails.
Before you touch a compass, understand your map. Topographic maps use contour lines to show elevation change. A tight cluster of lines means steep terrain. A wide gap means gentle slope. The map scale tells you how much real distance each inch represents. A 1:24,000 scale map means one inch equals 24,000 inches, or 2,000 feet, on the ground.
Magnetic declination is the single most misunderstood concept for beginners. It is the difference between true north (the geographic North Pole) and magnetic north (where your compass needle actually points). Declination varies from 0° to more than 20° depending on your region, and uncorrected errors can put you hundreds of yards off course over just one or two miles. Use the NOAA Magnetic Declination Calculator to find the exact value for your location before any trip.
Key tools at a glance:
| Tool | Purpose | Notes |
|---|---|---|
| Topographic map | Shows terrain, elevation, landmarks | Use 1:24,000 scale for hiking |
| Baseplate compass | Measures and follows bearings | Adjustable declination preferred |
| GPS device | Backup position confirmation | Never the primary tool |
| NOAA calculator | Finds local magnetic declination | Free, updated annually |
Pro Tip: Always write your local declination value directly on your map in pencil before you leave home. You will not remember it in the field.
How do you orient your map and take a bearing step by step?
Map orientation is the first physical skill in any beginner navigation skills tutorial. A correctly oriented map means north on the map points to north in the real world. When that alignment holds, every feature on the map matches what you see around you.
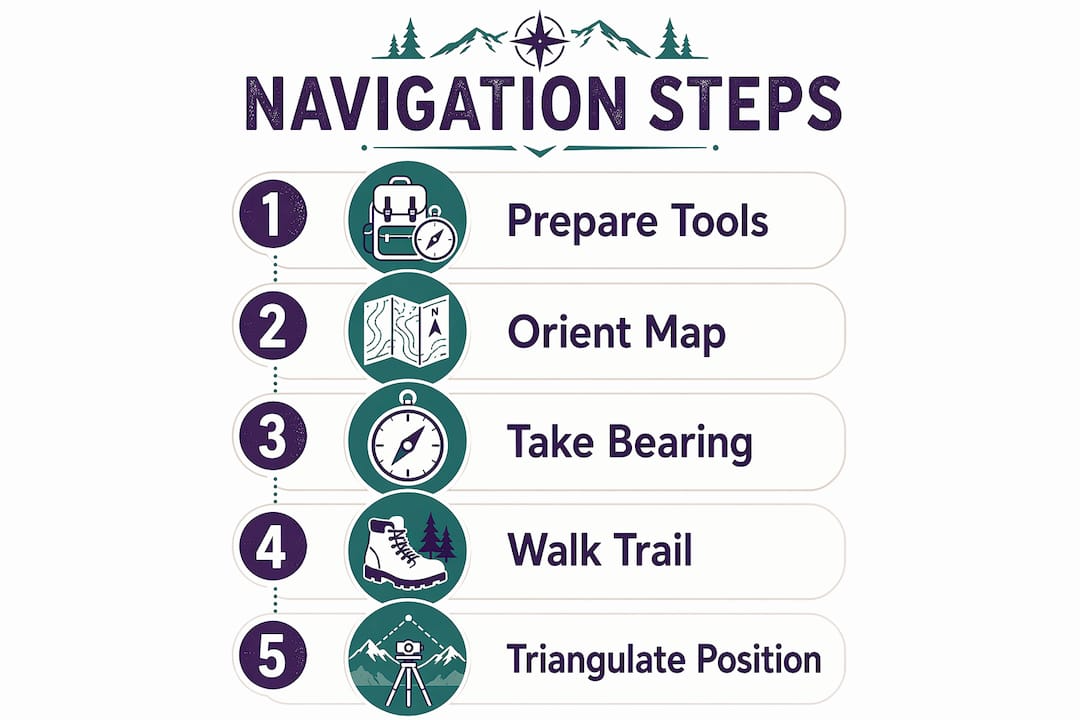
Follow these steps in order:
- Lay the map flat on a stable surface. A rock, a pack, or the ground all work. Never hold the map in the air while setting a bearing. Setting a compass on a flat surface reduces directional errors compared to holding it while moving.
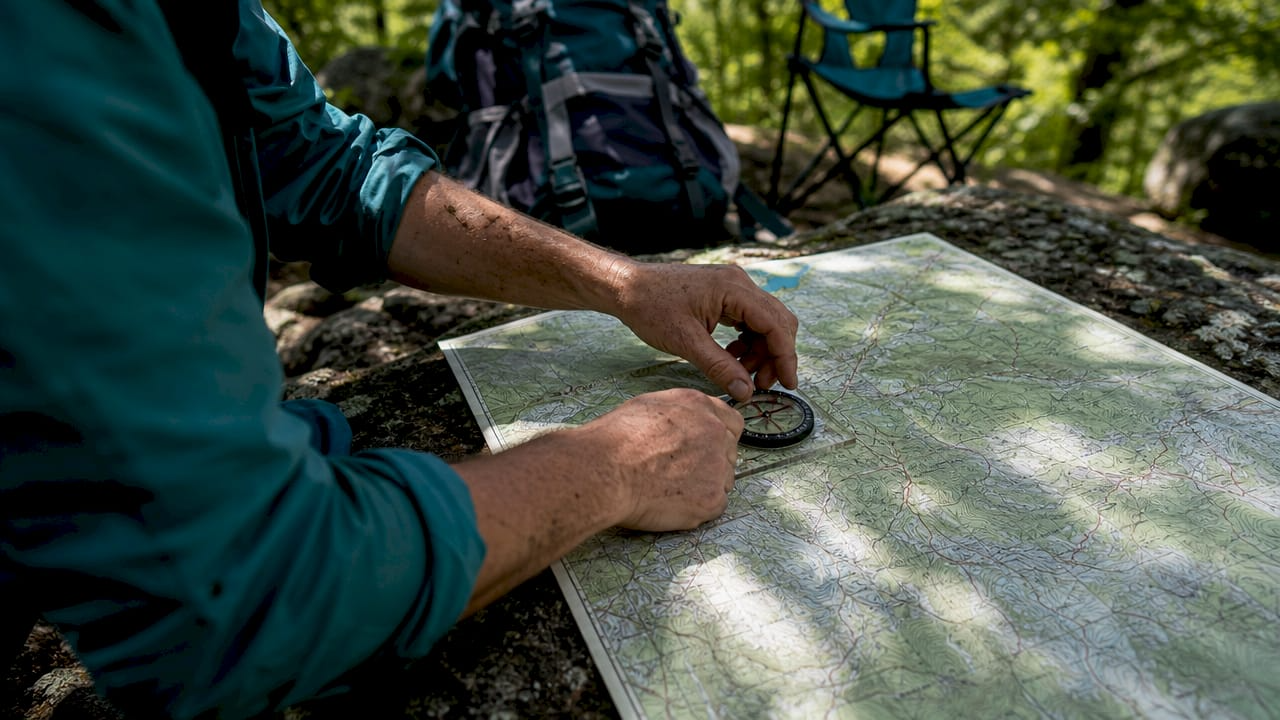
- Place your compass on the map. Align the long edge of the baseplate along the north-south grid lines printed on the map.
- Rotate the compass housing until the orienting lines inside the housing align with the map's north-south lines. The north marker on the housing now points to map north.
- Adjust for declination. If your area has a 12° east declination, rotate the compass housing 12° to account for it. Your compass manual will show the exact adjustment direction for east versus west declination.
- Orient the map by rotating the entire map and compass together until the compass needle aligns with the orienting arrow inside the housing. The map now reflects true ground orientation.
- Set your bearing to your destination. Place the compass on the map with one edge connecting your current location to your target. Rotate the housing until the orienting lines align with north on the map. Read the bearing at the index line.
- Follow the bearing using landmark handrails. Pick a visible object directly in your line of travel, like a tree or rock, and walk to it. Then pick the next object. This technique prevents the common error of drifting off bearing while watching your feet.
A 3-degree compass error produces a positional mistake of 260 to 440 feet per mile. That is why each step above matters. Sloppy bearing work compounds fast over distance.
Pro Tip: After setting your bearing, hold the compass level at your waist and turn your whole body until the needle aligns. Never move the housing again until you reach your destination.
How do you triangulate your position using bearings?
Triangulation is the technique that tells you exactly where you are on a map, not just which direction to go. It works by taking compass bearings to two or three identifiable landmarks and plotting those bearings back onto the map. The point where the lines cross is your location.
Use this sequence:
- Identify two or three landmarks you can see and find on the map. Mountain peaks, trail junctions, and lake edges all work well. The landmarks should be spread at least 60° apart for accuracy.
- Take a compass bearing to the first landmark. Stand still, aim the compass at the landmark, and rotate the housing until the needle aligns. Read the bearing.
- Calculate the back-bearing. Add 180° to your bearing if it is under 180°. Subtract 180° if it is over 180°. A bearing of 45° becomes a back-bearing of 225°.
- Draw the back-bearing line on the map. Place the compass edge on the landmark's map symbol and draw a line in the direction of the back-bearing. You are somewhere along this line.
- Repeat for the second and third landmarks. Draw each back-bearing line from its respective map symbol.
- Find the intersection. Where the lines cross is your position. Three lines rarely meet at a single point. The small triangle they form is called the triangle of error. Your true position is somewhere inside it.
| Step | Action | Common error |
|---|---|---|
| Identify landmarks | Choose 3 spread at least 60° apart | Picking landmarks too close together |
| Take bearing | Aim at landmark, read housing | Moving the housing after reading |
| Calculate back-bearing | Add or subtract 180° | Forgetting to reverse the bearing |
| Plot on map | Draw line from landmark symbol | Drawing from your estimated position |
| Find intersection | Mark the triangle of error | Assuming the triangle center is exact |
Repeat the full process after moving 100 meters to confirm your position is tracking correctly. Triangulation is the most reliable way to catch a navigation error before it becomes a serious problem.
What drills actually build navigation skills step by step?
Reading about navigation and doing it are two different things. Targeted practice drills convert theory into muscle memory. Practice drills including bearing follow, triangulation, and GPS cross-checks build lasting confidence and competence.
Core drills to practice regularly:
- Bearing follow drill. Set a bearing to a waypoint 200–400 meters away. Walk to it using only your compass and landmark handrails. A 30-minute session over a 200–400 meter course is the standard recommended by experienced navigators. Have a partner check your arrival point against the GPS to measure accuracy.
- Pace counting. Count your steps over a known 100-meter distance to establish your personal pace count. Use this number to estimate distance traveled. Environmental factors like sidehills, thick brush, and uneven terrain alter your stride length significantly. Recalibrate your pace count on different terrain types.
- GPS cross-check. Navigate a one-hour route using only map and compass. At the end, compare your plotted position to your GPS reading. The gap between the two shows you exactly where your technique needs work.
- Continuous location checks. Every 10 minutes during a hike, stop and identify your position on the map without looking at GPS. This trains the situational awareness loop of plan, move, check, and adjust.
- Backtrack practice. From a point 400 meters off your planned route, navigate back to your last known position using only your map and compass. This drill builds the calm decision-making you need when things go wrong.
"The most important beginner navigation skill is maintaining active situational awareness rather than overreliance on tools." — SurvivalStoic
Pro Tip: Combine your wilderness navigation practice with familiar local trails first. Known terrain lets you verify your results and build confidence before heading into unfamiliar backcountry.
Key Takeaways
Mastering land navigation requires combining the right tools, correct technique, and consistent practice drills to build reliable outdoor confidence.
| Point | Details |
|---|---|
| Start with the right tools | A topographic map, baseplate compass, and GPS backup are the minimum required kit. |
| Correct for declination first | Use the NOAA calculator to find local declination and adjust before any field session. |
| Follow bearings with landmarks | Walk to visible objects along your bearing line instead of watching the compass needle. |
| Triangulate to confirm position | Take back-bearings to two or three landmarks and find their intersection on the map. |
| Practice drills build real skill | A 30-minute bearing follow drill over 200–400 meters is the fastest way to improve accuracy. |
Why I think most hikers practice navigation the wrong way
Most hikers treat navigation as a problem to solve only when they are lost. That is the wrong frame entirely. Real navigation confidence comes from treating it as a continuous awareness loop, not a rescue tool you grab in a panic.
The biggest psychological trap I see is confirmation bias. A hiker sets a bearing, starts walking, and then interprets every terrain feature as confirmation that they are on track. When compass bearings and ground reality conflict, the right move is always to stop, re-verify your position from scratch, and trust the math over your gut. Most people do the opposite. They trust the gut and keep walking.
Technology makes this worse, not better. GPS gives you a dot on a screen, and that dot feels authoritative. But a GPS cannot tell you what the terrain between you and your destination actually looks like. A topographic map can. The hikers I have seen navigate most confidently are the ones who check GPS against their map regularly, not the ones who stare at a screen.
The fix is simple: practice when the stakes are low. Run bearing drills on a familiar trail. Triangulate from a summit you have visited before. Build the skill loop before you need it. Navigation is not a talent. It is a practiced habit, and the habit is available to anyone willing to put in 30 minutes on a weekend.
— Billy
Gear that supports every navigation session
Good technique needs reliable gear behind it. Lifecampadventure equips outdoor adventurers with everything needed to support safe, confident exploration, from durable tents to essential camping gear built for real trail conditions.
Whether you are planning a weekend camping trip or a multi-day backcountry route, the right kit makes every navigation session safer and more productive. Lifecampadventure carries top-rated camping gear including survival kits, cookware, and shelter options selected for durability and ease of use in the field. Browse the full range and gear up before your next adventure.
FAQ
How long does it take to learn basic navigation skills?
Basic wilderness navigation including map orientation, bearing, and triangulation can be learned in a single afternoon. Regular practice drills over several outings build the speed and accuracy needed for real backcountry use.
What is magnetic declination and why does it matter?
Magnetic declination is the angle between true north and magnetic north at your location. Uncorrected declination can cause positional errors of hundreds of yards over one to two miles, so always adjust your compass before navigating.
Should I use GPS or a compass for hiking?
Use both. GPS and a compass serve as redundant systems. GPS confirms your position quickly, while a compass and map work without batteries and give you terrain context that a screen cannot.
What is the best drill for improving compass accuracy?
The bearing follow drill is the most effective starting point. Walk a 200–400 meter course using only your compass and landmark handrails, then check your arrival point against GPS to measure how far off you landed.
How do I find my position if I think I am lost?
Stop moving immediately and use triangulation. Take compass bearings to two or three identifiable landmarks, calculate back-bearings, and plot the lines on your map. The intersection of those lines shows your position.
