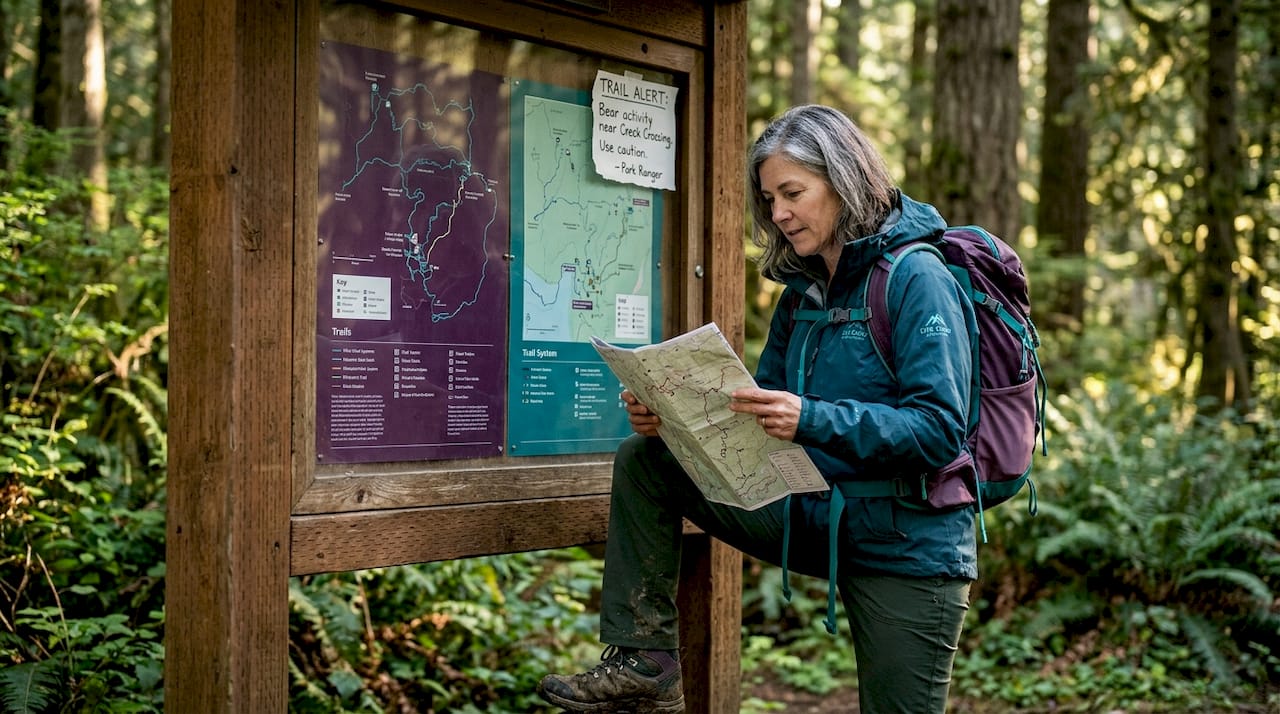
TL;DR:
- Knowing how to read trail maps is essential for safe navigation, especially when digital tools fail or batteries die. Different map types, like simple trail maps and topographic maps, serve specific purposes and require understanding symbols, colors, and scale for accurate interpretation, including magnetic declination adjustments. Using a compass to orient your map and cross-referencing with terrain features improve confidence and safety on any trail, with digital apps providing additional support but not replacing traditional navigation skills.
Getting lost on a trail is not just frustrating. It can be genuinely dangerous. Knowing how to read trail maps is one of the most practical skills any hiker can build, yet most beginners skip the basics and rely entirely on their phones. That works fine until your battery dies at mile six with no cell signal. This guide walks you through everything from understanding trail maps and topographic features to using a compass, decoding symbols, and integrating digital tools. By the end, you will have the confidence to navigate any trail with or without technology.
Key takeaways
| Point | Details |
|---|---|
| Know your map type | Simple trail maps and topographic maps serve different purposes. Choose the right one for your terrain. |
| Decode symbols and colors | Learning standard color codes and trail map symbols explained saves time and prevents wrong turns in the field. |
| Orient your map first | Always align your map to the terrain before moving. It is the single most important habit in trail navigation. |
| Adjust for magnetic declination | Ignoring declination can throw your compass bearing off by up to 20 degrees on longer routes. |
| Carry a physical backup | Digital apps fail in the field. A printed map and compass are non-negotiable safety items on any serious hike. |
How to read trail maps: understanding map types
Before you can interpret a map, you need to know which kind you are holding. Not all trail maps are created equal, and using the wrong type for your hike can leave you underprepared.
Simple trail maps
Simple trail maps are what you typically find at trailheads, in park brochures, or on recreation websites. They show trails as colored or numbered lines, mark key landmarks like shelters and viewpoints, identify parking areas, restroom facilities, and water sources, and usually include a rough scale. They are easy to read and perfect for well-marked, maintained trails in parks or nature reserves.
The tradeoff is that they give you almost no information about terrain. If a trail line curves around a hill, you will not know whether that hill involves a gentle walk or a punishing scramble.
Topographic maps
Topographic maps, often called topo maps, show the shape of the land using contour lines. Each line represents a specific elevation, and the spacing between lines tells you how steep the terrain is. Close contour lines mean steep terrain and wide spacing means a gentle slope. The contour interval, which is printed in the map margin, tells you the vertical distance between each line.
| Map type | Best for | Key features | Limitation |
|---|---|---|---|
| Simple trail map | Day hikes, marked parks | Trails, parking, facilities | No elevation data |
| Topographic map | Backcountry, off-trail | Elevation, terrain shape, water | More complex to read |
| Digital map app | Any hike with connectivity | Real-time location, offline mode | Battery dependent |
Pro Tip: Before you head out, check the contour interval in the margin. A 5-meter interval gives you more terrain detail than a 20-meter interval. Choosing the right resolution for your terrain type matters more than most beginners realize.
Digital apps like Gaia GPS or AllTrails are useful companions, but they layer on top of the same topo data you would read on paper. Understanding the underlying map first makes every digital tool more useful, not less.
Map symbols, colors, and scales explained
Reading hiking maps accurately means understanding the visual language maps use. Once you know the system, you can decode any standard trail map in seconds.
Color codes
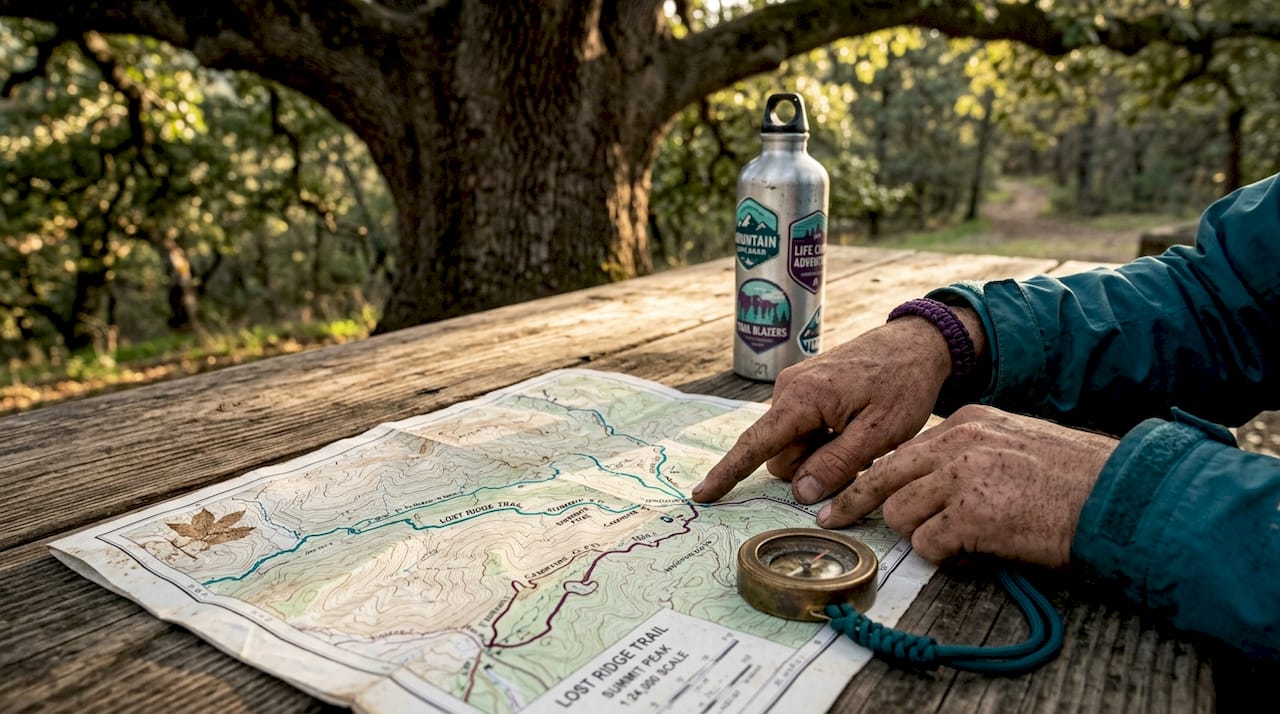
Standard topographic map colors follow a consistent system used by cartographers worldwide. Brown lines are contours showing elevation. Blue features are water, including rivers, lakes, and streams. Green areas indicate vegetation like forests or grasslands. Black markings represent human-made features such as roads, buildings, and trails.
Map scale
Scale tells you the relationship between distance on the map and distance on the ground. A 1:24,000 scale means one inch on the map equals 24,000 inches in real life, or about 0.38 miles. Most trail map reading tips for beginners focus on the scale bar printed on the map face. You can place a stick or piece of paper against it to measure distances along a trail before you commit to walking them.
Coordinate grids
Two main grid systems appear on hiking maps. Latitude and longitude divide the Earth into degrees, minutes, and seconds. UTM, which stands for Universal Transverse Mercator, divides the Earth into numbered zones and measures distances in meters. Search and rescue teams prefer UTM because it avoids the ambiguity of degrees and translates directly into measurable distances on the ground.
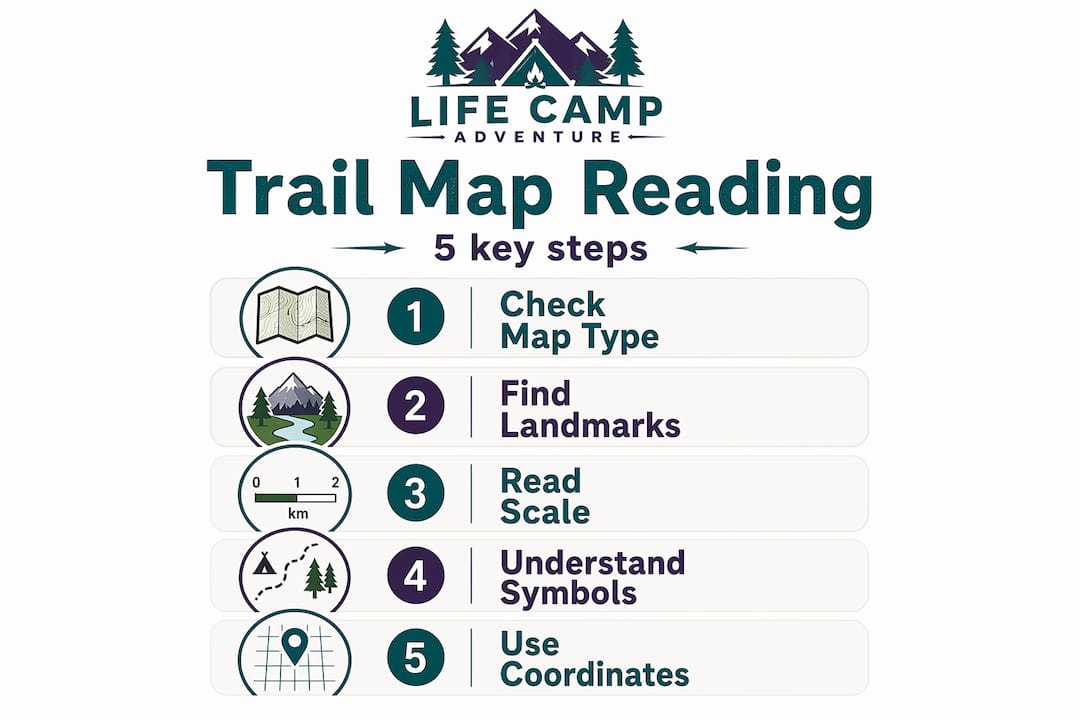
When reading UTM coordinates, always read easting first, then northing. Think "along the corridor, then up the stairs." Mixing up the coordinate order can place your reported location dozens of miles from your actual position.
Pro Tip: Get in the habit of reading your map margin before you take a single step on the trail. Skipping the map margin is the most common beginner error. The margin holds the scale, datum, contour interval, and publication year. That information shapes every interpretation you make.
Common trail map symbols to memorize:
- Dotted or dashed lines: Unmaintained or primitive trails
- Solid colored lines: Maintained trails, often color-coded by difficulty
- Blue triangles or squares: Shelters or lean-tos
- Crossed pickaxes: Backcountry campsites
- Spring symbols: Natural water sources
- Triangles with elevation numbers: Survey benchmarks or summit points
Orienting your map and using a compass
Knowing how to use trail maps only gets you so far without knowing how to orient yourself on the ground. This is where a baseplate compass becomes your best tool.
Here is how to orient your map step by step:
- Place your map on a flat surface and set your compass on top of it.
- Align the long edge of the compass with the north-south grid lines on the map.
- Rotate the compass bezel until the orienting lines inside the bezel match those north-south grid lines.
- Adjust the bezel for local magnetic declination. In much of the eastern United States, declination runs about 10 to 15 degrees west. In the Pacific Northwest, it can reach 15 to 20 degrees east.
- Hold the compass level and rotate your entire body, along with the map, until the red compass needle aligns with the orienting arrow inside the bezel.
Your map is now oriented to the terrain. What appears at the top of the map is physically ahead of you.
Magnetic declination can reach up to 20 degrees in parts of the US, depending on your region. Ignoring declination on a long hike compounds into a major positional error. Always look up your local declination before you leave home.
Once your map is oriented, use visible landmarks to confirm your position. A ridgeline, a river bend, or a trail junction visible on both the map and the terrain gives you a position fix. Check your map every 15 to 20 minutes rather than waiting until you are unsure. For more depth on backcountry navigation skills, continuous map-to-terrain checks are the habit that separates confident hikers from confused ones.
Using digital apps alongside your physical map
Digital tools have genuinely made trail navigation more accessible. Apps like Gaia GPS, CalTopo, and AllTrails let you download offline maps, track your GPS position in real time, and log elevation profiles before you leave the trailhead. Maps that mirror real trail sign colors reduce navigational stress in the field by making the transition from screen to sign feel natural.
That said, digital maps need a physical backup. Phones can fall in a creek, overheat in summer sun, or simply run out of battery on a long day. GPS satellites still work offline, but your device needs power to read them.
Best practices for using digital tools safely:
- Download offline maps for your entire route before leaving cell service, not just the trailhead area.
- Carry a portable battery pack dedicated to navigation, not entertainment.
- Cross-reference your GPS position against physical landmarks on your paper map at regular intervals.
- Know how to read the underlying topo data in your app, not just the dot showing your location.
- Choose apps that display trail difficulty colors matching actual trail signage to reduce confusion in the field.
The role of GPS in outdoor safety is real and growing, but the hikers who get into trouble are almost always the ones who trusted the screen without understanding the map underneath it.
Pro Tip: Set your GPS app to display UTM coordinates rather than latitude and longitude. If you ever need to call for help, UTM gives rescue teams a faster, cleaner fix on your location.
Common trail map mistakes to avoid
Even hikers with experience make these errors. Knowing them in advance is half the defense.
- Misreading contour lines: Closely spaced contours look dramatic on paper but hikers still underestimate the real effort involved. Before committing to a route, count the contour lines and multiply by the interval to calculate total elevation gain.
- Ignoring map scale: A trail that looks short can take hours if the scale is 1:50,000. Always calculate actual distance before estimating your travel time.
- Skipping magnetic declination correction: This is the most repeated mistake in compass navigation. Even experienced hikers forget to check updated declination values when hiking in unfamiliar regions.
- Reading UTM coordinates in the wrong order: Easting before northing is the rule. Reversing the order puts your reported location miles away from where you actually are.
- Not re-orienting the map after a rest: People stop for lunch, turn around to grab something from a pack, and pick the map up facing the wrong direction. Always re-orient before you move.
Pro Tip: If you feel disoriented on trail, stop moving. Find three landmarks you can identify on both the map and terrain, then triangulate your position before choosing a direction. Moving while unsure multiplies confusion fast.
If you find yourself genuinely lost, follow the acronym STOP: Stop, Think, Observe, Plan. Panicked movement is how day hikes turn into search and rescue operations. A calm review of your trail map and surroundings usually reveals your position within a few minutes.
My honest take on learning to read maps
I want to be direct about something most trail guides skip: map reading feels overwhelming for about the first two hours, and then it clicks. That click is one of the most satisfying moments in outdoor learning. I remember my first topo map feeling like a foreign language. But once I understood that every line told a story about the shape of the land, I could not stop reading them.
My early mistakes shaped how I teach this skill now. I ignored declination on a solo hike and drifted nearly a mile off course before catching it at a creek crossing I recognized from the map. That was the last time I treated declination as optional. The land does not care about your confidence. It responds only to your preparation.
What I have found actually works is practicing on familiar trails first. Take a trail you have hiked before, bring a topo map, and try to predict every feature before you reach it. A ridgeline here, a stream crossing there, a drop in elevation ahead. When the terrain matches your predictions, your confidence builds fast. You can also explore planning trail routes effectively to turn map reading from a chore into part of the adventure itself.
Combining a physical map with a digital app gives you redundancy, not just convenience. Use the app for real-time confirmation and the paper map for orientation and big-picture thinking. Neither tool alone is as strong as both tools together.
— Billy
Gear up for your next trail adventure
Understanding how to interpret maps is only part of the equation. Having the right gear to back up your skills is what actually keeps you safe when conditions change. At Lifecampadventure, we outfit hikers at every level with gear built for real outdoor conditions, not showroom floors.
Before your next outing, check out our camping tents comparison to find a shelter that matches your terrain and trip length. A good basecamp setup makes every day hike feel less risky because you know exactly where home is on the map. If you are still building your pack list, our outdoor survival gear guide covers the navigation accessories, emergency tools, and trail essentials every hiker should carry. From compasses to emergency bivouacs, we have tested what works so you do not have to learn the hard way.
FAQ
What is the difference between a trail map and a topo map?
A simple trail map shows paths, landmarks, and facilities but no elevation data. A topographic map adds contour lines that reveal terrain shape, steepness, and elevation changes, making it the better choice for backcountry or off-trail hiking.
How do you orient a trail map without a compass?
Find a recognizable landmark on the map and in the terrain, such as a peak, lake, or road junction. Rotate the map until that landmark aligns with its real-world position relative to where you are standing. This gives you a basic orientation even without a compass.
What do contour lines on a trail map mean?
Contour lines connect points of equal elevation. Lines spaced close together indicate steep terrain, while widely spaced lines mean a gentle slope. The contour interval printed in the map margin tells you the vertical distance each line represents.
Why does magnetic declination matter when reading a map?
Magnetic north and true north are not the same point. Declination varies up to 20 degrees across the United States. If you do not adjust your compass for local declination, your bearing drifts and you walk progressively farther from your intended route.
Are digital hiking apps a reliable substitute for paper maps?
Digital apps are highly useful but not a full substitute. Phones lose battery, can get damaged, and depend on hardware that fails in harsh conditions. Carrying both a physical map and compass alongside a digital app gives you the redundancy that serious trail navigation requires.
