TL;DR:
- Proper preparation with a customizable survival kit is essential for outdoor safety.
- Rapid shelter building, water sourcing, and signaling are critical when conditions worsen.
- Maintaining mental clarity and practicing outdoor skills before trips greatly improves survival chances.
Imagine you're three miles into a backcountry trail when the sky turns dark, your phone signal drops, and rain begins hammering the ground. It happens faster than most people expect. One bad decision, one forgotten piece of gear, or one missed weather check can flip a fun adventure into a genuine emergency. The good news is that survival basics are learnable, and the difference between panic and control almost always comes down to preparation. This guide walks you through the essential survival steps every outdoor adventurer needs, from building the right kit to keeping your head clear when it counts most.
Key Takeaways
| Point | Details |
|---|---|
| Preparation matters most | Customizing your survival kit and understanding the basics greatly increases your chances of overcoming emergencies. |
| Shelter and water first | Securing protection from the elements and safe drinking water is always the immediate priority in any survival event. |
| Signal smartly | Effective signaling and navigation dramatically improve your odds of rescue and reduce wasted time if lost. |
| Mindset over gear | Resourceful thinking and calm decisiveness can be even more vital than carrying the latest tools. |
| Practice and review | Regularly rehearsing survival steps builds confidence and skill for actual outdoor emergencies. |
Gathering your survival essentials
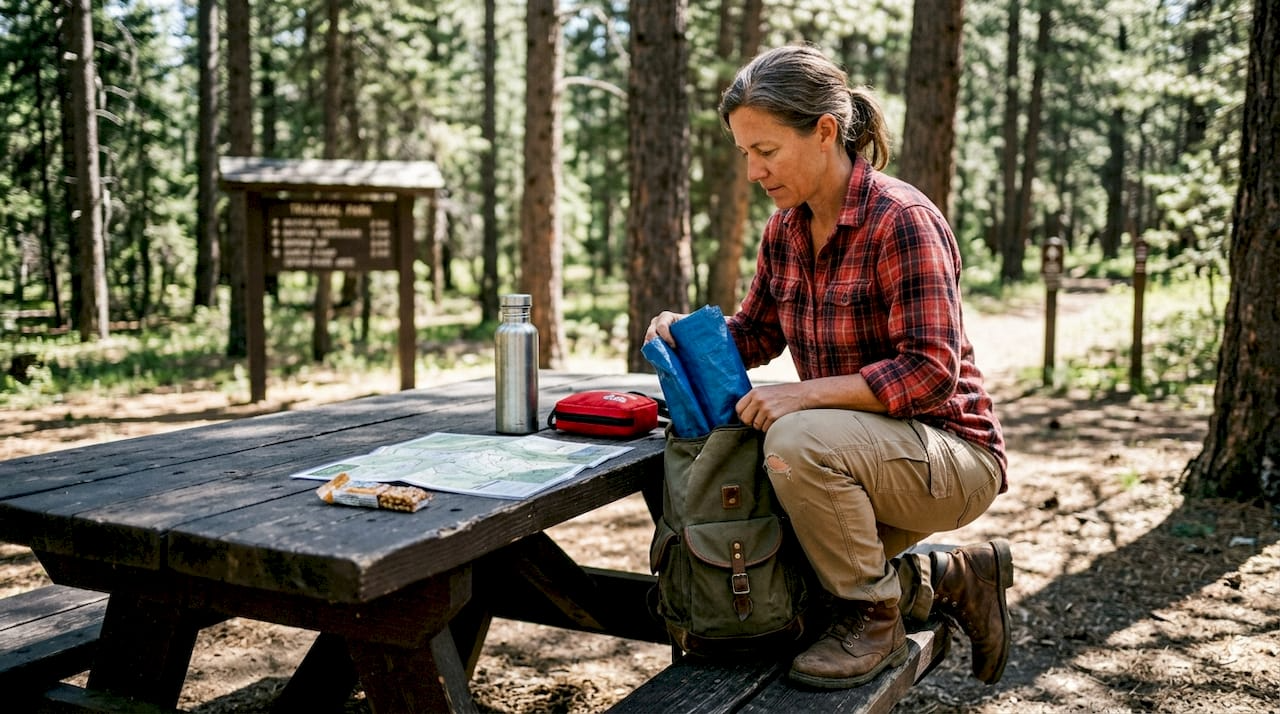
Preparation is not a checkbox. It is an active process that shapes every decision you make in the field. A well-equipped kit customized for your environment is your first line of defense, and skipping this step is the fastest way to turn a manageable situation into a dangerous one.
Every solid survival kit covers six core categories:
- Shelter: Emergency bivy, tarp, or space blanket
- Fire: Waterproof matches, lighter, ferro rod
- Water: Filtration straw, purification tablets, collapsible bottle
- Food: High-calorie bars, electrolyte packets
- Navigation: Topographic map, compass, backup GPS
- First aid: Bandages, antiseptic, blister treatment, tourniquet
Here is a quick breakdown of recommended items by category:
| Category | Key items | Avg. weight | Packability |
|---|---|---|---|
| Shelter | Emergency bivy, tarp | 6 to 12 oz | High |
| Fire | Ferro rod, lighter | 2 to 4 oz | High |
| Water | Filter straw, tablets | 3 to 5 oz | High |
| Food | Energy bars | 6 to 10 oz | Medium |
| Navigation | Map, compass | 2 to 5 oz | High |
| First aid | Basic kit | 8 to 16 oz | Medium |
Pro Tip: Build your kit around multipurpose items. A tarp shelters you and collects rainwater. A bandana filters debris from water and serves as a sling. Every ounce saved through smart selection means more endurance on the trail.
The Red Cross survival kit recommendations are a solid baseline, but your kit needs to reflect your specific terrain. Desert hiking demands extra water capacity and sun protection. Winter camping requires insulated layers and a reliable fire-starting method. Use the essential gear checklist to customize your loadout before any trip.
The most common mistakes? Overpacking comfort items, ignoring climate-specific tools, and forgetting to check expiration dates on first aid supplies. Review your kit before every trip, not just the first time you pack it. Learning outdoor skills every camper should know alongside your gear selection sharpens your readiness considerably.
Navigating hazards: Shelter, water, and warmth
Gear is only useful if you know how to deploy it. Once you're in the field and conditions shift, your survival depends on executing these routines quickly and correctly. Immediate shelter and clean water are your top priorities, and experienced guides will tell you the same every time.
Follow these steps when things go sideways:
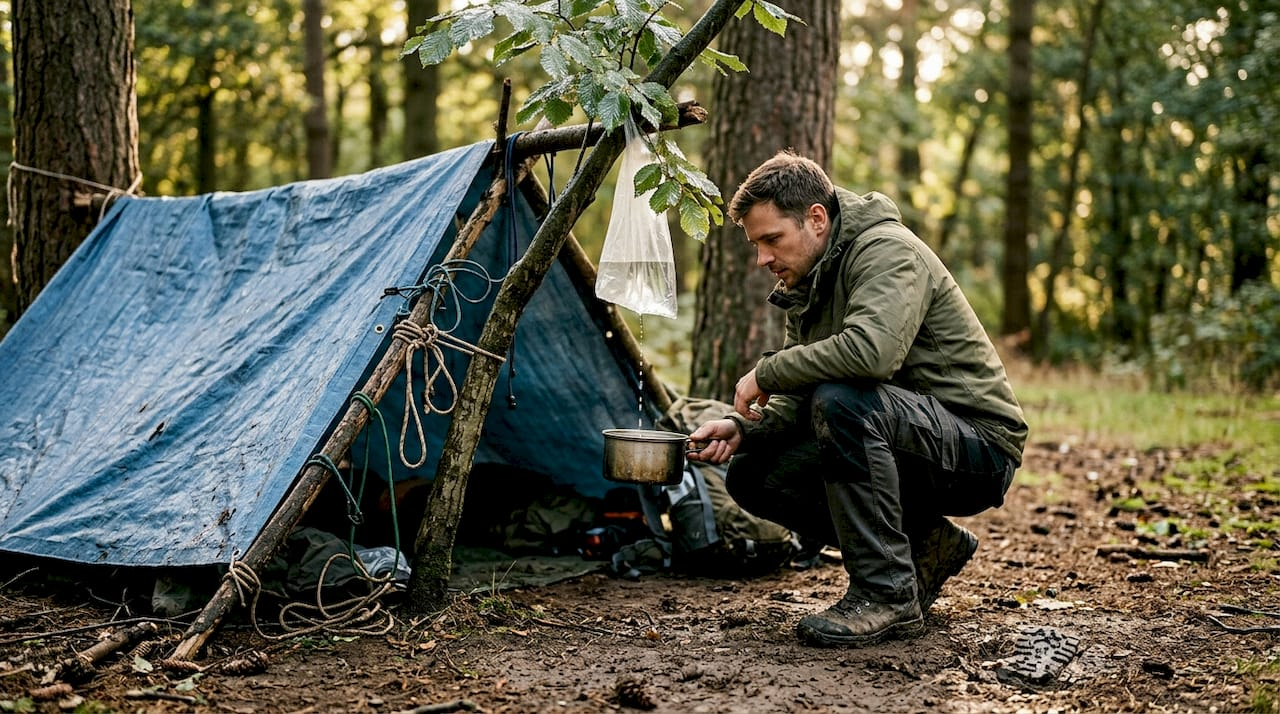
- Find or build shelter. Choose a location protected from wind and elevated above water flow. Use natural materials like fallen branches and leaves to insulate the floor, and set up your tarp or bivy as the outer layer.
- Source and treat water. Moving water is generally safer than still water. Run it through a filter straw or add purification tablets and wait the required time before drinking.
- Build a fire. Clear a ring of rocks, collect dry tinder and kindling, and use your ferro rod or lighter on the smallest, driest material first.
Here is a comparison of natural versus man-made shelter options:
| Shelter type | Pros | Cons |
|---|---|---|
| Natural (debris hut) | No equipment needed, good insulation | Time-consuming to build |
| Tarp setup | Fast, lightweight, versatile | Requires cordage and anchors |
| Emergency bivy | Compact, immediate warmth | Limited space, condensation |
| Cave or rock overhang | Solid overhead protection | May harbor wildlife or flood risk |
Warning: Hypothermia can begin setting in within two to three hours of exposure to wet and windy conditions, even in mild temperatures. Never wait to feel cold before building shelter. Act early.
Building your understanding of bushcraft shelter and water skills before a trip pays off enormously when you are under pressure. Check resources like how to build a survival shelter for hands-on techniques you can practice at home before you ever need them in the wild. Always run through your setup in the backyard first.
Signaling for help and staying oriented
You have secured shelter and basic needs, but one wrong turn or a sudden storm can leave you disoriented and off-trail. Getting found quickly depends on using the right signaling tools and keeping your sense of direction sharp.
Effective signaling breaks into three categories:
- Visual: Signal mirrors (visible up to 10 miles in sunlight), smoke signals using green vegetation for white smoke, bright-colored clothing or gear laid in open areas
- Auditory: Three whistle blasts is the universal distress call. Signaling increases survival odds dramatically when used correctly
- Electronic: Personal Locator Beacon (PLB), satellite messenger (Garmin inReach), smartphone with offline map apps
Choosing the right method matters. In dense forest, smoke signals are more useful than a mirror. In open terrain, a mirror flash travels the farthest. At night, a strobe light or a fire is your best option.
For navigation, carry a topographic map and compass and know how to use them before you go. The sun rises in the east and sets in the west, and at night, the North Star sits directly over true north in the Northern Hemisphere. These basics, paired with navigating wilderness for explorers, keep you oriented even without electronics.
The National Park Service signaling tips note that survivors who signal actively are found significantly faster than those who stay passive. Survivors using a whistle are found up to 30% faster than those who do not signal at all.
Pro Tip: Before every trip, tell someone your exact route, planned campsites, and expected return time. This simple step can cut search and rescue response time in half. Pair it with reliable survival kits that include a PLB for maximum coverage.
First aid, rationing, and managing morale
After signaling for assistance, your job is to stay functional while you wait. That means addressing injuries, stretching your supplies, and keeping your mind from working against you.
The survival rule of threes helps you prioritize:
- You can survive 3 minutes without air
- You can survive 3 hours without shelter in harsh conditions
- You can survive 3 days without water
- You can survive 3 weeks without food
Food and water rationing is straightforward. If rescue may be delayed, drink small amounts frequently rather than large amounts at once. Eat only when you can replace the calories through foraging or if you have supplies to spare.
Keeping morale up is equally critical. Try these techniques:
- Break tasks into small, achievable steps to build momentum
- Focus on what you can control, not what you cannot
- Use humor, storytelling, or mental games to reduce anxiety
- Set short-term goals: gathering firewood, building a fire, finding water
"The survivors I have worked with did not have the best gear. They had the clearest heads." This mindset, echoed by wilderness rescue professionals, is why mental training belongs alongside gear training.
Build your wilderness first aid knowledge now, and keep must-have survival gear stocked in your kit. The CDC survival guide recommendations emphasize staying warm, hydrated, and mentally engaged as the three pillars of survival endurance.
A survivor's mindset: The overlooked tool
Here is an uncomfortable truth: most people who get into serious trouble in the wilderness were carrying enough gear to make it out safely. What failed them was not their pack. It was their thinking.
Gear is a tool. Your mind is the operator. Survival stories that stand out are almost never about the person with the most expensive equipment. They are about the person who stayed calm long enough to improvise a solution. A trash bag becomes a rain poncho. A shoelace becomes cordage for a shelter. A cellphone battery becomes a last signal before it dies.
The practical wisdom here is simple: practice before you need it. Run mock shelter setups in your backyard. Navigate a local trail using only a map and compass. Practice building a fire with damp wood. These small exercises build the mental muscle memory that keeps you functional under pressure, not just informed about what to do.
Investing in outdoor skill development is just as important as investing in gear. The adventurer who drills their routines is always better prepared than the one who only reads about them.
Gear up for your next adventure
You now have a solid foundation of survival techniques, from building your kit to managing your mindset in the field. The next step is making sure your gear actually matches the skills you are building.
At Life Camp Adventure, we curate adventure-tested gear designed for real conditions, not store shelves. Explore our printable survival checklist to audit your current kit, browse our recommended camping gear for top-rated essentials, and revisit detailed survival basics for a deeper look at every step covered here. Reliable gear paired with real knowledge is what turns a close call into a story you tell around the campfire.
Frequently asked questions
What is the most important survival step outdoors?
Securing adequate shelter is usually the top priority, followed by water, as exposure can prove fatal within hours in cold or wet conditions.
How should I signal for help if I'm lost?
Use mirrors or whistles for visible or audible signaling for rescue, and build fires or form large patterns on open ground to attract attention from aircraft or distant searchers.
What are the best items to pack in a survival kit?
A well-equipped kit should focus on multipurpose shelter, water purification, fire starters, navigation tools, first aid, and signaling devices for complete coverage.
How can I stay calm in a survival situation?
Practice deep breathing, break tasks into small manageable steps, and focus on one immediate goal at a time to maintain mental clarity and prevent panic from taking over.
How do I prioritize survival tasks in emergencies?
Follow the rule of threes to prioritize air, shelter, water, then food, and adjust your actions based on the specific conditions you are facing.
Recommended
- Outdoor Survival Basics: Essential Steps for Beginners
- Outdoor survival checklist: Essential gear for every adventure
- Master essential first aid steps for outdoors safety 2026
- Essential wilderness first aid skills every explorer needs
- bell
- ATV safety explained: essential tips for smarter riding – GoKarts USA®
