TL;DR:
- An emergency shelter workflow is a step-by-step process used during disasters to activate, operate, and demobilize temporary shelters. Proper management of intake, capacity, and guest transition ensures safety, efficiency, and dignity for vulnerable populations. Real-time data, coordinated systems, and pre-planned roles are critical for successful shelter operations.
An emergency shelter workflow is the structured, step-by-step process that activates, staffs, and operates temporary shelter facilities during disasters or outdoor emergencies. The industry term used by FEMA, HUD, and Continuums of Care (CoCs) is coordinated emergency shelter operations, and it covers everything from site activation to client discharge. Dialing 211 is the primary access point in the U.S. for connecting displaced people to available shelter beds through local CoC networks. Getting this process right saves lives. Getting it wrong creates dangerous overcrowding, missed vulnerable guests, and wasted resources.
What are the critical phases of an emergency shelter workflow?
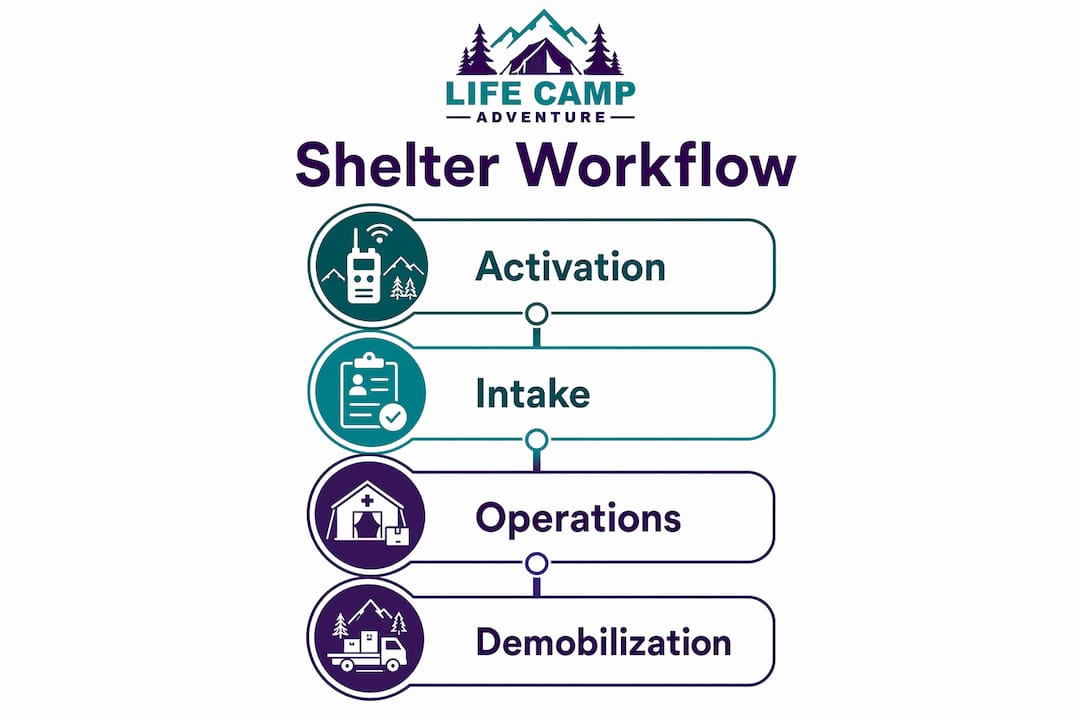
A well-run emergency shelter workflow moves through four distinct phases. Each phase has clear tasks, responsible roles, and measurable outputs.

1. Activation and initial setup
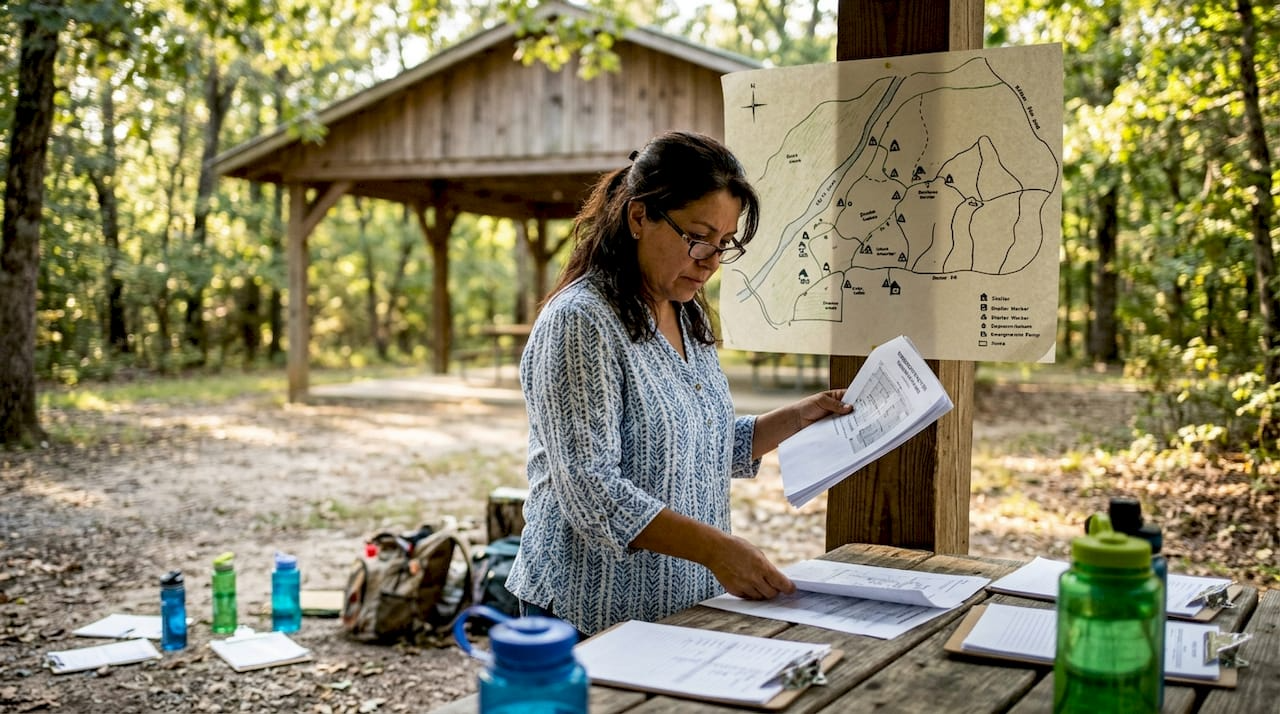
Activation begins the moment an emergency declaration is issued or a field commander identifies the need for shelter. Staff must confirm the site location, complete a safety walkthrough, and establish a floor plan that separates sleeping areas, intake stations, and support services. Fire exits, accessible routes, and sanitation facilities must be verified before any guests enter. A site that skips this step creates liability and safety failures from the first hour.
2. Intake and registration
Intake is the most operationally dense phase. Staff collect guest identification, assign bed numbers, and conduct standardized vulnerability assessments. The VI-SPDAT assessment ranks guests by vulnerability score to prioritize resource allocation. That ranking directly determines who gets referred to specialized services first. Eligibility decisions for emergency housing are typically processed within 3 to 10 business days, far faster than standard housing programs. That speed requires pre-built intake forms, trained staff, and a clear chain of approval.
3. Operational phase management
Once guests are registered, the shelter enters sustained operations. Staff track occupancy, distribute supplies, coordinate with partner agencies, and manage demographic-specific needs such as families with children, seniors, or guests with disabilities. The first 48 hours focus heavily on physical safety, intake, and basic needs. After that window, the focus shifts toward sustained support and partner coordination. This transition is predictable, so pre-planning it prevents the operational chaos that hits unprepared teams on day three.
4. Demobilization and transition
Closing a shelter is not simply turning off the lights. Staff must transfer case management files, connect guests to next-step housing resources, and document all operational data for after-action review. Guests who have not secured housing need warm handoffs to permanent or transitional programs, not just a referral card.
Pro Tip: Pre-assign demobilization roles during the activation phase. Teams that wait until closing day to figure out who handles case file transfers consistently lose critical guest data.
What tools and methods optimize client intake and registration?
Speed and accuracy during intake are not opposites. The right tools deliver both.
The Coordinated Entry System
The Coordinated Entry System (CES) is the central tool for matching individuals to all available local housing resources. It eliminates the inefficiency of guests calling multiple shelters individually. CES connects intake staff to a unified database of bed availability, eligibility criteria, and service providers across the entire CoC network. Shelters that bypass CES and manage intake in isolation create duplicate registrations and miss placement opportunities.
HMIS integration
The Homeless Management Information System (HMIS) stores guest records, tracks service history, and generates the occupancy reports required by HUD. Every federally funded shelter must use HMIS. Staff trained on HMIS data entry produce cleaner records, which directly improves the accuracy of resource allocation decisions.
Self-registration vs. staff-led registration
Public self-registration using QR code surveys is emerging as a method to speed intake during large-scale incidents. Guests scan a code, complete a form on their phone, and enter the queue faster. However, experienced shelter managers favor staff-led registration for accuracy and control in high-pressure environments. Self-registration works best as a triage tool during surge periods, not as a replacement for direct staff interaction.| Method | Best use case | Key limitation |
|---|---|---|
| Staff-led registration | Standard intake, vulnerable populations | Slower during surge events |
| QR code self-registration | High-volume surge periods | Lower data accuracy without oversight |
| HMIS-integrated intake | Federally funded shelters | Requires trained staff |
| CES unified assessment | Multi-shelter coordination | Requires CoC-level setup |
Pro Tip: Reduce documentation requirements on day one. Collect only the fields required for bed assignment and safety. Gather supplemental data during the operational phase when staff capacity allows.
How to manage shelter capacity and ensure regulatory compliance?
Capacity management is the operational function most likely to fail under pressure. The fix is real-time data, not more staff.
Twice-daily occupancy reporting
Shelter staff must submit occupancy counts at least twice daily during active disaster response. That reporting frequency prevents overcrowding and supports resource allocation decisions at the CoC and government level. A shelter that reports only at end of day cannot respond to a midday surge. Twice-daily counts create two decision windows every 24 hours.Real-time capacity dashboards
Real-time visualization of shelter capacity allows staff to proactively redirect guests and adjust resources instead of reacting to delayed manual counts. Dashboards that display current occupancy against maximum capacity, with color-coded threshold alerts, give supervisors a clear picture without requiring a phone call or a spreadsheet check. When a shelter hits 80% capacity, the dashboard triggers a redirect protocol automatically.
"Waiting for a manual count to confirm overcrowding is like waiting for a fire alarm to confirm smoke. By the time the count is done, the problem is already out of control." — Field operations principle, emergency shelter management
Regulatory compliance under emergency conditions
FEMA and HUD set minimum standards for shelter safety, accessibility, and reporting during federally declared disasters. These include Americans with Disabilities Act (ADA) compliance for shelter layout, minimum square footage per guest, and mandatory incident reporting. Shelters that operate under a state or federal emergency declaration must document compliance with these standards throughout the operational period, not just at setup.
| Compliance area | Standard | Reporting requirement |
|---|---|---|
| Occupancy reporting | Twice daily during active response | Submitted to CoC or emergency manager |
| ADA accessibility | Federal ADA standards | Documented at site setup |
| Guest data privacy | HMIS data security standards | Ongoing during operations |
| Incident reporting | FEMA/HUD guidelines | Within 24 hours of incident |
What are common challenges and best practices in shelter operations?
The gap between a plan and a functioning shelter shows up fast. These are the failure points that hit most teams and the practices that prevent them.
The first 48 hours
The first 48 hours of shelter operations are the most chaotic. Physical safety and basic needs registration must happen simultaneously, often with incomplete staff rosters and untested supply chains. Teams that have pre-positioned supplies, pre-assigned roles, and pre-tested intake forms consistently outperform teams that improvise. Preparation before activation is the single biggest predictor of first-48-hour performance.
Managing mixed demographics
Families with children, single adults, seniors, and guests with medical needs have different space, privacy, and service requirements. A single open floor plan with no demographic separation creates safety risks and service failures. Best practice is to designate zones during the floor plan phase, before any guests arrive. Families need proximity to restrooms and childcare support. Seniors and guests with mobility limitations need accessible sleeping areas near exits.
High-volume intake strategies
- Assign one staff member per intake station with a clear task list, not a general "help guests" directive.
- Use pre-printed bed assignment cards to eliminate handwriting delays.
- Station a greeter at the entrance to triage guests before they reach the intake table.
- Keep the intake area physically separate from the sleeping area to prevent congestion.
- Run a parallel registration line for guests with prior HMIS records to speed processing.
Case management from day one
Emergency shelter stays are designed to be as short as possible, with case management connection starting at intake. That means the intake form must capture enough information to begin a housing assessment, not just assign a bed. Shelters that treat intake and case management as separate sequential steps consistently produce longer stays and worse housing outcomes.Pro Tip: Assign a case manager to the intake area during the first 48 hours. That person does not process registrations. Their job is to flag high-need guests immediately and begin transition planning before the operational phase even starts.
Key takeaways
A well-executed emergency shelter workflow requires pre-built intake systems, real-time capacity monitoring, and case management that starts at registration, not after guests are settled.
| Point | Details |
|---|---|
| Start case management at intake | Connect guests to transition planning from the first registration, not days later. |
| Report occupancy twice daily | Submit counts at least twice per day to prevent overcrowding and support resource decisions. |
| Use CES for unified matching | The Coordinated Entry System eliminates duplicate registrations and missed placement opportunities. |
| Separate demographics in floor planning | Designate zones for families, seniors, and individuals before any guests arrive. |
| Prioritize the first 48 hours | Pre-position supplies and pre-assign roles before activation to survive the most chaotic window. |
What I've learned about shelter workflows that most guides skip
Most emergency shelter guides focus on the activation checklist and stop there. The real operational challenge is the transition from the first 48 hours to sustained operations. That shift is where most teams lose momentum.
Staff who performed well during the adrenaline-driven intake phase often struggle when the work becomes repetitive data entry, supply tracking, and case coordination. The teams I've seen handle this best are the ones who built shift handoff protocols before activation. Every shift ends with a written status update, a current occupancy count, and a flagged list of guests who need follow-up. That 10-minute handoff prevents the information loss that compounds into service failures by day four.
The other thing most guides underestimate is guest dignity during registration. Speed matters. But a guest who feels processed like a number is less likely to engage honestly with intake questions, which degrades the data quality that drives every downstream decision. Training staff to make eye contact, use names, and explain each step takes 20 minutes in a pre-activation briefing. The return on that investment shows up in better intake data and fewer conflicts on the floor.
For outdoor and wilderness emergency scenarios, the same principles apply at a smaller scale. You can prepare for outdoor emergencies with the same pre-activation mindset: pre-positioned gear, assigned roles, and a clear intake process for your group. The structure scales down cleanly.
— Billy
Gear that supports your emergency shelter readiness
Knowing the workflow is half the battle. Having the right physical equipment is the other half.

Lifecampadventure carries the camping tents, emergency bivy shelters, and survival kit essentials built for exactly these situations. Whether you are managing a small group shelter after a trail emergency or preparing a personal go-bag for disaster response, the right gear makes the workflow executable. A tent that sets up in under three minutes or a survival kit with pre-packed medical and signaling supplies removes the improvisation that kills efficiency when time is critical. Browse the full camping tent comparison to find the shelter option that fits your emergency scenario and group size.
FAQ
What is an emergency shelter workflow?
An emergency shelter workflow is the structured process covering site activation, guest intake, capacity management, and demobilization during a disaster or outdoor emergency. It follows standards set by FEMA, HUD, and local Continuums of Care.
How long does emergency shelter intake take?
Eligibility decisions are typically processed within 3 to 10 business days for emergency housing programs. On-site bed assignment during intake can happen within minutes when staff use pre-built forms and HMIS.
What is the Coordinated Entry System?
The Coordinated Entry System is a unified assessment and matching tool used by CoCs to connect individuals to all available local housing resources without requiring calls to multiple shelters.
How often should shelters report occupancy during a disaster?
Staff must submit occupancy counts at least twice daily during active disaster response to prevent overcrowding and support real-time resource allocation.
What is the VI-SPDAT used for in shelter intake?
The VI-SPDAT is a standardized vulnerability assessment tool used during intake to rank guests by need and prioritize resource allocation across the shelter system.
