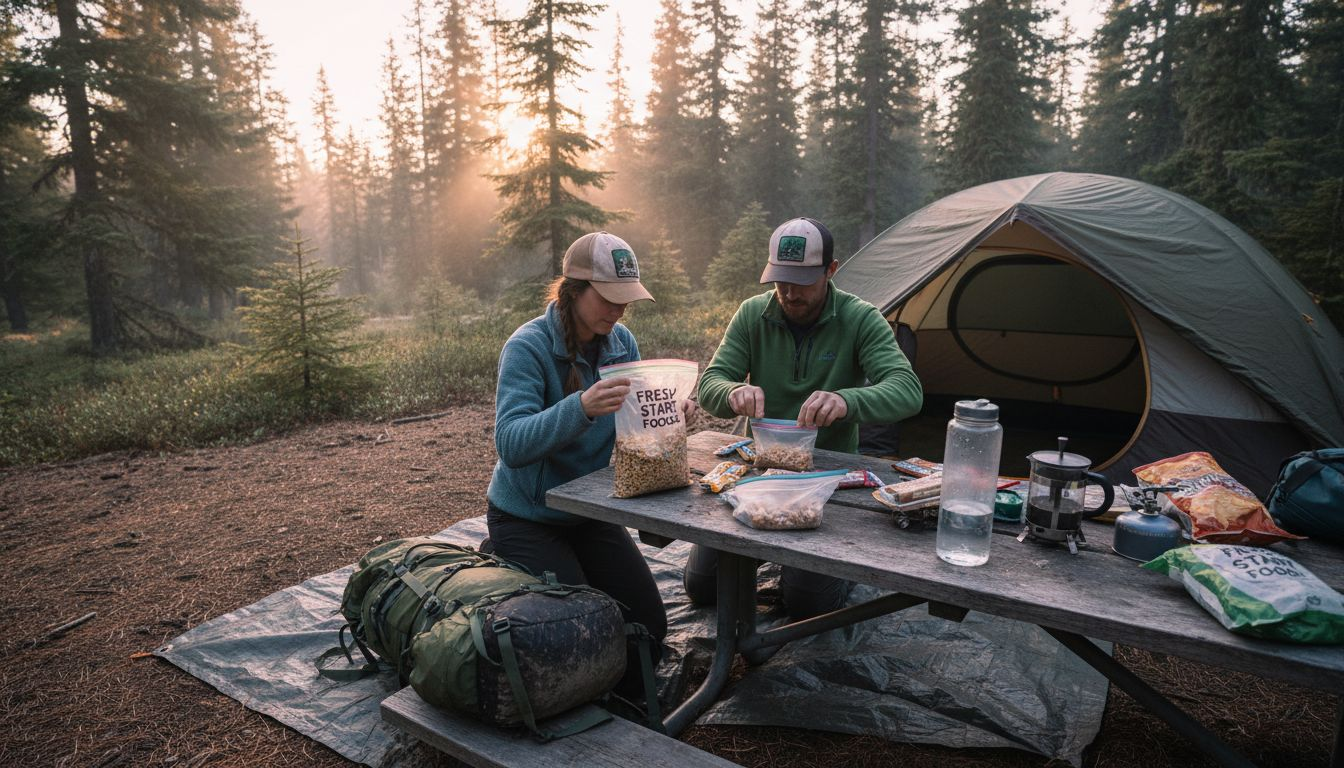
Planning your next multi-day hike means juggling nutrition, pack weight, and energy needs. Without the right approach, you risk running out of steam when the trail gets tough. Modern backpackers are turning to efficient meal prep strategies that balance calories, nutrients, and convenience. This guide shows you how to calculate daily burn, select energy-dense foods, and organize meals for the rugged demands of hiking in the United States.
Quick Summary
| Main Insight | Detailed Explanation |
|---|---|
| 1. Calculate Your Caloric Needs | Understanding your calorie requirements helps you efficiently pack food and avoid energy depletion during your hike. |
| 2. Choose Lightweight, Energy-Dense Foods | Prioritize foods like nuts and dehydrated meals that offer high calories with minimal weight to enhance your hiking experience. |
| 3. Organize Meals by Day | Structuring your meals by daily portions prevents confusion and ensures you have balanced nutrition throughout your hiking trip. |
| 4. Test Your Meals Before the Trip | Conduct practice hikes to assess how your meals taste and prepare, ensuring they are suitable for your needs under physical stress. |
| 5. Pack for Balance and Accessibility | Properly packing your food positions heavier items close to your back while making frequently accessed food easy to reach during the hike. |
Step 1: Assess Nutrition and Calorie Needs
Before you pack a single meal, you need to understand how much fuel your body actually requires on the trail. This isn't a guess-and-hope situation. The better you calculate your caloric needs upfront, the more efficiently you can pack and the less likely you'll hit a energy wall miles from camp.
Your caloric burn during backpacking depends on several factors working together. Body weight, pack weight, elevation change, and terrain intensity all play a role in how much energy you expend. An 8-hour hike with a moderate to heavy pack can burn anywhere from 4,600 to over 6,300 calories. Steeper, more strenuous terrain demands even higher caloric intake to keep your energy levels steady throughout multi-day hikes.
Start by considering these personal factors:
- Your body weight (heavier individuals burn more calories)
- Your pack weight (each pound adds to your energy demands)
- Elevation gain on your route (climbing demands significantly more fuel)
- Your fitness level and hiking pace
- Ambient temperature and weather conditions
Age, sex, and individual metabolism also affect how much you need to eat. Adults require caloric intake matched to their activity levels to maintain energy balance during endurance activities. There's no one-size-fits-all number, which is why calculating based on your specific hike matters.
Here is a summary of key factors affecting calorie needs during backpacking:
| Factor | Impact on Calorie Burn | How to Adjust Packing |
|---|---|---|
| Body Weight | Heavier burns more calories | Pack extra food if heavier |
| Pack Weight | Adds demand per pound | Reduce weight if possible |
| Elevation Gain | Steep climbs mean surplus | Increase snacks/quick fuel |
| Fitness & Pace | Faster pace burns more | Eat regular high-energy |
| Temperature/Weather | Cold increases caloric use | Extra fats for warmth |
Here's the practical approach: Take your estimated daily calorie burn and add 10 to 15 percent as a buffer. Most backpackers in your age range burning 5,000 calories daily should plan for 5,500 to 5,750 calories in their pack. This cushion accounts for unexpected exertion, cooler weather, or simply feeling hungrier at elevation.
Plan for 5,500 to 5,750 calories per day on multi-day hikes, accounting for your personal factors and a 10-15% safety buffer.
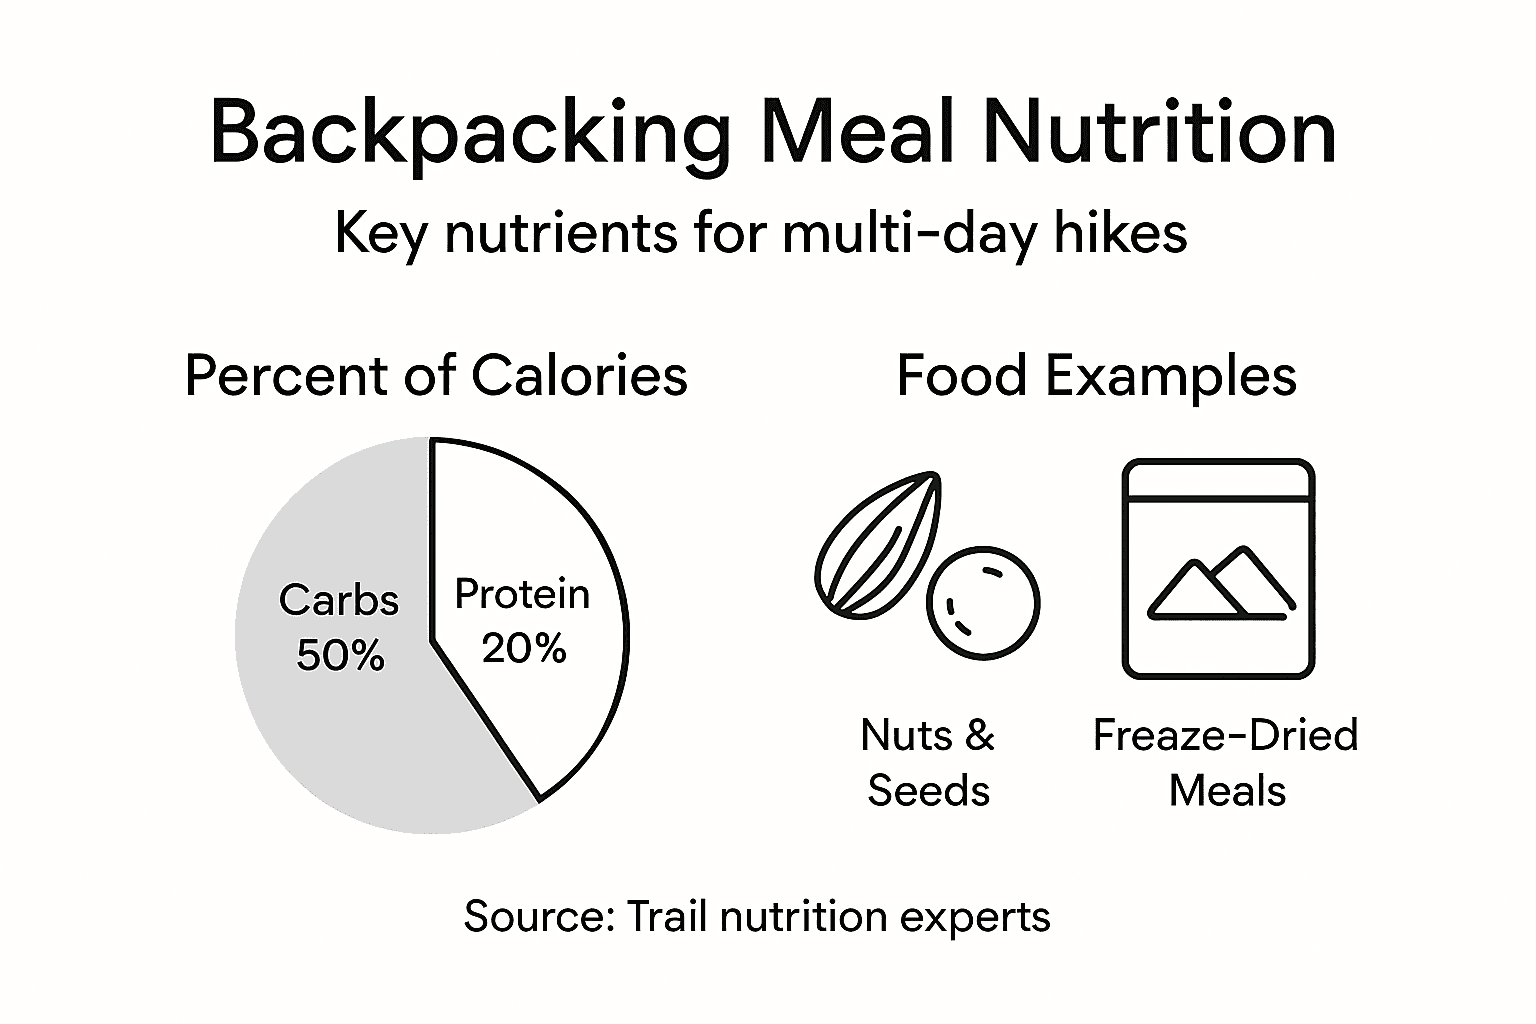
Once you know your target calorie range, you can start thinking about nutrient balance. Your meals need carbohydrates for quick energy, protein for muscle recovery, and fats for sustained fuel and satiety. A balanced approach prevents bonking on day three when your glycogen stores deplete.
Pro tip: Start with a conservative estimate, complete one multi-day hike, then adjust based on how you actually felt. You'll learn your real needs faster than any calculator can tell you.
Step 2: Select Lightweight Backpacking Foods
Now that you know your calorie target, it's time to choose foods that deliver maximum nutrition without weighing you down. Weight matters on the trail, and selecting the right foods can mean the difference between a comfortable hike and a grueling one.
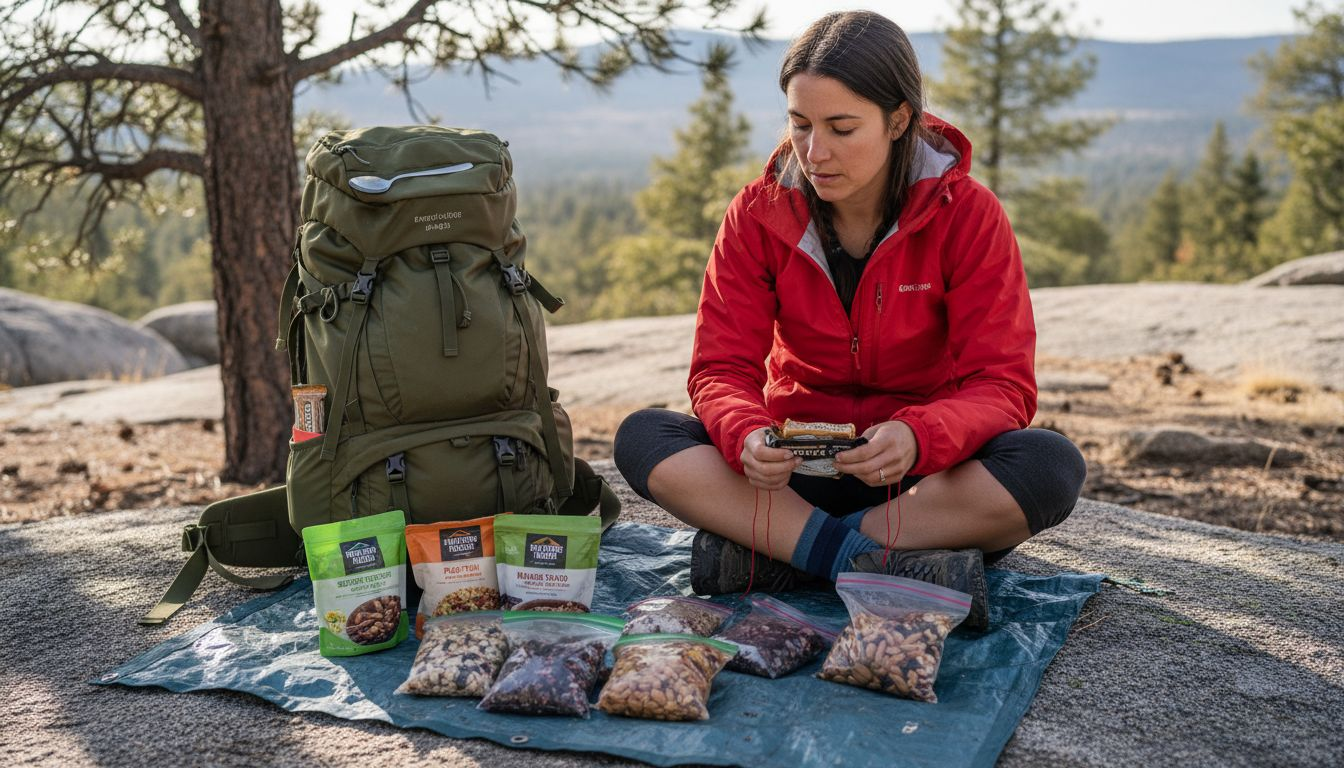
The golden rule is simple: prioritize energy-dense foods that pack calories into minimal weight. Nuts, dried fruits, dehydrated meals, trail mix, and energy bars all deliver high calories with minimal weight, making them backpacking staples. These foods compress easily, resist spoilage, and require no refrigeration.
Start building your food list around these reliable categories:
- Nuts and nut butters (almonds, peanuts, cashews, or peanut butter packets)
- Dried fruits (raisins, cranberries, apricots, mango)
- Dehydrated meals (instant rice, pasta, ramen, freeze-dried entrees)
- Energy bars and granola bars
- Dried meats (jerky, pepperoni, bacon bits)
- Carbohydrate sources (oatmeal, instant potatoes, instant noodles)
- Chocolate and candy for morale boosts
Don't overlook morale on multi-day hikes. Including variety through snacks like fruit leather, rice crackers, and chocolates helps break up the monotony and keeps spirits high when fatigue sets in. Day three is where these small treats become psychological lifelines.
This table compares popular lightweight backpacking foods by calorie density and storage benefits:
| Food Type | Calories per Ounce | Spoilage Resistance | Preparation Required |
|---|---|---|---|
| Nuts/Nut Butters | 160-190 | High | None |
| Dried Fruits | 80-100 | Moderate | None |
| Jerky/Meats | 90-120 | High | None |
| Dehydrated Meals | 100-130 | Very High | Boiling/hot water |
| Candy/Chocolate | 140-150 | High (most types) | None |
When selecting specific products, check the calorie-to-weight ratio on packaging. Aim for foods delivering at least 100 calories per ounce. Dehydrated backpacking meals often list this directly, while you'll need to calculate it for regular groceries.
Choose foods delivering at least 100 calories per ounce to maximize energy while minimizing pack weight.
Consider your camp cooking setup when making final selections. If you're using a lightweight stove with minimal water capacity, favor foods requiring less fuel to prepare. If you're doing cold soaking or no-cook meals, focus on ready-to-eat options and foods that rehydrate in cool water.
One practical approach: mix about 60 percent dehydrated or freeze-dried meals with 40 percent snack foods. This combination maintains variety while keeping meal prep straightforward and your pack light.
Pro tip: Buy a small food scale and weigh your meals before your hike so you know exactly how much weight each day costs you and can adjust future trips with real data.
Step 3: Organize and Portion Meals by Day
Organizing your food by day transforms a pile of ingredients into a ready-to-execute meal plan. This step prevents decision fatigue on the trail and ensures you're eating balanced nutrition each day rather than running out of certain foods halfway through.
Start by laying out all your food and dividing it into daily portions. Organizing meals by meal type and day using portion control containers or bags enhances efficiency while minimizing waste and maximizing energy availability. This approach keeps everything visible and prevents you from accidentally eating tomorrow's breakfast today.
Here's the practical workflow for organizing your meals:
- Calculate each day's total calorie requirement based on your earlier assessment
- Divide that total among breakfast, lunch, dinner, and snacks (roughly 20% breakfast, 30% lunch, 30% dinner, 20% snacks)
- Group foods for each meal using small ziplock bags or portion containers
- Label each bag clearly with the day and meal type using waterproof markers
- Stack bags by day in your bear canister or food bag
Maintaining nutritional balance across each day matters more than getting it perfect at every meal. Aim for adequate proteins to support muscle recovery, carbohydrates for sustained energy, and fats for calorie density and satiety. If breakfast is light on protein, load it into lunch and dinner instead.
Consider your hiking schedule when timing meals. Heavy hiking days need more calories distributed throughout the day. Rest days can have simpler meal plans. Lunch is your most flexible meal since you can eat it whenever hunger strikes on the trail.
Label each day's meals clearly so you know exactly what to eat and when, removing all guesswork on the trail.
Use waterproof bags or containers that withstand the pack environment. Ziplock bags work fine but double-bag anything prone to leaking. Consider vacuum-sealing heavier items to save space, though regular bags work equally well for backpacking.
One organizational hack: use different colored bags for different days, or create a simple spreadsheet before your trip showing each day's calorie breakdown. This gives you confidence that your nutrition is dialed in.
Pro tip: Pack your food bags in reverse order of consumption, with day one at the top of your food bag so you're not digging through everything to find breakfast.
Step 4: Pack, Store, and Test for Trail Readiness
How you pack your food matters as much as what you pack. Proper storage protects your meals from damage, keeps everything accessible, and ensures your pack stays balanced throughout your hike. This step is where meal prep meets practical execution.
Start by using waterproof bags and containers to protect your food. Using waterproof bags and double-bagging food prevents damage from moisture while keeping your pack organized. Double-bagging is especially important for anything prone to leaking or crushing. Consider investing in lightweight, durable resealable bags designed specifically for backpacking.
When packing your food into your backpack, follow these key principles:
- Place heavier items close to your back and higher in the pack for better balance
- Keep frequently accessed items like lunch snacks near the top or side pockets
- Store water purification tablets and meals near the opening for easy access
- Distribute weight evenly side to side to prevent pack tilt and shoulder strain
- Use compression to minimize wasted space in your food bags
Take your packed backpack on a weekend practice hike before your actual trip. Pay attention to how it feels, where your food sits in relation to other gear, and whether you can access meals easily. Notice if any bags shift or if moisture seeps in. Adjust accordingly.
Test your complete meal setup on a practice hike to catch problems before you're three days into the backcountry.
During testing, actually eat your planned meals instead of familiar food. Notice how they taste, how long they take to prepare, and how your body responds. Some hikers discover that certain energy bars taste chalky at altitude or that instant meals don't rehydrate properly with cold water.
Pro tip: Time yourself preparing and eating each meal type during your practice hike so you know exactly how long breakfast takes and can plan your morning accordingly on the actual trail.
Master Your Backpacking Meal Prep with Confidence
Packing the perfect meals for multi-day hikes can be challenging. From calculating precise calorie needs to choosing lightweight, energy-dense foods and organizing your meals for every day on the trail you need gear that supports every step of your journey. Life Camp Adventure understands this struggle and offers durable, high-quality outdoor essentials designed to help you stay fueled and focused on your adventure.
Discover how our thoughtfully crafted camping equipment and survival gear can complement your efficient meal prep strategy. Whether you need reliable storage solutions to keep your food safe and dry or lightweight cooking gear that makes meal preparation simple and quick, Life Camp Adventure is here to equip you. Visit our site today to explore products that turn thoughtful nutrition planning into an effortless, energizing experience.
Frequently Asked Questions
How do I assess my calorie needs for multi-day hikes?
To assess your calorie needs, consider your body weight, pack weight, elevation gain, fitness level, and pace. Calculate your estimated daily calorie burn and add 10 to 15 percent as a buffer to ensure you have enough energy while hiking.
What foods should I prioritize for lightweight backpacking?
Prioritize energy-dense foods that provide maximum calories with minimal weight, such as nuts, dried fruits, and dehydrated meals. Aim for foods delivering at least 100 calories per ounce to keep your pack light while maintaining energy levels.
How do I organize my meals for a multi-day hike?
Organize your meals by daily portions using ziplock bags or containers, clearly labeling each with the day and meal type. This will help prevent decision fatigue on the trail and ensure you consume balanced nutrition each day.
What packing strategies should I use to prepare for a backpacking trip?
Pack your food in waterproof bags, placing heavier items close to your back and higher in the pack for better balance. Keep frequently accessed items easily accessible to ensure quick meals during your hike.
How can I test my meal plan before hitting the trail?
Test your meal setup on a practice hike by preparing and eating your planned meals. Pay attention to how they taste and how they perform, as this will help you adjust your meal plan based on what works best for your body.
What is the recommended ratio of dehydrated meals to snacks in my backpacking food?
A practical approach is to use about 60 percent dehydrated meals and 40 percent snacks. This mixture maintains variety while keeping meal prep simple and your pack light.
