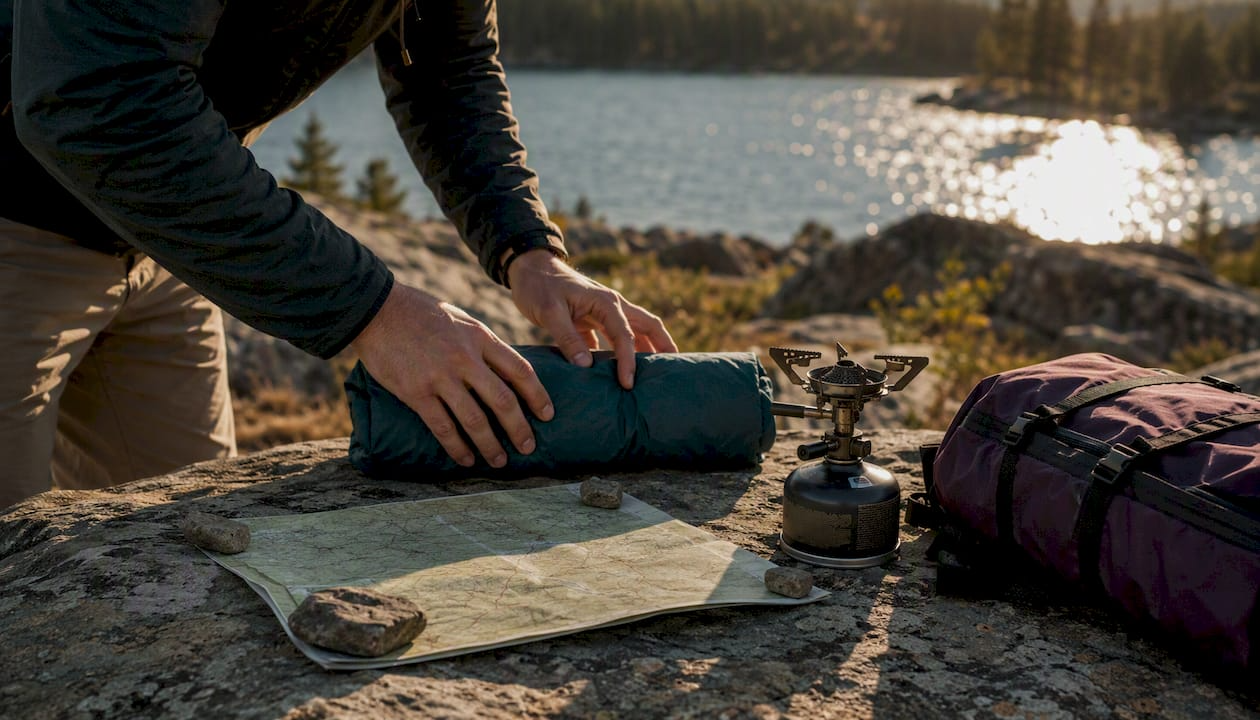
Your camping pack list starts with five non-negotiables: shelter, a sleep system, water treatment, a stove, and a navigation tool. Get those five right and everything else is optional. Miss one and you're improvising in the dark, literally.
Here's the short list to pack first, in order of priority:
- Shelter (tent, footprint, stakes, guylines)
- Sleep system (sleeping bag or quilt, insulated pad, pillow)
- Water (filter or purification tablets, bottles or reservoir)
- Stove and fuel (plus lighter and pot)
- Navigation (map, compass or GPS device)
- First aid kit (custom-built for your trip)
- Headlamp (with spare batteries)
- Food (planned meals plus one extra day's supply)
- Rain layer and insulation (shell jacket, puffy or fleece)
- Multi-tool or knife
That's your foundation. A printable checklist template appears later in this article so you can copy, customize, and print it before your trip.
Pro Tip: Organizing by function, not by bag, is the single best habit you can build. Missing an entire category, like forgetting your entire cook kit, is far more common than forgetting one item. A reusable printed checklist and labeled gear bins solve this almost completely.
Key Takeaways
| Point | Details |
|---|---|
| Big Three first | Shelter, sleep system, and pack make up 60%–80% of base weight; cut weight here before anywhere else. |
| Organize by category | Pack sleep, cook, shelter, and clothing as separate kits to avoid missing an entire category. |
| Check consumables | Verify stove fuel, batteries, and permits before every departure; these are the most commonly forgotten items. |
| Match list to trip type | Use the car camping, backpacking, ultralight, or seasonal checklist that fits your specific trip. |
| Lifecampadventure gear | Lifecampadventure covers every category on this list, from tents and sleeping bags to cookware and navigation tools. |
What goes on a camping pack list first: the Big Three and basecamp essentials
Backpacking gear falls into six core groups: shelter, sleep system, pack, cooking, water, and safety/navigation. That's where your money and your attention belong first.Core basecamp essentials:
- Tent or shelter (with all components)
- Sleeping bag or quilt rated for your expected low temperature
- Sleeping pad (insulated, with appropriate R-value)
- Backpack or duffel (sized for trip length)
- Headlamp with spare batteries
- Camp stove and fuel canister
- Water filter or purification tablets
- First aid kit
- Navigation tools (map, compass, or GPS)
- Knife or multi-tool
The logic is straightforward: if your shelter fails, your sleep suffers; if your sleep suffers, your judgment suffers. Everything downstream, from cooking to navigation, depends on arriving at camp rested and dry.
Pro Tip: Build a custom first aid kit rather than buying a pre-packaged one. Off-the-shelf kits often skip blister care, which is the most common trail injury, and they rarely include your personal medications. Add moleskin, ibuprofen, antihistamine, and any prescription items specific to your group.
How to choose and pack your shelter setup
Your shelter checklist should include:
- Tent body and rainfly (or tarp/bivy alternative)
- Tent footprint or ground cloth
- Stakes (bring extras, at least four more than the tent requires)
- Guylines (pre-attached or separate)
- Seam sealer and tent repair tape
- Pole repair sleeve
Footprint vs. tarp vs. bivy: A footprint protects your tent floor and extends its life, making it worth the small weight penalty on most trips. A tarp works well in open terrain with low insect pressure, since it offers no bug protection. A bivy is the ultralight option for solo backpackers who want minimal weight and don't mind tight quarters. In wet or buggy conditions, a full tent with a footprint is the most reliable choice.
A few setup habits that save time and gear: stake out your tent before threading poles so the fabric doesn't drag on the ground. Clip guylines to trees or trekking poles at a 45-degree angle for wind resistance. Store your footprint inside the tent bag so it's never left behind.
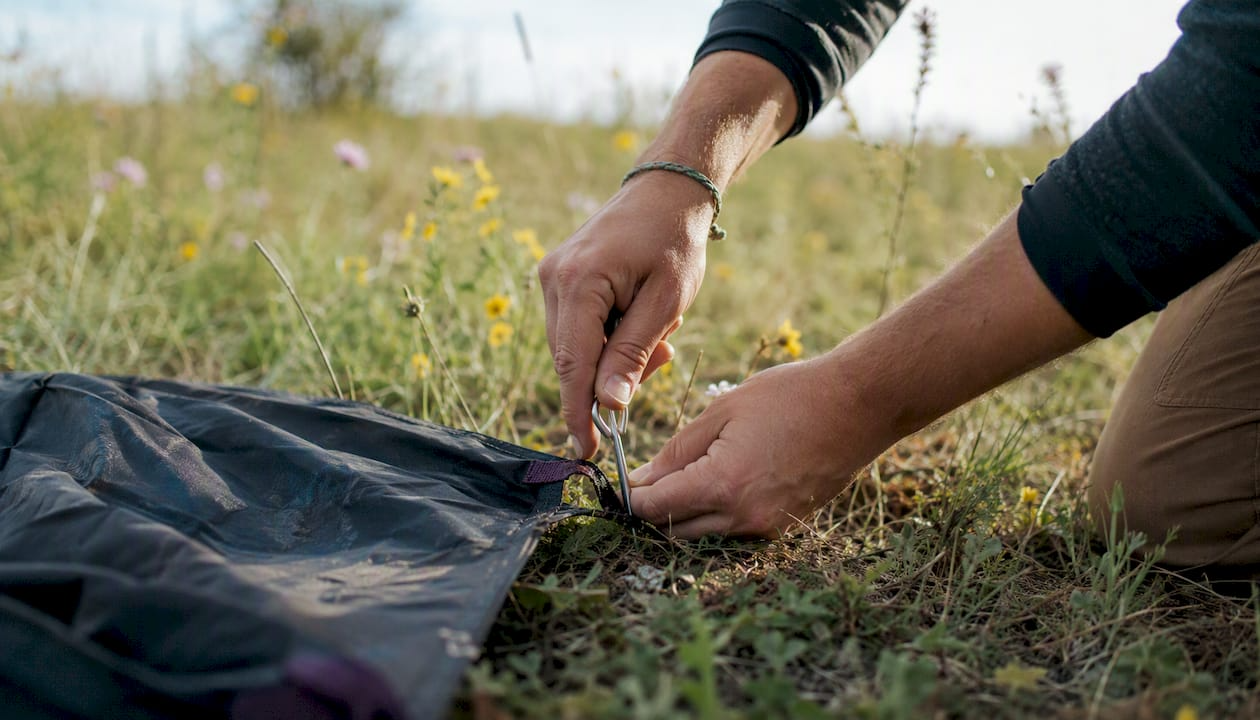
Pro Tip: Pre-stake your guylines at home and mark the correct length with a knot or cord lock. At camp, especially in fading light, you'll set up faster and avoid the frustration of untangling lines after a long drive.
What your sleep system needs to keep you warm and rested
A poor night's sleep ruins a trip faster than bad weather. Your sleep system checklist:
- Sleeping bag or quilt (temperature-rated at least 10°F below your expected low)
- Sleeping pad (insulated air pad or closed-cell foam)
- Inflatable or compressible pillow
- Sleeping bag liner (adds 10°F–15°F of warmth and keeps your bag clean)
- Extra insulation layer (light puffy jacket doubles as a pillow or extra warmth)
R-value explained simply: R-value measures how well a pad insulates against cold ground. For summer camping above 40°F, an R-value of 2–3 is adequate. Three-season camping calls for R-3 to R-4. Winter camping on snow or frozen ground needs R-5 or higher. For exposed winter conditions, stack a closed-cell foam pad under an insulated air pad to reach the required R-value without buying a single expensive pad.
Sleeping bags lose loft when compressed for long periods. Store yours loosely in a large mesh sack at home and only compress it into its stuff sack for transport. When packing, place the sleeping bag at the bottom of your backpack, closest to your back, for better weight distribution.
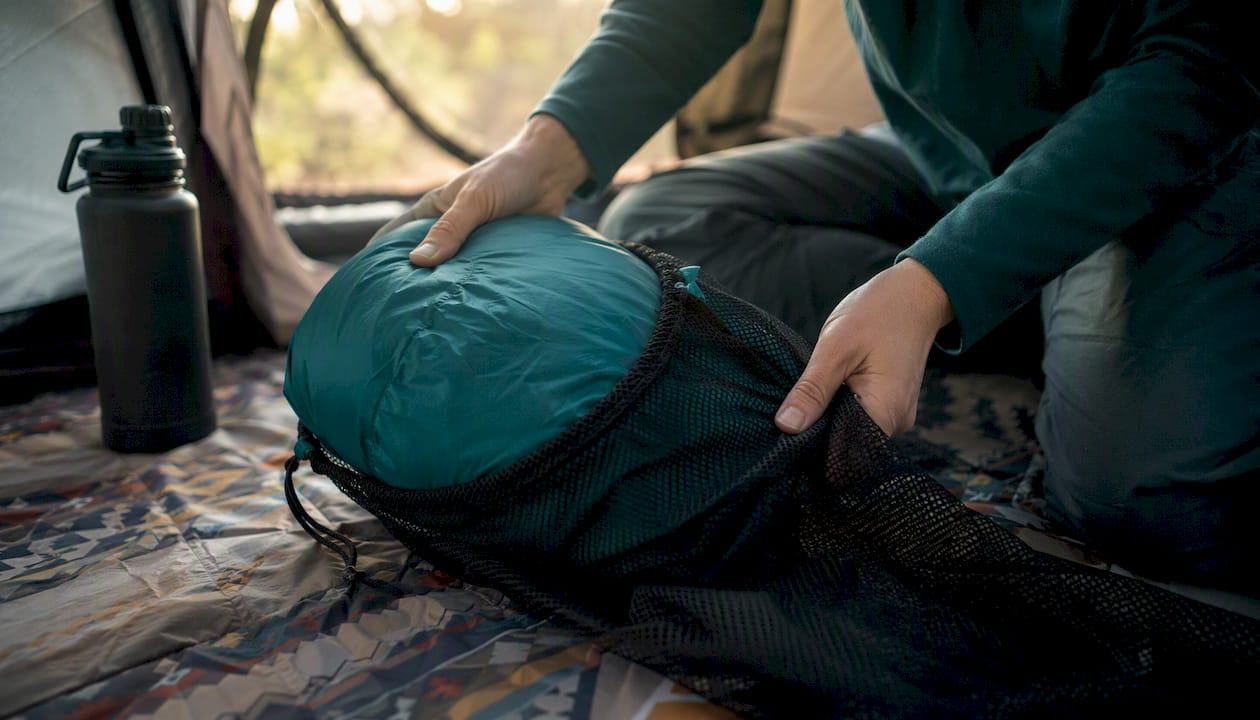
Pro Tip: Always keep a dry set of clothes sealed in a waterproof bag specifically for sleeping. Wet base layers drop your core temperature overnight even in mild weather. This one habit costs nothing and prevents most cold-night emergencies.
Camp kitchen and water: what to pack for cooking and hydration
Think of your camp kitchen as a single, self-contained kit. Treat your camp like a small home with a dedicated kitchen zone, and pack it accordingly.
Core cooking kit:
- Camp stove (canister, alcohol, or wood-burning depending on trip type)
- Fuel canister (one canister per two to three days for a solo cook)
- Pot or cook system (one pot handles most backpacking meals)
- Spork or utensil set
- Lighter plus waterproof matches as backup
- Dish soap, small scrubber, and camp towel
- Trash bags (two: one for food waste, one for recyclables)
- Bear canister or hang bag (required in many parks)
Water plan:
- Primary filter (squeeze filter, pump filter, or UV pen)
- Backup purification tablets
- Water bottles or hydration reservoir (at least 2 liters of carry capacity per person)
- Collapsible water container for camp use
For water filtration options specific to camping and backpacking, the choice between a squeeze filter and a UV pen often comes down to group size: squeeze filters are faster for solo use, while UV pens treat larger volumes quickly.
Food storage and safety: Many national parks and wilderness areas require bear canisters by regulation. Check Recreation before your trip for site-specific food storage rules. Even where canisters aren't required, hanging food at least 10 feet high and 4 feet from the trunk is standard practice. Never store food, scented items, or trash inside your tent.
Organizing your camp cooking workflow around a single pot system cuts weight and cleanup time significantly. One pot that serves as both cookware and eating vessel is the most practical choice for backpacking.
What clothing to pack and how to layer it by season
The layering system works in three stages: a moisture-wicking base layer, an insulating mid-layer, and a weather-blocking shell. For most three-season trips, experienced backpackers carry a minimal clothing set and adjust insulation per trip rather than packing for every scenario.
Clothing checklist:
- Base layer top and bottom (merino wool or synthetic)
- Mid-layer fleece or light puffy jacket
- Waterproof shell jacket (and rain pants for wet climates)
- Two to three pairs of hiking socks (wool preferred)
- Hiking pants or shorts (one pair per three days)
- Camp shoes or sandals (lightweight, for around camp)
- Sun hat and warm hat
- Gloves (even in summer for high-elevation nights)
- Gaiters (for muddy, snowy, or brushy terrain)
For base layering fabric choices and how to select the right weight for your conditions, merino wool manages odor better over multi-day trips while synthetic dries faster after rain.
Seasonal clothing swaps:
| Season | Key additions | What to skip |
|---|---|---|
| Summer | Sun shirt, extra socks, sandals | Heavy insulation |
| Fall/Spring | Puffy jacket, rain pants, warm hat | Cotton base layers |
| Winter | Down jacket, balaclava, insulated pants | Lightweight shell only |
| Wet weather | Waterproof gaiters, extra dry bags | Cotton anything |
Packing tip: Roll clothing tightly and pack it into compression sacks or dry bags. Keep your sleep set, meaning the dry base layer and socks reserved for sleeping, in a separate sealed bag so it's never accidentally used during the day.
Navigation, safety, and the Ten Essentials for camping
The Ten Essentials framework has guided outdoor safety for decades, including advice on GPS and visibility gear from the new runner safety gear explained guide. Here's the list adapted for both car camping and backpacking:
- Navigation (topographic map plus compass; GPS device as backup)
- Sun protection (SPF 30+ sunscreen, UV-blocking sunglasses, sun hat)
- Insulation (extra layers beyond what you're wearing)
- Illumination (headlamp with fresh batteries; backup flashlight)
- First aid supplies (custom kit with blister care and personal meds)
- Fire (lighter, waterproof matches, fire-starting tinder)
- Repair tools and knife (multi-tool, duct tape, cord)
- Nutrition (extra day's food beyond your planned meals)
- Hydration (extra water capacity and purification backup)
- Emergency shelter (bivy sack, space blanket, or tarp)
Car camping vs. backpacking: Car campers can leave some items, like a full repair kit or extra food cache, at the vehicle. But any item on this list that you carry away from camp on a day hike should travel with you. Navigation tools, first aid, water, and emergency shelter belong in your day pack every time you leave the campsite.
For multi-day remote trips, a personal locator beacon (PLB) or satellite communicator adds a layer of safety that no other item can replicate. Check permit requirements at Recreation.gov before your trip, since some wilderness areas have specific rules about group size, fire, and food storage that affect what you pack.
Pro Tip: Download offline maps for your area before leaving cell service. Apps like Gaia GPS or Avenza Maps let you navigate without a signal. Carry a paper topo map as a backup, since phone batteries fail in cold weather faster than most people expect.
Tools, repair items, and campsite maintenance
Small repair items prevent big problems. Pack these in a single zippered pouch so they're always findable:
- Multi-tool or folding knife
- Duct tape (wrap a short length around a water bottle to save space)
- Paracord or thin utility cord (15–20 feet)
- Needle and thread (a few feet wound around a small card)
- Tent pole repair sleeve
- Tent fabric repair tape (self-adhesive)
- Spare tent stakes (four minimum)
- Rubber mallet or stake hammer (car camping only)
- Gear ties or zip ties (a handful)
Store this kit in a bright-colored pouch so it stands out in a dark bag. At camp, hang it near the tent entrance rather than burying it in your pack.
Pro Tip: For a quick guyline repair in the field, a simple overhand loop tied with paracord and clipped to a stake works as a replacement for any broken guyline clip. Pre-cut two spare lengths of paracord at home and store them in your repair pouch. This fix takes 30 seconds and has saved more than a few tent setups in a storm.
Hygiene, toiletries, and Leave No Trace basics
Toiletries checklist:
- Toothbrush and toothpaste (travel size)
- Biodegradable camp soap (works for hands, dishes, and body)
- Hand sanitizer (alcohol-based, 60%+ alcohol)
- Toilet paper (packed out in a sealed bag, not buried)
- Trowel (for catholes at least 200 feet from water, trails, and camp)
- Feminine hygiene products (packed out completely)
- Sunscreen and lip balm
- Insect repellent
- Prescription medications and daily vitamins
- Small camp towel (microfiber dries fastest)
Note on hand sanitizer: alcohol-based gel is effective against most bacteria and many viruses, but it does not reliably eliminate norovirus. For norovirus prevention at camp, soap and water, or a biodegradable camp soap with clean water, is more effective. Carry both.
Leave No Trace principles should shape your packing decisions before you leave home, not just your behavior at camp.Firewood collection rules vary by location. Many parks prohibit collecting any wood from the ground to protect soil ecology. Bring a small bundle of purchased, certified firewood from near your destination rather than transporting it from home, which can spread invasive species.
Comfort, lighting, and entertainment: what to bring and what to skip
Comfort items earn their weight on family trips and car camping weekends. They rarely earn it on a backpacking trip.
Worth bringing:
- Compact camp chairs (car camping; skip for backpacking)
- Lantern (battery or solar; a headlamp doubles as a lantern in a pinch)
- Camp blanket or packable throw
- Battery power bank (for phones, headlamps, and GPS devices)
- Playing cards or a small travel game
- Books or e-reader
- Hammock (lightweight options work for backpacking)
Skip on backpacking trips: full-size coolers, cast iron cookware, large folding tables, and heavy camp chairs. Replace them with a soft-sided insulated bag, a titanium pot, and a lightweight sit pad.
For kids, the American Camp Association recommends keeping entertainment items activity-specific and limited in number. A single small bag of games or art supplies beats a pile of options that never get used. Assign each child their own small stuff sack for personal items so nothing gets lost in the family gear pile.
Pro Tip: A battery-powered lantern hung inside the tent creates a calm, readable light for kids at bedtime without the fire hazard of candles. Many models double as a power bank. One item, two uses, and it earns its spot every trip.
Scenario-specific packing lists: car camping, family, backpacking, ultralight, and seasonal
Car camping checklist
Car camping lets you prioritize comfort over weight. Focus on:
- Large cooler with ice or ice packs
- Folding camp chairs and table
- Full-size lantern
- Extra water containers (5-gallon jug)
- Tarp or canopy for shade and rain cover
- Full cook kit (multiple pots, cutting board, camp grill)
- Comfortable sleeping setup (cot or thick pad)
- Power station or generator for charging
For a deeper car camping gear guide with product recommendations by category, the priorities shift toward comfort and volume rather than weight.
Family camping checklist
Family trips need extra layers of planning. Key additions beyond the standard list:
- Extra clothing sets per child (one per day plus two spares)
- Child-specific first aid items (children's pain reliever, rash cream)
- Kid-friendly snacks in accessible pockets
- Entertainment bag (cards, coloring supplies, small toys)
- Baby wipes (useful for everyone, not just kids)
- Portable high chair or booster for toddlers
- Nightlight for tent use
- Extra trash bags
The American Camp Association's packing guidance is worth reviewing when building a family list, since it highlights how quickly a family list grows when you add activity-specific items for each child.
Backpacking checklist
Weight is the constraint. Focus on:
- Big Three gear (shelter, sleep system, pack) at the lowest weight you can afford
- Single-pot cook system
- Squeeze water filter plus backup tablets
- Lightweight clothing set (two base layers, one mid, one shell)
- Trekking poles (reduce knee strain and double as tent poles for some shelters)
- Permit and park rules printed or downloaded offline
For backpacking trip planning tips that go beyond gear, the planning process itself, including permit timing and resupply strategy, is as important as what's in your pack.
Ultralight checklist
Base weight targets: ultralight is under 10 lb, lightweight is 10–15 lb, traditional is 15–30 lb. Ultralight swaps:
- Tarp or bivy instead of a freestanding tent
- Down quilt instead of a mummy bag
- Alcohol stove or cold-soaking instead of a canister stove
- Titanium spork instead of a full utensil set
- Minimal clothing: one base layer, one puffy, one shell, two pairs of socks
- No camp shoes (trail runners serve both purposes)
For compact cookware options that work for ultralight setups, a single titanium pot with a lid that doubles as a pan covers most cooking needs.
Seasonal additions
| Season | Key additions | Notes |
|---|---|---|
| Wet weather | Waterproof gaiters, extra dry bags, seam sealer | Treat all seams before the trip |
| Hot weather | Sun shirt, electrolyte tablets, extra water capacity | Start hydrating the day before |
| Winter | Insulated pad (R-5+), four-season tent, balaclava, hand warmers | Layer closed-cell foam under air pad |
How to decide what to pack: a repeatable planning process
Follow this four-step flow before every trip:
- Define constraints. Trip length, expected weather, permit requirements, and group size all determine what's mandatory. A two-night summer trip in a car-accessible campground has very different constraints than a five-day winter backpack.
- Lock in the Big Three. Choose shelter, sleep system, and pack first. These three items account for 60%–80% of base weight, so any weight savings here has the largest payoff.
- Add situational items. Layer in cooking, water, clothing, and safety gear based on your specific conditions. Use the scenario checklists above as your starting point.
- Verify consumables. Check fuel levels, battery charge, and permit status. Printable checklists that explicitly list consumables, including stove fuel, spare batteries, and tent stakes, are the most reliable way to catch last-minute gaps.
Pack-reduction example: Swapping a three-pound freestanding tent for a one-pound tarp with trekking poles saves two pounds instantly. Replacing a two-pound sleeping bag with a 14-ounce down quilt saves another pound and a half. Those two swaps alone move a traditional pack into the lightweight category without touching any other item.
Pro Tip: Stage your gear on the floor before packing it. Lay out every item by category, then photograph the layout. That photo becomes your reference for future trips and helps you spot duplicates or missing categories before you leave home.
- Check permits and reservation rules at Recreation at least two weeks before your trip.
- Weigh your pack after staging. If it exceeds your target, cut from the Big Three first, then clothing, then comfort items.
- Keep a laminated copy of your checklist in your gear bin so it's ready for the next trip.
For a day hike checklist covering what to carry when you leave basecamp, the Ten Essentials list above is your minimum.
Printable, copyable packing checklist templates: overnight and weekend family
Copy either template below into your notes app, a spreadsheet, or print it directly.
Overnight/backpacking checklist (essentials-first)
- Tent or tarp with stakes and guylines
- Sleeping bag or quilt (temperature-rated)
- Sleeping pad (appropriate R-value)
- Backpack (sized and fitted)
- Headlamp with spare batteries
- Camp stove, fuel, pot, and spork
- Water filter and backup tablets
- Water bottles or reservoir (2 L minimum per person)
- First aid kit (custom)
- Map and compass or GPS device
- Knife or multi-tool
- Rain jacket and insulating layer
- Base layer top and bottom (sleep set, sealed)
- Two pairs of hiking socks
- Sun hat and warm hat
- Sunscreen and insect repellent
- Biodegradable soap and hand sanitizer
- Toilet paper and trowel (packed out)
- Planned meals plus one extra day's food
- Bear canister or hang bag (check local rules)
- Lighter and waterproof matches
- Repair kit (duct tape, cord, tent tape)
- Trash bags
Weekend family car-camping checklist (expanded)
- Tent with footprint, stakes, and guylines
- Sleeping bags for all family members
- Sleeping pads or cots
- Pillows and camp blankets
- Headlamps (one per person) with spare batteries
- Lantern (battery or solar)
- Camp stove, fuel, full cook kit
- Cooler with ice and food
- Water containers (5-gallon jug plus bottles)
- Water filter or purification tablets
- Plates, bowls, cups, and utensils (one set per person)
- Dish soap, scrubber, and camp towel
- Trash bags and recycling bag
- Bear canister or food hang supplies
- First aid kit (with children's medications)
- Sunscreen, insect repellent, and lip balm
- Toiletries bag (toothbrush, soap, toilet paper, trowel)
- Clothing: three days per person plus two spare sets for kids
- Rain jackets for all family members
- Camp chairs and folding table
- Tarp or canopy
- Kids' entertainment bag
- Battery power bank
- Navigation tools and park map
- Permits and reservation confirmation (printed or downloaded)
- Lighter, matches, and fire-starting supplies
- Repair kit and multi-tool
- Baby wipes and extra trash bags
Customizing your list: Add a column for "packed" and "checked" so two people can verify the list independently. Keep a digital copy in your phone's notes app and a laminated paper copy in your gear bin. Before every trip, run through consumables specifically: fuel, batteries, and permits are the three most commonly forgotten items.
What packing tests actually teach you about your list
Most campers don't realize how much dead weight they carry until they stage everything on the floor and weigh it. The first time you do that exercise, the result is usually surprising.
On a recent three-night backpacking trip, the initial staged pack weighed 28 pounds. Two items accounted for nearly four pounds of that: a full-size camp pillow and a second fuel canister that wasn't needed for a three-day trip with a single cook. Cutting those two items dropped the pack to 24 pounds without removing anything that mattered.
The lesson wasn't about those specific items. It was about the habit of staging and weighing before committing to a pack. Families benefit from this even more than solo campers, because the combined gear pile for four people grows fast and the redundancies multiply. Two families sharing one camp often bring three lanterns, four sets of dish soap, and five lighters. Staging reveals that immediately.
For first-timers: pack conservatively the first time, note what you never touched, and remove those items from the list permanently. After two or three trips, your list becomes genuinely personal rather than a generic template.
Gear that covers your whole list: Lifecampadventure
Putting together a complete camping pack list is one thing. Finding gear that actually holds up across all those categories is another.
Lifecampadventure carries the full range: tents, sleeping bags, camp furniture, cookware, stoves, backpacks, navigation tools, safety and survival gear, lanterns, and apparel. Whether you're building a first-time family setup or upgrading specific pieces of your backpacking kit, the camping gear comparison covers the top-rated options across every category. For shelter specifically, the tent comparison guide walks through the key specs by trip type so you're not guessing on the most important item in your pack. Browse the full store and check off your list in one place.
Sources
- Backpacking Gear Checklist (2026) | Peak Gear Guide
- Camping Packing List (Printable Checklist) | AllCampsAndParks
- What Should I Pack for Camping? A Checklist for Every Occasion | GearJunkie
- Why Leave No Trace? | LNT
- What to Bring to Camp | American Camp Association
