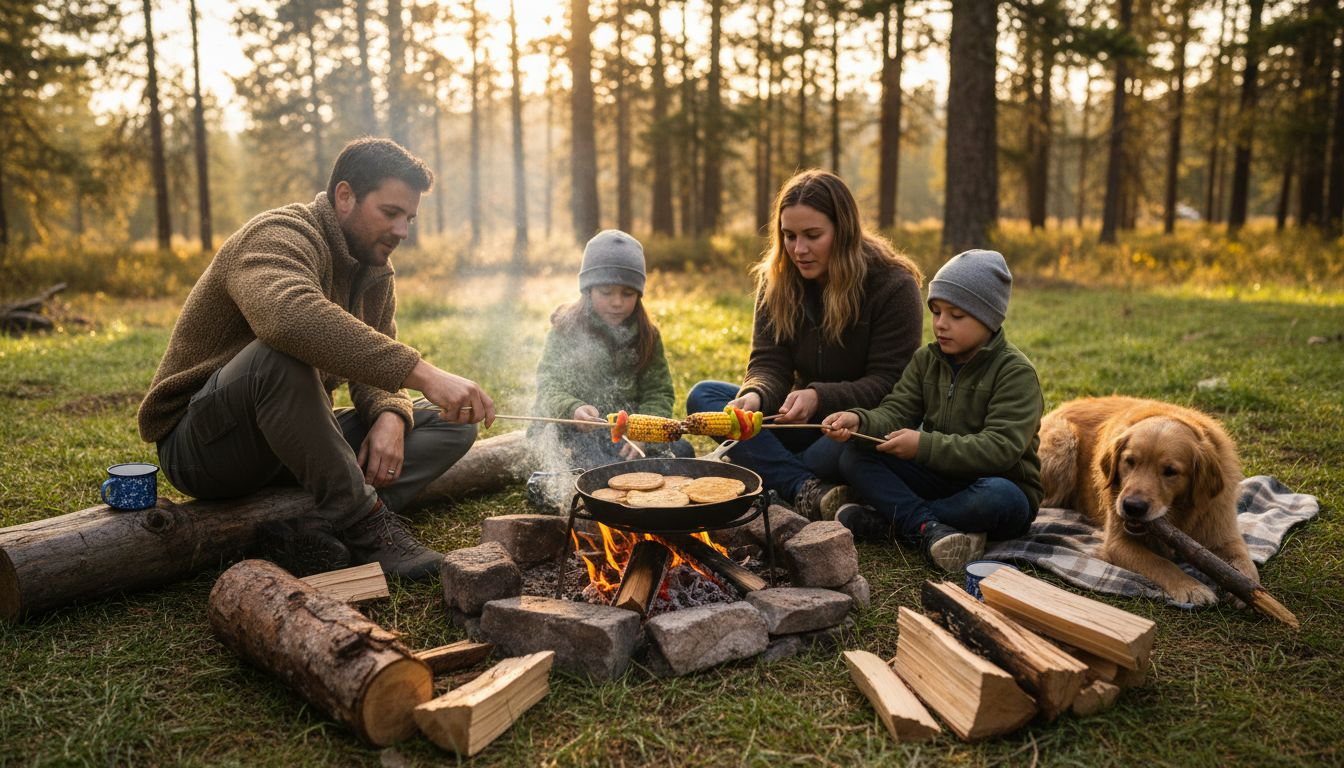
Lighting a campfire in the middle of a quiet American campground sounds simple, but the difference between a burned meal and a memorable feast is all in the preparation. Balancing fun and flavor becomes easy when you have the right gear, safe habits, and prepped ingredients ready to go. By focusing on essential campfire cooking gear and proven safety steps, you can spend more time making memories and less time dealing with messy mishaps.
Quick Summary
| Key Insight | Explanation |
|---|---|
| 1. Assemble essential cooking gear | Gather cast iron skillets, Dutch ovens, and safety equipment to ensure successful campfire cooking. |
| 2. Prioritize campfire safety | Choose a clear site, remove flammable materials, and maintain close supervision while the fire burns. |
| 3. Prep ingredients ahead of time | Cut and marinate ingredients at home to save time and reduce stress while cooking outdoors. |
| 4. Use proven cooking techniques | Master methods like direct flame, hot coals, and cast iron for better control over your meals. |
| 5. Verify food doneness with thermometers | Use a meat thermometer to ensure proteins are safe to eat, preventing foodborne illnesses. |
Step 1: Prepare essential campfire cooking gear
Before you head out to your campsite, you need to understand what gear actually makes the difference between enjoying a delicious meal and struggling with subpar cooking. The right equipment transforms campfire cooking from frustrating to genuinely fun. Start by gathering the core pieces that handle heat, contain your food safely, and give you control over temperature. Cast iron skillets and Dutch ovens are your workhorses because they distribute heat evenly and last for decades. Aluminum foil serves as your flexible cooking surface for wrapping vegetables, fish, or meat directly in the flames. A quality grill grate sits above your fire and holds pots, pans, or skewers at adjustable heights. You'll also want a tripod or chain system to hang cookware over the flames, which gives you precise temperature control by raising or lowering your food.
Safety gear matters just as much as cooking gear. Long tongs keep your hands far from heat and flames, while insulated gloves or thick hot pads protect you from serious burns. A probe thermometer lets you verify that meat reaches safe internal temperatures without guessing. Before you leave home, assemble your camping cooking utensil kit with essential tools like spatulas, serving spoons, and forks. Pack a fire extinguisher or confirm water access at your site because safety precautions when using gear outdoors prevent accidents from becoming disasters. Organization matters too. Store all your gear in a dedicated bag or container so you can grab everything without leaving pieces behind. Prep ingredients at home whenever possible, cutting vegetables and marinating proteins before you arrive at camp. This approach saves time, reduces frustration, and lets you focus on the actual cooking experience rather than scrambling with a knife over a wobbly camping table.
Pro tip Pack your gear the night before in the exact order you'll use it, and place your fire extinguisher within arm's reach of your cooking area before you light any flames.
Step 2: Build and maintain a safe campfire
Building a safe campfire is not just about creating flames; it's about preventing accidents and respecting the land you're using. A secure campfire starts with location and preparation. Scout your area for an ideal spot away from tents, trees, and brush. Clear a 10-foot radius around your fire pit by removing leaves, pine needles, branches, and any other flammable materials that could ignite unexpectedly. Create a defined fire ring using rocks or a metal ring to contain your flames and prevent them from spreading. Check that there's no overhanging vegetation that could catch fire from rising heat. This preparation step takes only 10 to 15 minutes but makes an enormous difference in safety. Keep a shovel, water source, and fire extinguisher within immediate reach before you light anything. Adult supervision is non-negotiable if children are present, and everyone at your campsite should understand fire safety basics. When building your actual fire, start with tinder like dry leaves or small twigs, then add kindling, and finally larger logs. Build your fire gradually rather than dumping all your wood at once. This approach gives you better temperature control and reduces the risk of sudden flare-ups.
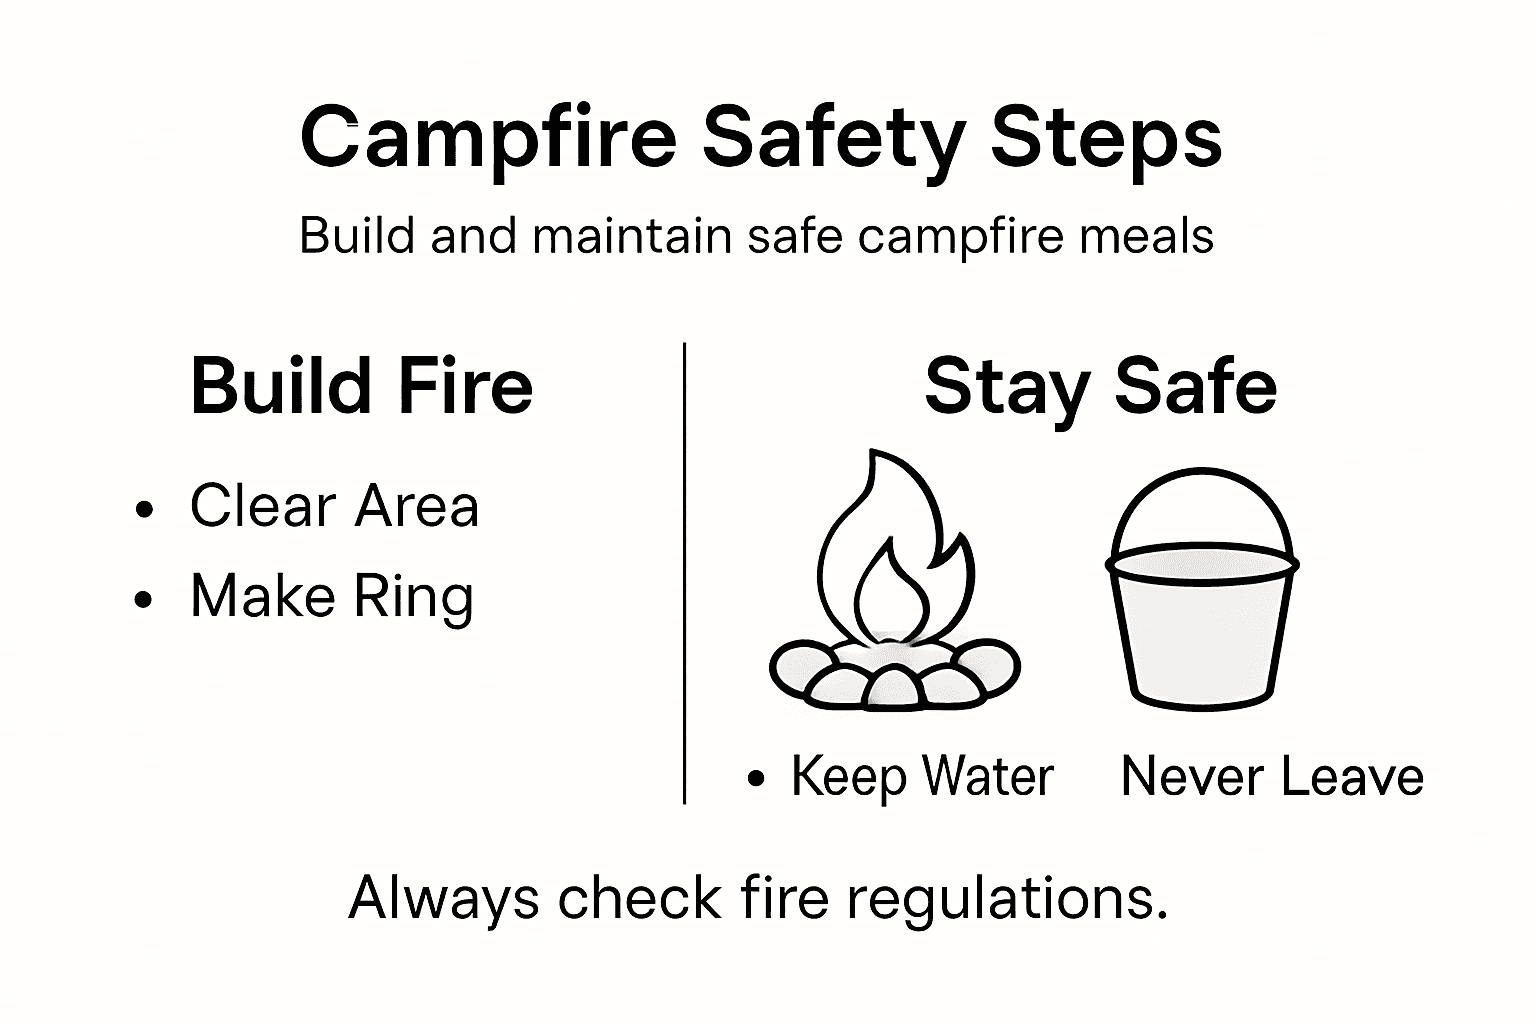
Maintaining your campfire throughout the evening requires constant attention. Never leave a burning fire unattended, even for a few minutes. Keep flames at a manageable height by managing how much wood you add. Campfire safety protocols emphasize keeping water nearby so you can quickly respond to any unexpected sparks or embers escaping your fire ring. Before going to bed or leaving your campsite, fully extinguish your fire. Stir the ashes, add water, stir again, and repeat until the fire is completely cold. Test by placing your hand near the ashes to confirm there's no residual heat. This thorough extinguishing process prevents wildfires and respects the forest around you. Your next fire should start from scratch with fresh materials, never from partially smoldering embers left from a previous fire.
Pro tip Build your fire in the early evening while it's still light outside, so you can clearly see your 10-foot clearance zone and spot any hazards you might have missed during setup.
Step 3: Select and prep fresh ingredients
Choosing the right ingredients for campfire cooking determines whether your meal tastes amazing or falls flat. You want fresh, flavorful foods that can handle the unpredictability of open flame cooking. Start by selecting ingredients that transport well without bruising or spoiling during your trip. Sturdy vegetables like bell peppers, zucchini, onions, and potatoes hold up beautifully to campfire heat and don't require refrigeration for a weekend trip. Proteins matter too; chicken breasts, ground beef, and thick fish fillets cook evenly over flames without falling apart. Avoid delicate items like soft cheeses or berries that won't survive the journey or the cooking method. Think about what actually works with your cooking setup. If you're using cast iron, you need ingredients that can handle direct, intense heat. If you're roasting over flames on skewers, choose foods that won't require constant attention or precise temperature control. Fresh garlic, herbs like rosemary and thyme, and quality oils elevate your campfire meals without adding weight to your pack. The key is selecting ingredients that work well for outdoor cooking and transport without hassle.
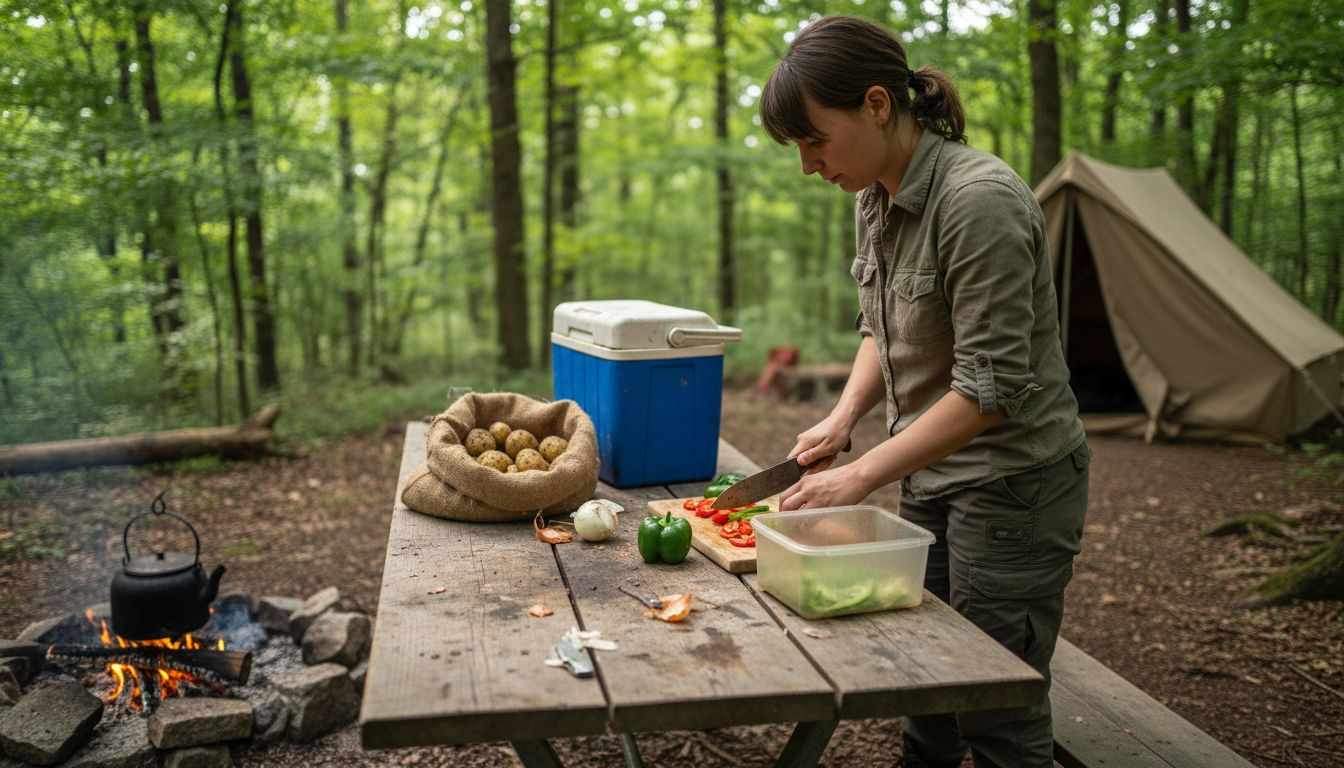
Preparation is where most campers make mistakes. Do your chopping and measuring at home before you leave, not fumbling with a knife while sitting on a camp stool next to an open fire. Wash vegetables, cut them into consistent sizes so they cook evenly, and store them in labeled containers. Measure out dry ingredients like seasonings and store them in small bags or containers instead of bringing full jars. Preparing ingredients in advance while your fire heats up eliminates the stress of managing raw food near flames. Marinate proteins at home if your cooler allows it, so flavors develop during your drive. Pack ingredients in the order you'll use them, making it easy to grab what you need without digging through your entire food supply. Pre-portion meat into servings so you know exactly how much you're cooking for each person. This approach saves time, reduces waste, and lets you focus on actually enjoying the cooking experience rather than rushing through prep work in uncomfortable conditions.
Pro tip Pack all your prepped ingredients in clear containers so you can instantly see what you have without opening multiple bags, and label each container with the dish name and cooking time.
Step 4: Cook meals using proven campfire techniques
Campfire cooking works differently than your kitchen stove, and mastering a few core techniques turns you from a frustrated camper into a confident cook. The three main methods are direct flame cooking, cooking over hot coals, and using cast iron or Dutch ovens. Direct flame cooking works best for foods that cook quickly like hot dogs, marshmallows, and thin fish fillets. Hold your food on a stick or skewer at least 12 inches from active flames, rotating frequently to prevent burning. This method requires attention but delivers fast results. Hot coal cooking delivers steadier, more even heat. Let your fire burn down until the flames die and you have a bed of glowing coals. This takes about 30 to 45 minutes depending on your fire size. Adjusting your cooking distance regulates temperature precisely, so raise your grate for gentler cooking and lower it for intense heat. Cast iron skillets and Dutch ovens are campfire workhorses because they distribute heat evenly and handle rough treatment. Heat your Dutch oven in the coals, then add your ingredients. Soups, stews, and baked goods all work beautifully. The key is patience. Campfire cooking takes longer than stovetop cooking, so plan accordingly and avoid rushing.
Temperature control separates good campfire meals from burnt disasters. Start by preparing your coals properly rather than cooking directly over flames. Spread coals in a single layer for even heating. If your food is cooking too fast, move your cookware away from direct heat or raise it higher above the flames. If it's cooking too slowly, move it closer or add more coals around the edges. Watch for flare-ups caused by dripping fat and keep your fire extinguisher nearby just in case. Timing varies dramatically based on weather, fire intensity, and equipment, so check your food frequently rather than following exact timings. A meat thermometer removes guesswork and prevents serving undercooked chicken or overcooked beef. Remember that food continues cooking after you remove it from heat, so pull it off slightly before it reaches your target temperature. Start with simple one-pot meals like chili or pasta dishes before attempting complex recipes. These forgiving dishes tolerate temperature fluctuations and teach you how your specific setup behaves.
Compare these three campfire cooking methods to help choose the right one for your meal:
| Method | Best For | Time Required | Difficulty Level |
|---|---|---|---|
| Direct Flame Cooking | Hot dogs, marshmallows | 5–10 minutes | Easy, needs attention |
| Cooking on Hot Coals | Stews, foil packets | 30–60 minutes | Moderate, steadier heat |
| Cast Iron Oven | Baked goods, chili | 45–90 minutes | Advanced, slow cooking |
Pro tip Keep a written temperature guide for common foods in your cooking gear bag so you can reference safe cooking temperatures without relying on memory while managing flames and hot cookware.
Step 5: Check food for doneness and serve safely
Serving food that looks cooked is not the same as serving food that is actually safe to eat. Undercooked meat can harbor harmful bacteria, while overcooked food just tastes disappointing. The most reliable way to verify doneness is using a meat thermometer. Insert the probe into the thickest part of your meat without touching bone, and wait for the reading to stabilize. Chicken needs to reach 165 degrees Fahrenheit, ground beef 160 degrees, and whole cuts of beef or pork 145 degrees for medium rare. Fish is done when it flakes easily with a fork and reaches 145 degrees. Using food thermometers prevents undercooked meat and eliminates guessing games that lead to foodborne illness. If you do not have a thermometer, chicken should show no pink inside, and juices should run clear when pierced. Let larger cuts rest for 3 to 5 minutes after removing them from heat. This allows juices to redistribute, making the meat more tender and flavorful. Never cut into meat to check doneness because you lose those valuable juices. Once food reaches safe temperatures, serve it immediately on clean plates or containers.
Here's a quick reference for safe internal temperatures and visual doneness cues for common campfire proteins:
| Protein Type | Safe Temperature (°F) | Visual Doneness Indicator |
|---|---|---|
| Chicken | 165 | No pink, juices run clear |
| Ground Beef | 160 | Brown throughout, no pink inside |
| Whole Beef/Pork | 145 (medium rare) | Warm red center, juices slightly pink |
| Fish | 145 | Flakes easily with fork |
Cross-contamination causes most campfire food poisoning, so prevent it through simple precautions. Use separate utensils for raw and cooked foods. Never put cooked meat back on the same plate or cutting surface where raw meat sat. Wash your hands after handling raw proteins, even when camping. If you have running water, use it. If not, bring hand sanitizer or antibacterial wipes. Keep your eating area clean by removing debris and washing surfaces where food will sit. Serve hot foods hot and cold foods cold when possible. Cooked food sitting in warm campfire heat for hours becomes a breeding ground for bacteria. Eat what you prepare within 2 hours, or store leftovers in a cooler with ice. Preventing contact with contaminated surfaces throughout cooking and serving keeps your group healthy and happy. Pack wet wipes or paper towels specifically for cleaning up after meals. Store all food in bear-proof containers or hang it in a tree if you are in bear country, which also prevents attracting wildlife to your campsite.
Pro tip Bring a dedicated meat thermometer and keep it stored in a protective case in your cooking gear, then test it before each camping trip by checking the temperature of boiling water to ensure accuracy.
Elevate Your Campfire Cooking Experience with Gear You Can Trust
Mastering campfire cooking requires the right equipment, safety tools, and reliable ingredients as outlined in the "Campfire Cooking Guide for Delicious Outdoor Meals." If you have ever struggled with managing heat, organizing your cooking utensils, or ensuring food safety while camping, you are not alone. Common challenges include maintaining fire control, achieving perfect doneness, and preventing cross-contamination—all essential for enjoyable and safe outdoor meals. By choosing durable, efficient cookware and proper outdoor cooking accessories you gain confidence and ease in every step from fire building to serving.
Transform frustration into fun with top-quality campfire gear and outdoor essentials from Life Camp Adventure. We offer a selection designed to withstand rough conditions while making your cooking setup safer and simpler. Whether you need sturdy cast iron skillets, insulated gloves, or a full camping cooking utensil kit, our products are here to support your adventure. Don’t wait for the next trip to feel prepared. Visit Life Camp Adventure now and start packing with confidence. Your perfect campfire meal is just a click away, complete with solutions for safety, convenience, and flavor enhancement.
Frequently Asked Questions
What essential cooking gear do I need for campfire cooking?
To make delicious meals over a campfire, gather essential gear such as a cast iron skillet, Dutch oven, aluminum foil, and a quality grill grate. Prioritize safety items like long tongs, insulated gloves, and a meat thermometer to ensure safe cooking and prevent accidental burns.
How do I safely build and maintain a campfire while cooking?
Choose a suitable location away from tents and flammable materials. Create a defined fire ring for containment, ensure adult supervision if children are present, and keep a water source nearby to manage any sparks or embers.
What types of ingredients work best for campfire cooking?
Opt for sturdy ingredients that transport well, like bell peppers, onions, and chicken breasts. Avoid delicate items that might spoil or break apart during cooking to ensure your meals turn out flavorful and intact.
What are the main cooking techniques for preparing meals over a campfire?
Master three techniques: direct flame cooking for quick foods, cooking over hot coals for steady heat, and using cast iron for dishes like soups and stews. Each method requires different levels of attention and time, so choose based on your meal's needs.
How do I check if my campfire food is cooked safely?
Always use a meat thermometer to check the internal temperature of meat, ensuring it reaches the safe minimums: 165 degrees Fahrenheit for chicken, 160 degrees for ground beef, and 145 degrees for whole cuts. Allow meat to rest before serving to ensure tenderness and flavor.
What precautions should I take to prevent foodborne illness while camping?
Avoid cross-contamination by using separate utensils for raw and cooked foods, and wash your hands after handling raw proteins. Store leftovers properly and avoid letting cooked food sit out to maintain safe temperatures and prevent bacteria growth.
