TL;DR:
- Proper planning, organized packing, and practicing setup basics ensure a smoother camping experience.
- Selecting a flat, well-drained site near amenities enhances safety and convenience.
- Following a simple, repeatable routine for pitching, organizing, and safety checks reduces stress for beginners.
Pulling into a campsite for the first time can feel like walking into a pop quiz you never studied for. Where does the tent go? What do you set up first? Why won't the poles connect? Every new camper and outdoor family hits this wall, and it almost always happens when you're tired, hungry, and losing daylight fast. The good news is that camp setup doesn't have to feel chaotic. With a clear, repeatable process in place, you can go from parking the car to sitting around a cozy camp in under two hours. This guide walks you through every step, from packing smart to doing your final safety checks, so your family spends more time enjoying the outdoors and less time troubleshooting.
Key Takeaways
| Point | Details |
|---|---|
| Gather essentials | Packing the right gear makes your camp setup smooth and stress-free from the start. |
| Choose site wisely | A safe, flat, and well-located site means a more comfortable and enjoyable camping experience. |
| Follow setup steps | Sticking to proven tent pitching and camp arrangement routines avoids common mistakes. |
| Prioritize safety | Always keep food separate from your tent and double-check camp before dark for a restful night. |
What to bring: Basic camping essentials for a smooth setup
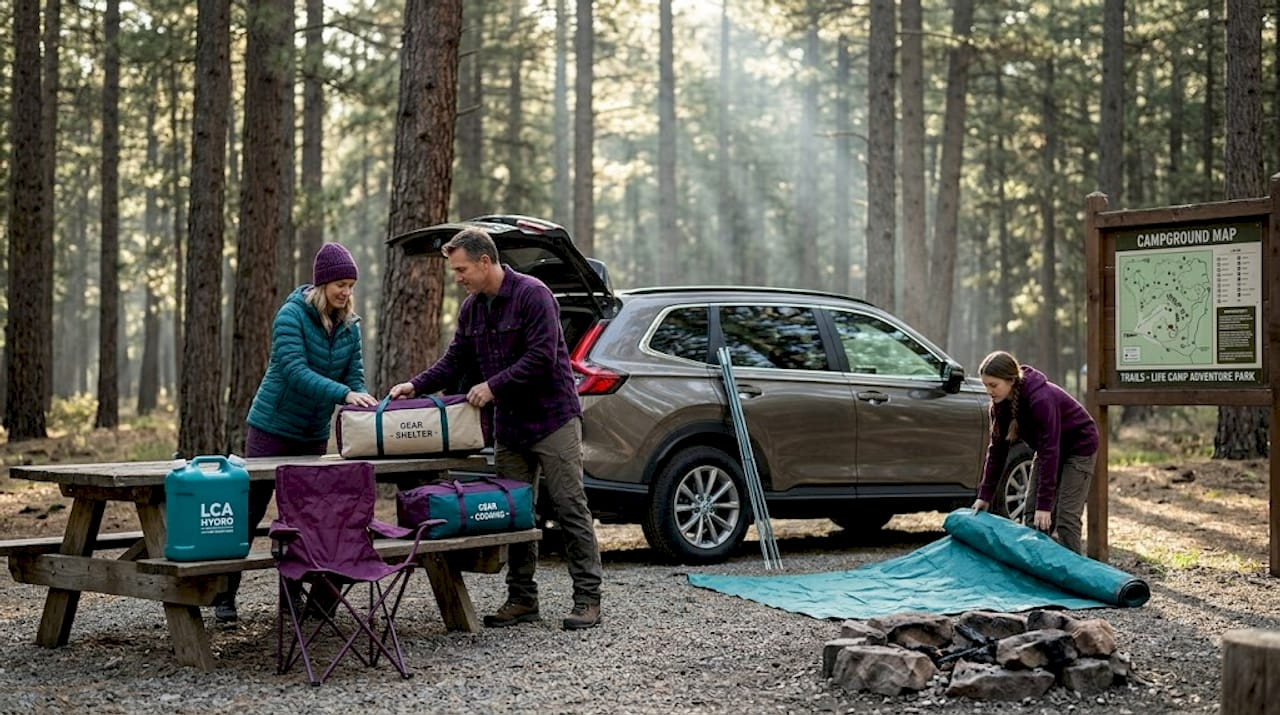
Now that you know what you'll gain by following a structured process, let's start by gathering the right gear. What you pack determines how smoothly your setup goes. Forgetting one small item like tent stakes or a mallet can turn a 30-minute job into a frustrating hour-long scramble.
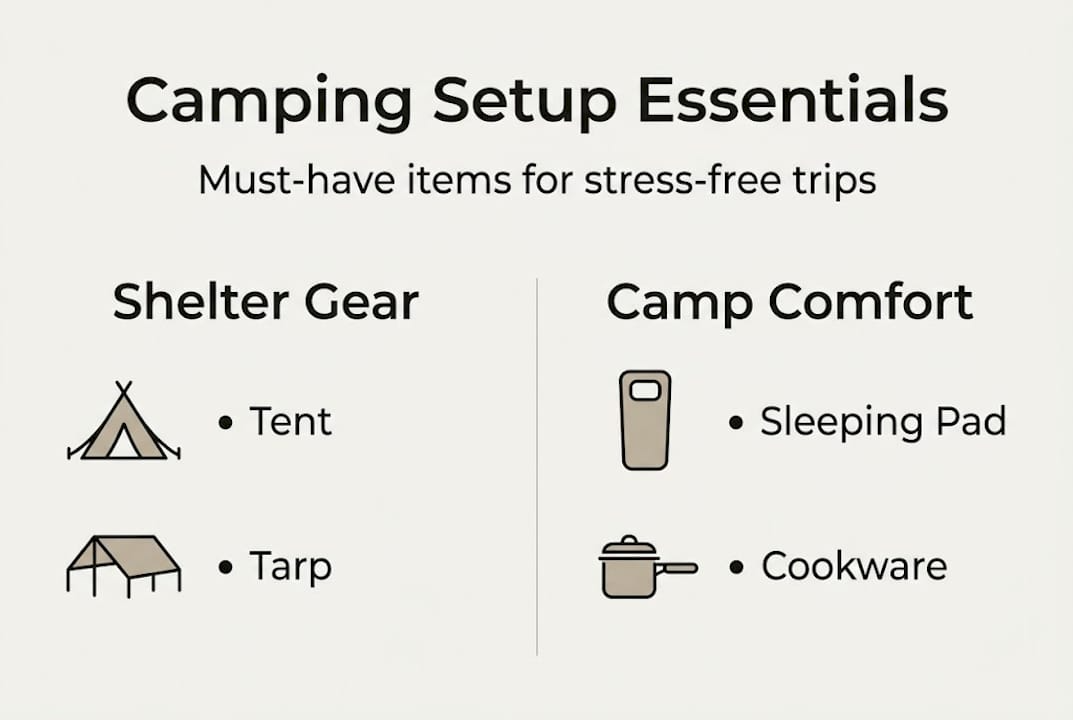
Every camper, especially first-timers, should build their packing list around these core setup items:
- Tent with poles and a footprint (a ground cloth that protects the tent floor)
- Tent stakes and a mallet for securing corners on any terrain
- Rainfly to protect against unexpected weather
- Extra tarp for shade, ground cover, or an improvised windbreak
- Headlamps or lanterns so you can keep working if setup runs long into the evening
- Food storage containers or a bear canister to keep meals and snacks safe from wildlife
- Sleeping pads or kid-friendly foam mats for comfort under sleeping bags
Families should pack an extra tarp. It doubles as a play area for kids while adults handle tent setup, and it gives everyone a clean, dry surface to sit on during the process. Look for gear that assembles quickly. Freestanding tents, which stand on their own before staking, are ideal for beginners because they let you reposition the tent easily before committing to a spot.
Good packing for campers starts at home, not at the campsite. Organize your gear into labeled bags so each item is easy to find on arrival. You'll thank yourself when it starts to get dark.
One of the best things you can do before your trip is practice pitching your tent in the backyard.
are consistent across most designs: lay down the footprint first, stake the corners, then add the rainfly last. A home practice run catches problems like missing poles, broken clips, or confusing instructions while you're still in a comfortable setting.| Gear item | Why it matters for beginners |
|---|---|
| Tent with footprint | Protects the tent floor and creates a dry barrier |
| Mallet and stakes | Keeps the tent secure in wind and soft ground |
| Rainfly | Shields against rain and retains warmth overnight |
| Headlamp | Hands-free light during setup and late-night needs |
| Bear canister | Required in many parks; keeps wildlife away from food |
| Sleeping pad | Insulates and cushions the ground for better sleep |
Check your essential outdoor gear checklist before every trip, even if you've camped before. Gear breaks, gets left behind, or needs replacing between seasons.
Pro Tip: Pack your tent, stakes, and rainfly in one bag and your sleeping gear in another. Separation saves you from digging through a pile of sleeping bags just to find a tent pole.
Choose your site: Picking the best spot for comfort and safety
With your essentials organized, the next step is selecting the right spot for your tent and kitchen to ensure safety and convenience. Not every patch of flat ground is created equal. A poor site choice leads to a wet, uncomfortable night or, worse, a safety issue.
Here's what to look for when evaluating a spot:
- Flat and level ground with no roots or rocks under the surface
- Natural drainage so water flows away from the tent during rain
- Shade from trees for afternoon comfort, but not directly under dead branches
- Away from hazards like cliff edges, dry riverbeds, and insect nests
- Close to restrooms and water for families with young children
- Proper separation between your sleeping area and cooking or eating zone
"In designated park areas, campsite regulations including food storage distances exist to protect both campers and local wildlife." National Park Service campground regulations
Food storage separation is a rule many first-timers underestimate. In places like Yosemite, rangers enforce strict guidelines about keeping food, trash, and scented items stored separately from sleeping areas. Even in campgrounds without formal rules, keeping your kitchen at a distance from where you sleep is a smart habit.
Early arrival makes a huge difference. Most established campgrounds allow you to check in by noon or early afternoon. Getting there before the crowd means better site options and a more relaxed setup process. You'll have time to walk a few options, compare conditions, and choose thoughtfully rather than grabbing whatever is left.
Families should look for sites near the bathrooms but not directly next to a high-traffic path. Being close to restrooms is a lifesaver at 2 a.m. with a five-year-old, but being right on a busy walkway means noise and strangers passing close to your tent all night.
Read the first camper essentials guide before your first trip for a broader look at what to expect when you arrive. Understanding basecamp setup basics can also give you a stronger mental model for organizing your campsite from the start.
Step-by-step setup: How to pitch your tent efficiently
With your perfect spot chosen, you're ready for the heart of camp setup: pitching your tent the right way every time. Rushing this step is where most beginners lose time. Follow this sequence carefully and you'll be done in 20 to 30 minutes.
- Lay the footprint flat on your chosen ground area. Smooth out any wrinkles and check for sharp rocks or roots underneath before proceeding.
- Unfold the tent body over the footprint. Position the door facing the direction you want, whether that's toward a view or away from wind.
- Assemble the poles by connecting the sections and threading or clipping them through the tent's sleeve or hub system.
- Stake the four corners of the tent before attaching the rainfly. This keeps the tent from shifting and ensures the pole tension is correct.
- Drape the rainfly over the tent body and secure all clips, buckles, or Velcro straps. A rainfly is essential and should never be skipped, even on clear nights.
- Stake the rainfly's guylines outward for extra stability, especially if there's wind in the forecast.
- Check all poles, clips, and stakes are secure before moving on.
Families can make this a group activity. Assign age-appropriate tasks: younger kids can hand you stakes one by one, older kids can help thread poles, and a partner can manage the rainfly attachment. Shared tasks speed things up and get everyone invested in the camp from the start.
Pro Tip: If you're camping with kids for the first time, let them practice beginner hiking tips and easy outdoor tasks like rolling out sleeping bags while you handle the structural setup.
Practicing this sequence at home is genuinely one of the most valuable things you can do. Essential camping skills like tent pitching become automatic after two or three dry runs, which means you'll spend less time puzzling over instructions and more time enjoying the campsite.
Key stat: Campers who practice tent setup before their first trip report significantly fewer on-site setup errors. A single home practice run is often enough to cut setup time in half on arrival day.
Camp organization: Setting up kitchen, gear storage, and a comfy sleep area
With your tent up, it's time to finish your camp by arranging the kitchen, sleeping, and storage areas efficiently. Good layout means everything has a home, and you're not tripping over your cookware to find your toothbrush at midnight.
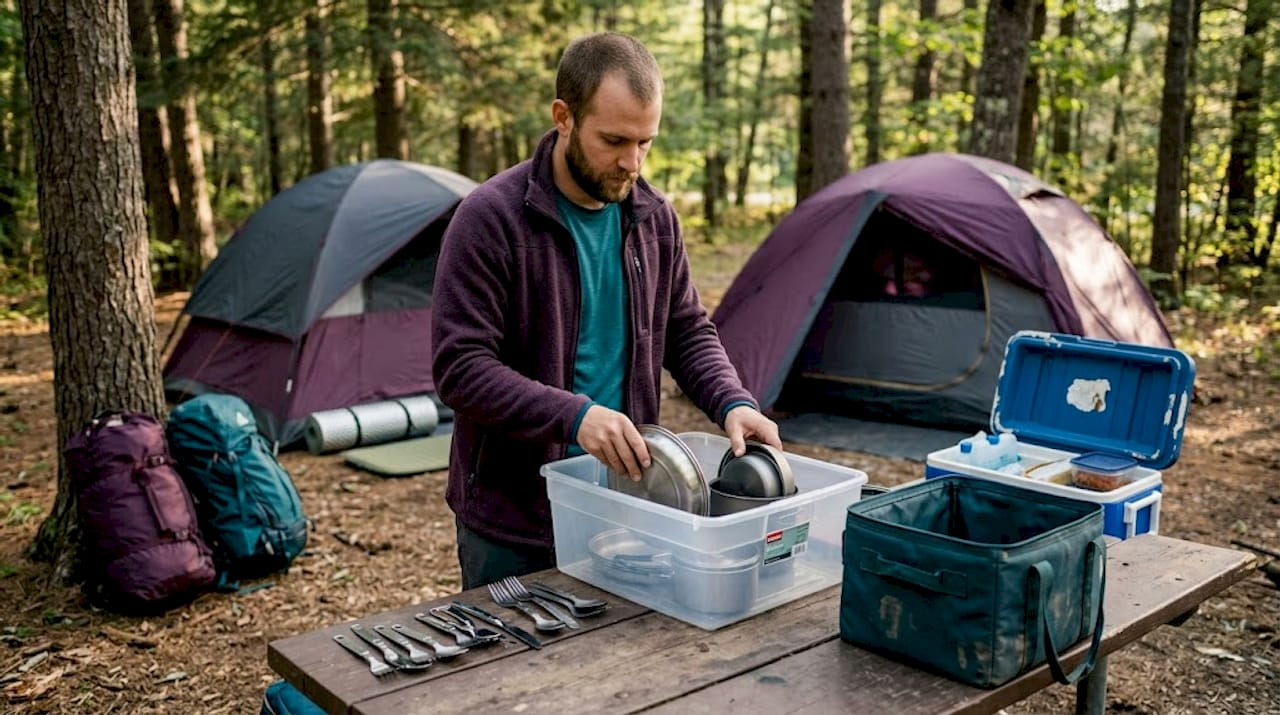
The classic family camp layout includes four zones: sleeping, kitchen, relaxation, and gear storage. Keep these areas clearly separated and your camp will feel organized from the first night.
Your kitchen zone needs careful placement. In parks with regulations, food storage separation of at least 100 feet from sleeping areas is required. Even where it's not a formal rule, maintaining this distance protects you from unwanted nighttime visitors. Set up your stove, cooler, and food prep area here and treat it as its own room.
- Hang lanterns or place them centrally so the kitchen stays well lit after dark
- Keep a small trash bag nearby to collect food scraps immediately
- Store snacks and scented items in hard-sided containers or bear canisters even if regulations don't require it
- Keep a small first aid kit within easy reach in the kitchen zone
- Set up a camp table or flat surface for food prep, even if it's just a cutting board on a cooler lid
| Storage method | Best for | Pros | Cons |
|---|---|---|---|
| Bear canister | Parks with wildlife | Required in many areas; very secure | Heavy to carry; limited space |
| Hard cooler with lock | Car camping families | Keeps food cold; lockable | Needs ice; not portable on trails |
| Hanging food bag | Backcountry | Lightweight; works with a rope and tree | Requires skill; not always effective |
| Soft cooler bag | Day trips | Light and packable | Less wildlife protection |
Your sleeping zone should be quiet, organized, and separate from gear clutter. Roll out sleeping pads and bags before dinner so the tent is ready when everyone is tired. Place a small lantern or headlamp just inside the tent door for easy nighttime access.
Pro Tip: Store your camp cooking workflow items in one dedicated bag so you can set up and break down your kitchen in minutes without hunting through multiple containers.
Final checks and troubleshooting: Ensuring your camp is safe and comfortable
Once you've arranged everything, a simple routine helps catch issues before they ruin your evening. Don't skip this step. A two-minute walk-around before dark can save you from a miserable night.
Before the sun sets, run through this safety checklist:
- All tent stakes are in the ground and the rainfly is secured tightly
- No gear is left out that could attract wildlife or become a trip hazard after dark
- Food is stored properly in the designated container or vehicle, away from the sleeping area
- Lanterns and headlamps are fully charged or have fresh batteries
- Everyone in the group knows where the first aid kit is stored
"Proper staking, early arrival, and consistent food storage separation are the three habits that prevent the most common campsite problems." National Park Service campground regulations
Families should do a quick group walk-around together before dark. Kids love being included in this kind of responsibility, and it teaches them to think about camp safety from a young age.
Here are the most common beginner problems and how to fix them on the spot:
Uneven ground under the tent: Add extra clothing or a folded tarp under the sleeping pad on the low side for a quick fix. Next time, test the ground more carefully before staking.
Loose or pulling stakes: Push stakes in at a 45-degree angle rather than straight down. In soft soil, use longer stakes or cross two stakes in an X shape for more resistance.
Unexpected rain without rainfly attached: Stop what you're doing and attach it immediately. A wet tent interior makes for a miserable night and a longer dry-out process the next day.
Cold sleeping spot: Lay an extra tarp or emergency blanket under the footprint to block cold coming up from the ground. Ground insulation is as important as the sleeping bag on top of you.
Learn more beginner survival steps to feel confident handling unexpected situations once your camp is set up.
Our take: Why simple routines beat fancy hacks for beginners
With all the technical steps covered, it's worth reflecting on what truly matters for beginners trying to master camp setup. The outdoor industry loves to push upgraded gear, complicated systems, and clever hacks. But the truth is, most camp setup problems don't come from lacking the right gadget. They come from rushing or skipping the basics.
We've seen it time and again. Experienced campers don't spend more money. They follow the same reliable routine every single time. Footprint, corners, stakes, rainfly. Kitchen zone, sleeping zone, storage zone. Walk-around before dark. That's it. The repetition is what makes it effortless.
New campers often feel pressure to do it all perfectly. Let that go. Your first camp won't be flawless, and it doesn't need to be. What matters is building a consistent habit so that by your third or fourth trip, the process feels automatic. The first-timer routines that feel awkward at first become second nature faster than you'd expect. Resist the urge to overcomplicate things. Master the basics first, then layer in new skills as your confidence grows.
Get the right start with reliable gear and expert guides
If you want to level up your setup game and avoid rookie mistakes, reliable gear and trusted planning resources can make all the difference. At Life Camp Adventure, we've put together the guides, gear comparisons, and checklists that beginners and families actually need.
Browse our detailed comparing camping tents guide to find the right shelter for your family's size and camping style. Check out our curated picks in best camping gear to make sure you're heading into the outdoors with equipment that won't let you down. And before every trip, run through our outdoor survival checklist so nothing essential gets left behind. The right gear and the right plan make every camp setup faster, safer, and a lot more fun.
Frequently asked questions
What's the most common mistake beginners make when setting up camp?
Beginners often skip practicing tent setup at home, which leads to on-site setup errors and wasted time when daylight is running short.
How far should I keep my tent from the kitchen and food storage area?
Follow your campsite's posted rules, but in national parks, NPS distances for parks require at least 100 feet between sleeping and food areas to protect both campers and wildlife.
Is a rainfly always necessary?
Yes, a rainfly is essential to protect your tent from weather and should be attached every night regardless of the forecast.
What should I check before bedtime at my campsite?
Make sure all stakes are secured, gear is stowed, and food is locked away from the sleeping area, following food storage separation guidelines to keep your camp safe overnight.
