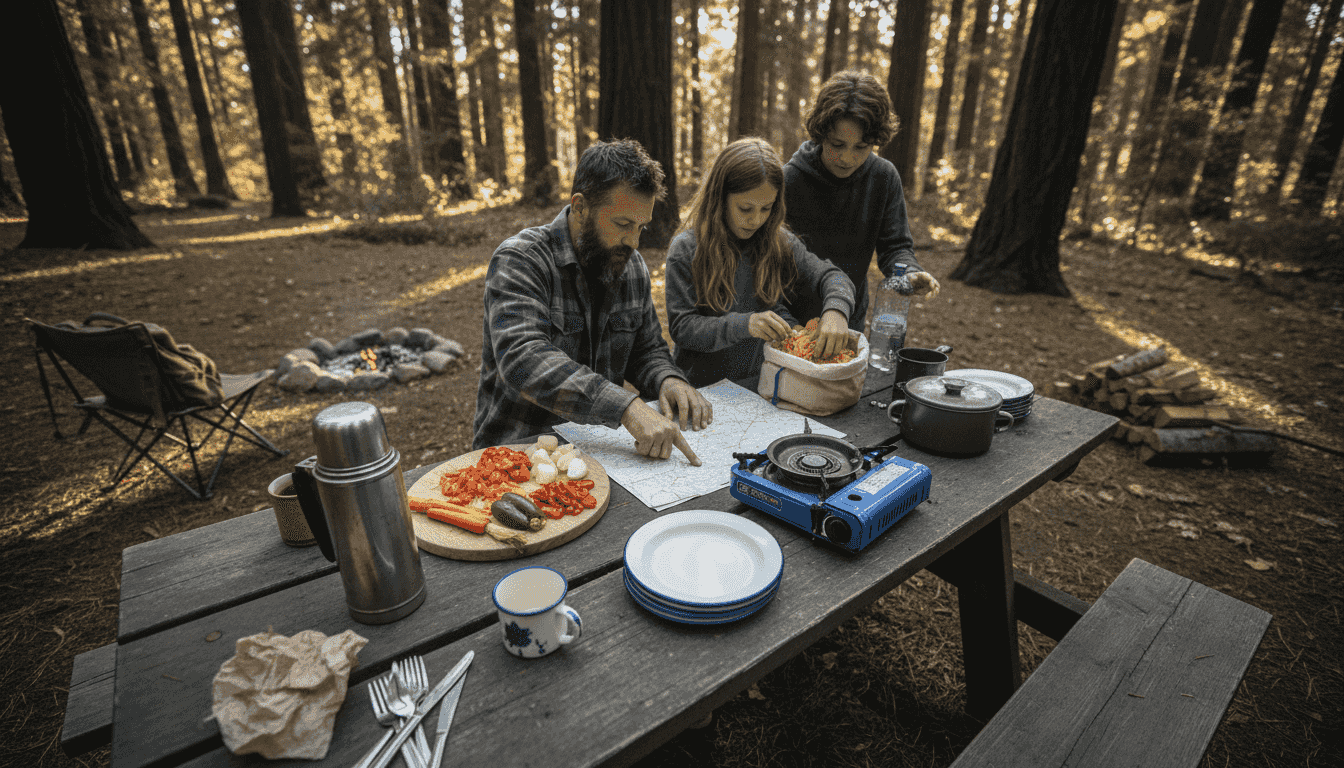
Every parent faces that moment when searching for utensils or ingredients turns cooking at camp into a stressful puzzle. An organized system not only reduces frustration, it keeps your family safe and lets you spend more time enjoying nature. By focusing on a well-organized camp kitchen and mastering simple methods, you create smoother meal times and more memorable outdoor weekends.
Quick Overview
| Key Insight | Explanation |
|---|---|
| 1. Organize Ingredients by Meal | Group ingredients by breakfast, lunch, and dinner to streamline your cooking and avoid searching for supplies. |
| 2. Create Defined Cooking Zones | Designate separate areas for prep, cooking, and serving to promote safety and efficiency in your camp kitchen. |
| 3. Utilize Simple Cooking Techniques | Focus on basic methods like foil packets and open flame grilling to minimize cleanup and enhance flavor. |
| 4. Clean and Store Gear Properly | Clean your equipment immediately after use to prevent damage and mold, ensuring longevity and functionality. |
| 5. Set Up a Handwashing Station | Have soap and water available to maintain hygiene and avoid spreading germs during food preparation. |
Step 1: Organize Ingredients and Gear for Camp Cooking
A well-organized camp kitchen saves you time, reduces frustration, and keeps your family safe. When you know exactly where everything is, you can focus on cooking delicious meals instead of searching through scattered supplies.
Start by using sealed containers to prevent wildlife intrusion and keep your ingredients fresh. Group your ingredients by meal, not by type, so you grab everything you need for breakfast or dinner in one go.
Create a simple organization system:
- Pack dry goods (flour, sugar, salt, spices) in labeled, airtight containers
- Store fresh items separately in a cooler with clearly marked zones for raw meats, dairy, and produce
- Pre-chop vegetables at home and store them in sealed bags to streamline meal prep
- Use a separate bag or container for each meal's ingredients
Next, organize your gear into zones. Keep all sharp tools like knives and can openers in one designated spot. Store cooking fuel, matches, and lighters away from food and in a dry, accessible location.
Spending 15 minutes organizing before your trip saves you 30 minutes of frustration at camp.
Create a quick reference list of what goes where. Write it on a laminated card and post it inside your cooler or on your cooking table. This helps everyone at camp find what they need without asking questions.
Designate specific areas for washing, preparing, and cooking food. Keep utensils, plates, and cups near your water source. Store trash bags and waste containers away from your cooking zone to prevent mess and wildlife encounters.
Here is a summary of the main camp kitchen organization zones and their benefits:
| Zone | Purpose | Benefit |
|---|---|---|
| Food Storage | Store all camp ingredients | Keeps food fresh and reduces spoilage |
| Prep Area | Chop and prepare meals | Improves efficiency and safety |
| Cooking Area | Set up stove and cookware | Centralizes heat and minimizes risk |
| Washing Area | Clean dishes and hands | Promotes hygiene and health |
| Waste Disposal | Collect trash away from kitchen | Reduces wildlife and odor issues |
Pro tip: Pack ingredients in the exact order you'll use them during meal prep, with breakfast items at the top of your cooler and dinner items lower—this keeps your cooler open for less time and maintains consistent cold temperatures.
Step 2: Set Up Your Cooking Area Safely and Efficiently
Your cooking area is the heart of camp meals, so setting it up right makes everything easier and safer. A well-planned layout prevents accidents, keeps food safe from contamination, and lets you cook without constantly reaching across your family.
Start by choosing a location that's level, away from your tent, and protected from wind. Position your cooking zone at least 15 feet from where you sleep to keep food smells and grease away from your sleeping area.
Organize your cooking space into three zones:
- Prep zone where you wash and chop ingredients near your water source
- Cooking zone with your stove, pots, and pans, positioned safely away from foot traffic
- Serving and eating zone where food moves from the stove to plates
Keep your most-used items at eye level and arm's reach. Arrange frequently needed tools like tongs, spatulas, and cooking spoons on a hanging organizer or in a nearby container. Store less-used items like extra fuel canisters and backup equipment in a separate storage box away from the cooking zone.
Set up a handwashing station with soap, water, and paper towels before you start cooking. This keeps everyone in your group from wandering back and forth and spreading germs. If you have kids, designate a specific spot where they can help without getting in the way of hot pots and flames.
Preventing accidents is easier than treating them at camp, so create clear pathways and keep your cooking zone clutter-free.
Ensure you have proper camp cooking essentials like heat-resistant gloves, a fire extinguisher or bucket of water nearby, and a first aid kit within arm's reach. Keep sharp knives in a dedicated knife holder or sheath to prevent cuts during meal prep.
Test your setup before cooking your first meal. Walk through your prep, cooking, and serving motions to spot any awkward reaches or bottlenecks.
Pro tip: Use a folding table or camping kitchen stand to elevate your cooking surface to waist height, reducing back strain and keeping food safer from ground-level insects and animals.
Step 3: Prepare and Cook Meals Using Simple Techniques
Cooking outdoors doesn't require fancy skills or complicated recipes. Master a few basic techniques, and you'll prepare delicious meals that your family will love. Simple methods work best at camp because they require fewer tools and less cleanup.
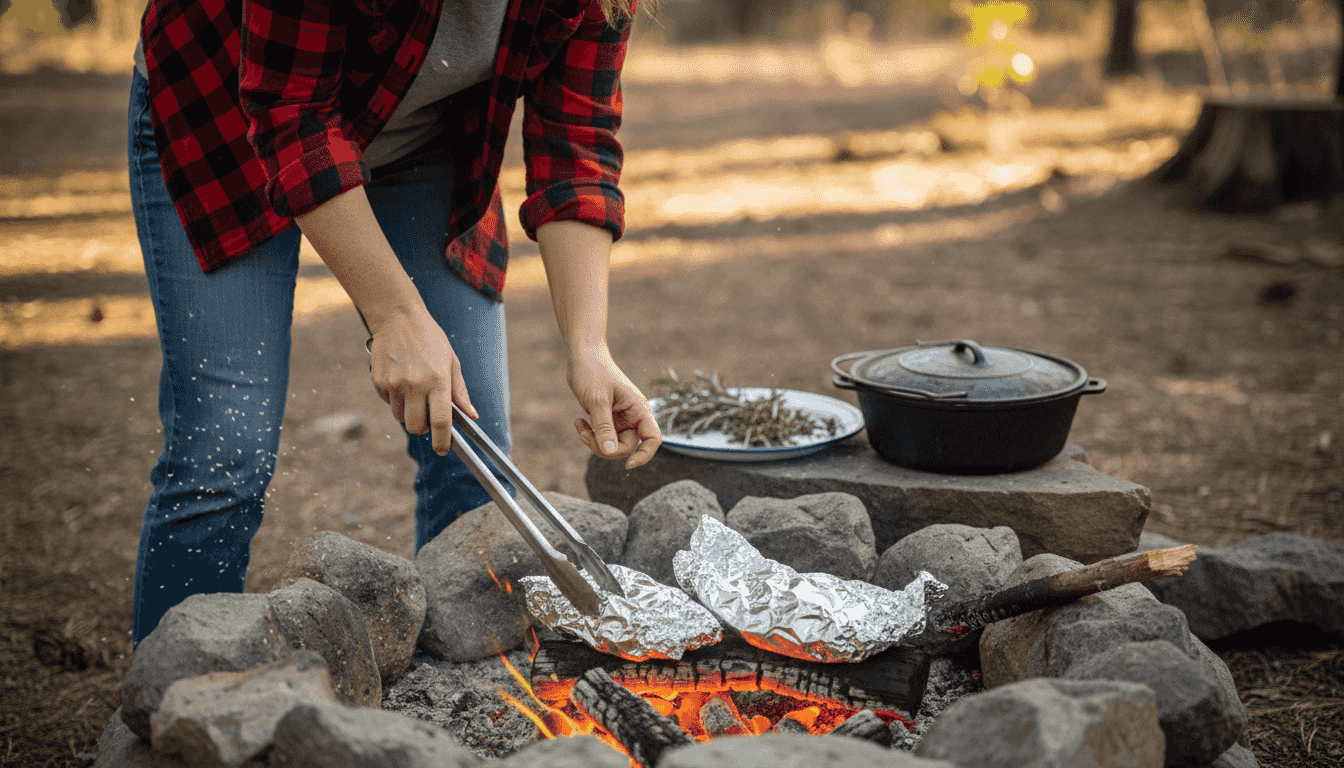
Start by understanding the fundamentals of campfire cooking. Maintain a bed of hot coals for consistent heat control, and position your grill grate at the right height for your food. The distance between your food and the coals determines how fast things cook.
Try these beginner-friendly cooking methods:
- Foil packet meals wrap seasoned ingredients in foil and cook them directly on coals for minimal cleanup
- Dutch oven stewing lets you simmer stews, soups, and casseroles with even heat distribution
- Open flame grilling works perfectly for burgers, hot dogs, and vegetables over coals
- Skewers thread meat and vegetables on sticks for easy campfire cooking
Create heat zones by arranging coals unevenly. Keep some areas hotter for searing meat and other spots cooler for gentle cooking. This gives you flexibility without moving pots constantly.
Compare these common campfire cooking techniques for your next trip:
| Method | Equipment Needed | Cleanup Level | Ideal Foods |
|---|---|---|---|
| Foil Packet | Foil, tongs | Minimal, single-use | Vegetables, fish, chicken |
| Dutch Oven | Dutch oven, coals | Moderate, large pot | Stews, casseroles, breads |
| Open Flame | Grill grate, skewers | Low, surface brush | Burgers, hot dogs, kebabs |
| Skewers | Skewers, tongs | Very low, reusable | Meat, vegetables, marshmallows |
Monitor your food closely for flare-ups, which happen when fat drips onto flames. Keep a spray bottle or bucket of water nearby to control flames quickly. Rotate your food frequently to ensure even cooking on all sides.
The secret to camp cooking success is patience and attention, not complicated techniques.
Start with recipes that use just a few ingredients and one cooking method. Once you feel comfortable, expand to more complex meals. Most families find that three or four go-to recipes become camp favorites.
Test your heat before cooking by holding your hand above the coals. If you can hold it there for three seconds, the temperature is right for most foods.
Pro tip: Cook breakfast and dinner components in your Dutch oven in the morning, then reheat them at night—this saves time, fuel, and stress during peak dinner hours.
Step 4: Clean Up and Store Equipment Properly
Proper cleanup and storage extend the life of your camp cooking gear and prepare everything for your next adventure. Taking time to care for your equipment after each trip prevents damage, mold, and rust that can ruin expensive gear.
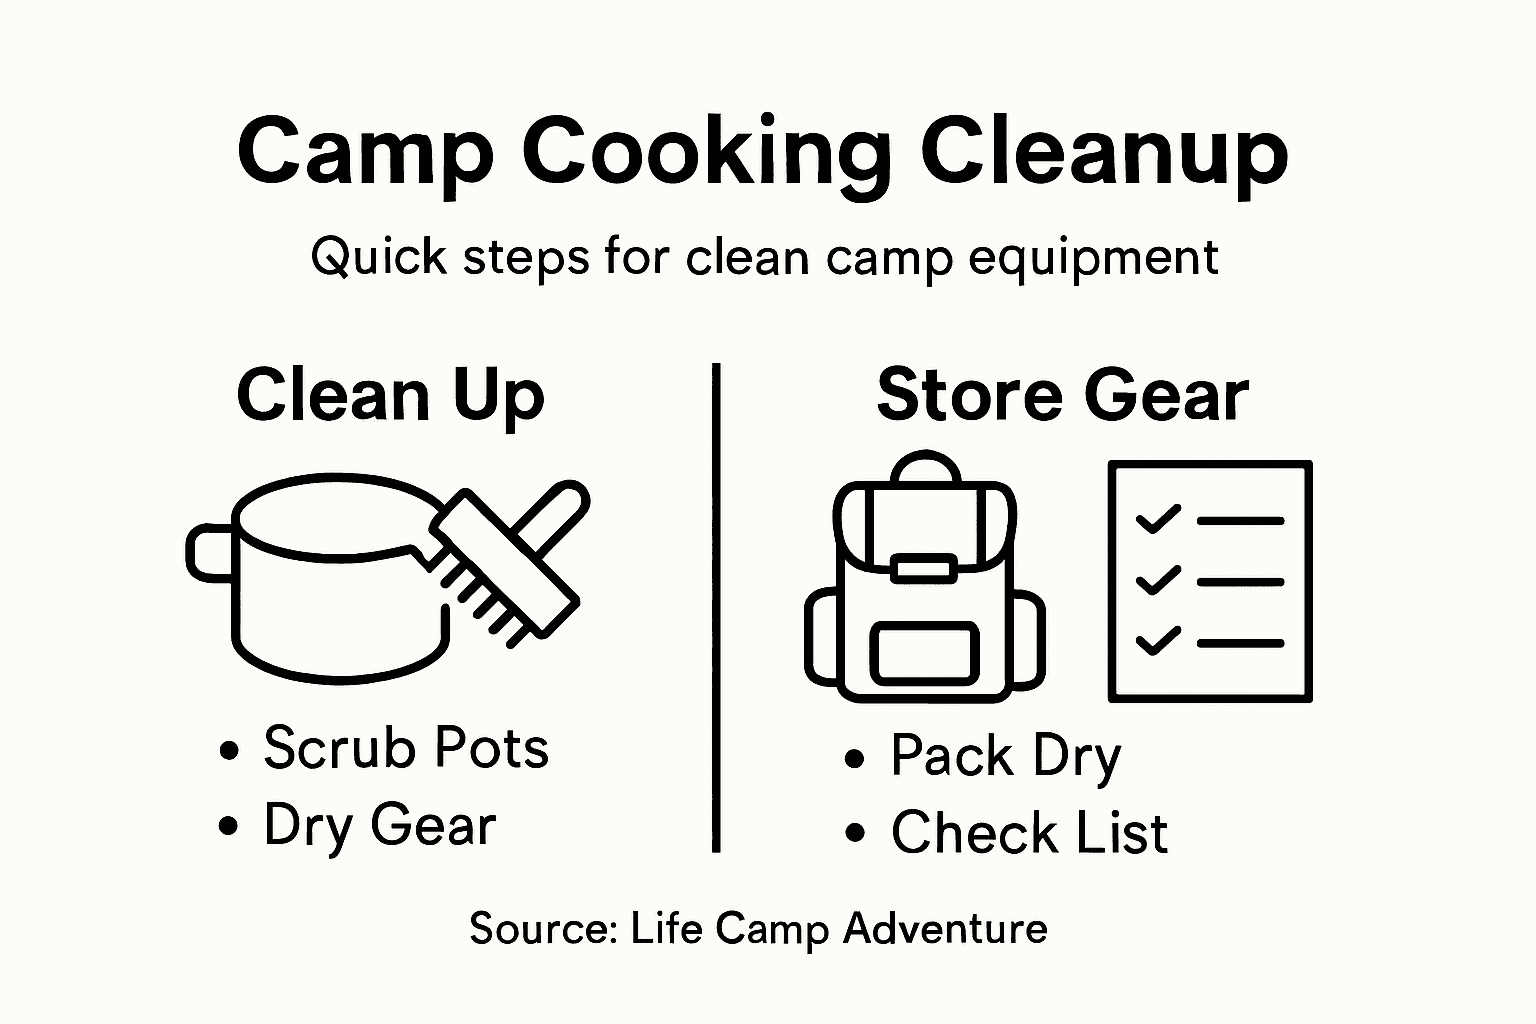
Start cleaning immediately after your trip while food residue is still manageable. Wash all pots, pans, and utensils with hot soapy water and dry them completely. Don't skip the drying step, as moisture left behind creates rust and mold that damages metal and fabric.
Clean your cookware this way:
- Scrub the interior and exterior of pots and pans with a brush to remove all food particles
- Dry everything with a cloth or paper towel before packing
- Check for any damage like dents or loose handles that need repair
- Wipe down your stove or cooking surface to remove grease and ash
Once everything is dry, organize and store your equipment by function in heavy-duty containers with secure lids. Group cooking tools together, cooking fuel separately, and food storage items in one place. This organization makes packing for future trips faster and easier.
Store your gear in a cool, dry location away from direct sunlight. A basement, garage shelf, or climate-controlled closet works perfectly. Label each container clearly so everyone knows what's inside without opening everything.
Clean and dry gear stored properly can last for decades instead of just a few seasons.
Inspect your equipment periodically for signs of wear or damage. Check tent seams and reapply waterproof coatings seasonally if you're storing camping gear alongside cooking equipment. Replace any worn handles or damaged straps before your next trip.
Keep an inventory list of what's in storage and check it before heading to camp. This prevents last-minute surprises when you realize something is missing or broken.
Pro tip: Store a moisture-absorbing product like silica gel packets in your sealed containers to prevent mold and musty smells during off-season storage.
Elevate Your Camp Cooking Experience with Trusted Gear and Smart Solutions
Mastering camp cooking workflow means tackling common challenges like organizing your ingredients, setting up a safe and efficient cooking area, and using simple techniques that deliver delicious meals. If you have felt the frustration of cluttered gear, uneven cooking heat, or prepping food without the right tools, you know how these issues can take away from your outdoor adventure.
At Life Camp Adventure, we understand that a well-planned camp kitchen is key to enjoying every moment around the fire. Our high-quality camping equipment and adventure-ready products are designed to help you stay organized and cook with confidence. From durable cookware that withstands the rigors of outdoor cooking to essentials that keep your space safe and efficient, we provide solutions tailored to your needs.
Transform your cooking setup today by visiting Life Camp Adventure and explore gear that complements each step of your camp cooking workflow. Discover how our camp cooking essentials can simplify meal prep, and learn expert tips on setting up your camp kitchen with the right tools. Don’t let messy gear or inefficient setups hold you back—equip yourself now for safer, easier, and more enjoyable outdoor meals.
Frequently Asked Questions
How can I organize my camp cooking supplies effectively?
To organize your camp cooking supplies, group ingredients by meal and use sealed containers for storage. Create designated zones for food storage, meal prep, cooking, washing, and waste disposal to streamline your cooking process and keep things clean.
What are the essential zones for setting up a camp cooking area?
Your camp cooking area should have three main zones: a prep zone for washing and chopping ingredients, a cooking zone for your stove and cookware, and a serving area for meals. Organizing these zones helps enhance safety and efficiency during meal preparation.
What basic cooking techniques should I use for outdoor meals?
Start with simple cooking techniques like foil packet meals, Dutch oven stewing, open flame grilling, and using skewers. These methods require minimal gear and cleanup, making them perfect for camp cooking.
How should I clean and store my camp cooking gear?
Clean your camp cooking gear immediately after use with hot, soapy water, and dry everything thoroughly to prevent rust or mold. Store the equipment in a cool, dry location, neatly organized by function, to ensure everything is ready for your next camping trip.
What steps can I take to ensure food safety while cooking outdoors?
To ensure food safety while cooking outdoors, keep your cooking area clutter-free and maintain proper distances between raw ingredients and cooked food. Set up a handwashing station and keep your cooking zone at least 15 feet away from sleeping areas to prevent contamination and attract wildlife.
