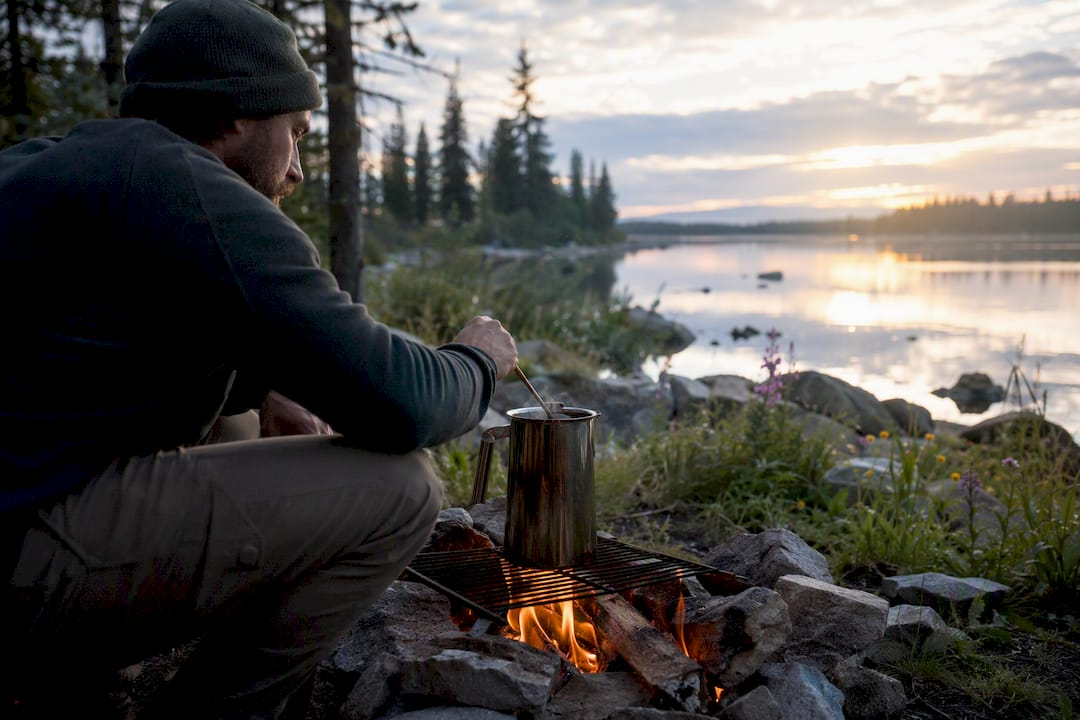
AeroPress delivers the most consistent single cups on the fastest timeline, a percolator handles group car-camping without complaint, and pour-over wins on weight for anyone counting ounces. Cowboy coffee needs no gear beyond a pot, instant and cold-brew concentrate suit ultralight trips with zero cleanup tolerance, and a moka pot earns its extra weight only at a basecamp where espresso-strength coffee is worth the trade-off.
That's the short version. Here's how each camp coffee method breaks down by what it's actually good for:
- AeroPress: consistent single cups, fast, forgiving of imprecise water temp
- Percolator: groups, car-camping, durable on an open flame
- Pour-over: lightest full setup, clean and bright cup, needs wind protection
- French press: full-bodied coffee for two or three people, simple mechanics
- Cowboy coffee: zero gear beyond a pot, works when everything else fails
- Instant/cold-brew concentrate: no fuel, no cleanup, built for ultralight days
- Moka pot / portable espresso: strong, concentrated shots for a fixed basecamp
Each method gets a full recipe further down, with ratios, grind size, and the troubleshooting fixes that actually work in the field.
Key Takeaways
The best camp coffee method depends on trip constraints, not a single best brewer, and matching weight, group size, and cleanup tolerance to the right technique solves most morning coffee problems at camp.
| Point | Details |
|---|---|
| Match method to trip style | AeroPress suits solo trips, percolators suit groups, pour-over suits ultralight backpacking. |
| Use the 1:15 to 1:17 ratio | Two level tablespoons per 6 ounces of water is the reliable no-scale rule of thumb. |
| Grind size follows contact time | Coarse for percolator and French press, medium for AeroPress and pour-over, fine for moka pots. |
| Preheat everything in cold weather | Rinsing the brewer and mug with hot water first keeps the final cup hot longer. |
| Build a reusable coffee kit | Lifecampadventure's cookware lineup covers durable kettles and percolators built for repeated camp use. |
Camp Coffee Methods Compared at a Glance
Choosing between camp coffee methods comes down to three variables that matter more at a campsite than at home: how much the setup weighs, how long cleanup takes, and how much flavor control you're willing to fuss over before sunrise.
- AeroPress: best for solo or two-person trips; light, packs small; clean, bright cup; cleanup takes seconds with a rinse
- Percolator: best for groups of four or more; medium-heavy, bulky; strong, bold cup that can turn bitter if over-brewed; moderate cleanup with grounds to dump
- Pour-over (dripper): best for lightweight solo backpacking; ultralight, collapsible options exist; clean, bright, tea-like cup; filter disposal is the only cleanup
- French press: best for two to three people who want body over brightness; medium weight, fragile carafe; full-bodied, sometimes gritty cup; cleanup means grounds stuck in a mesh screen
- Cowboy coffee: best for emergencies or minimalist trips; zero extra gear beyond a pot; strong and unpredictable flavor; cleanup involves settling grounds and rinsing sediment
- Instant coffee: best for ultralight or fast mornings; near-zero weight; thinner flavor than brewed coffee; no cleanup at all
- Cold-brew concentrate: best for hot-weather trips or no-heat mornings; requires a leakproof bottle prepped ahead; smooth, low-acid flavor; cleanup is a quick rinse
- Moka pot: best for car-camping or basecamp setups where weight isn't the constraint; medium weight, breakable parts; strong, espresso-like cup; cleanup takes a few extra minutes for the fine grounds
None of these methods are objectively better across the board. A percolator that's perfect for six people at a group site is dead weight strapped to a backpacking frame, and an ultralight dripper that shines solo on the trail will slow down a camp of eight to a crawl.
How to Brew Coffee Camping: Method by Method
Every method below includes a coffee-to-water ratio, a grind size, and a numbered recipe you can run through half-awake before the sun is up. Ratios are given by weight first, since a kitchen scale removes guesswork, with a spoon-based backup for anyone who leaves the scale at home.
Percolator
A percolator cycles boiling water up through a chamber of grounds repeatedly, which is why it's forgiving on a campfire but punishing if you walk away from it. Use a medium-coarse grind and a ratio around 1:15 (roughly 2 tablespoons of grounds per 6 ounces of water).
- Fill the bottom chamber with water and set the basket of grounds on top.
- Place the percolator directly on a campfire grate or canister stove burner.
- Bring to a gentle boil, then reduce heat immediately.
- Percolate for several minutes, watching for a steady but slow bubble in the glass knob on top.
- Remove from heat and let it settle 1 to 2 minutes before pouring.
Percolators are dependable for groups precisely because they work directly on campfires and stoves without a separate heat-control system, though that same simplicity means over-percolating past 10 minutes turns the cup bitter fast. They're heavy and bulky for a backpack, but for group car-camping the volume they produce per batch is hard to match. If your cup tastes scorched, pull it earlier next time; if it's weak, extend the percolation by a minute or two rather than adding more grounds mid-brew.
Pro Tip: Percolators reward a gentle boil, not a rolling one. If the knob on top is bubbling violently, pull it off the heat for 30 seconds to calm it down before it over-extracts.
Cowboy Coffee
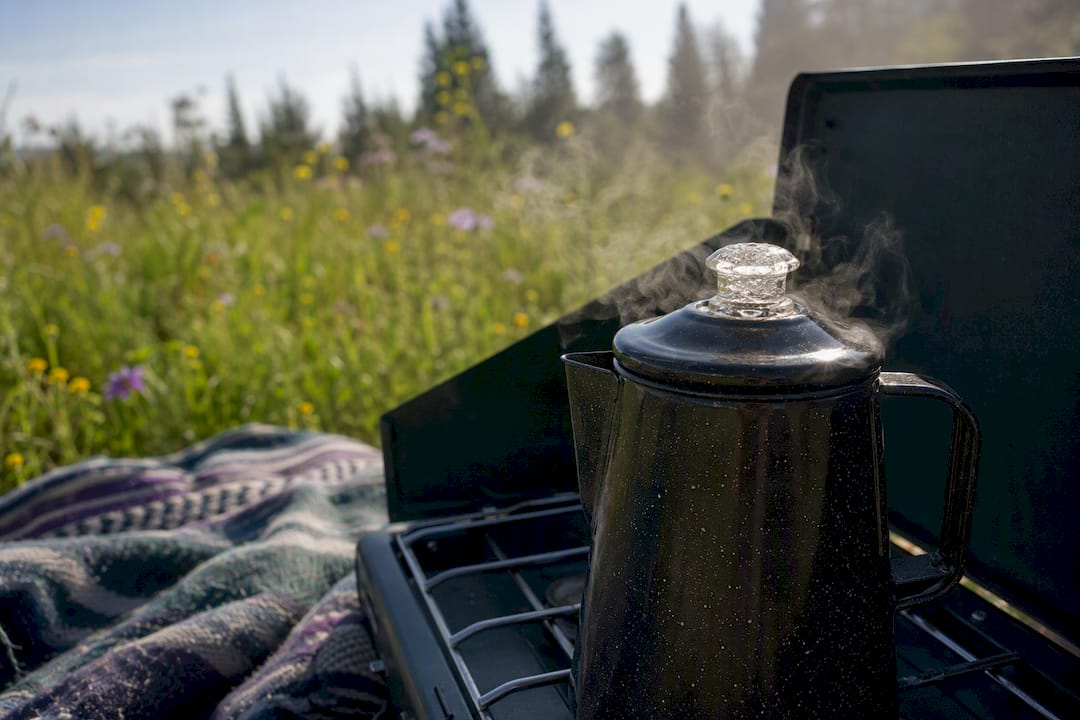
Cowboy coffee is the fallback method: a pot, water, grounds, and nothing else. It uses a coarser grind than any other method here, since there's no filter to catch fines.
- Boil water in a pot over your heat source.
- Remove from heat and add grounds directly to the water, roughly 2 tablespoons per 8 ounces.
- Stir once, then let it steep for 3 to 5 minutes.
- Tap the side of the pot a few times to help grounds settle, or add a splash of cold water to push them down.
- Pour slowly, leaving the last half-inch of liquid (and the sediment) behind in the pot.
This is the method behind the classic barista-quality camping coffee technique many guides reference, and it works because the steep time does the extraction work a filter would otherwise handle. The tradeoff is sediment. Some grit in the cup is unavoidable, but a longer settling period and a slow pour cut it down considerably. If the coffee is too gritty, grind coarser next time. If it's weak, steep a minute longer instead of adding more grounds.
Pro Tip: Skip the eggshell trick you'll see in old outdoor manuals. A splash of cold water does the same sediment-settling job without adding a random ingredient to your pot.
Pour-Over
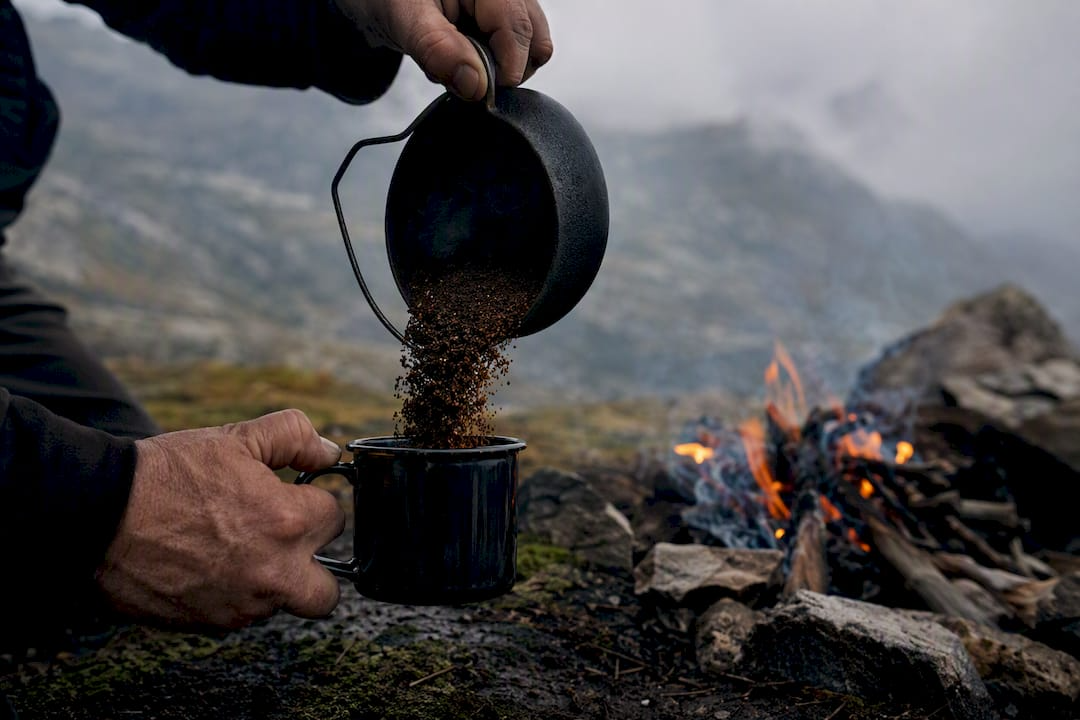
A collapsible dripper set on top of a mug turns pour-over into one of the lightest full setups you can carry. Use a medium grind, similar to table salt, at a 1:16 ratio (about 2 tablespoons per 8 ounces of water).
- Set the dripper on your mug and place a filter inside.
- Rinse the filter with hot water to remove papery taste and preheat the mug.
- Add grounds and pour a small amount of water to saturate them, letting it bloom for 30 seconds.
- Continue pouring in slow, circular motions until you reach your target water weight.
- Let it fully drain before removing the dripper.
Pour-over produces a clean, bright cup, but it demands a steady hand and some wind protection, since a gust can throw off your pour rate and unevenly extract the grounds, according to guidance from Fresh Off The Grid. Cleanup is minimal since the used filter and grounds lift straight out. The main failure mode is a weak or sour cup from pouring too fast; slow down and let the water contact the grounds longer.
AeroPress
The AeroPress uses pressure rather than gravity, which makes it far more forgiving of imprecise water temperature than a pour-over. Use a medium-fine grind and a 1:15 ratio (around 2 tablespoons per 8 ounces).
- Assemble the AeroPress with a paper or metal filter in the cap.
- Add grounds to the chamber and pour in hot water, stirring once.
- Let it steep for 1 to 2 minutes.
- Attach the plunger and press down slowly and steadily over your mug.
- Rinse the chamber and filter immediately for the fastest cleanup of any method here.
The AeroPress is durable enough to survive being tossed in a pack, and because it traps most fines in the filter, the cup comes out cleaner than cowboy coffee with a fraction of the sediment. It tolerates a wider temperature range than pour-over does, which matters when your water is closer to 180°F than 205°F by the time you've poured it. If the coffee tastes bitter, shorten the steep time; if it's weak, press more slowly to increase contact time.
French Press
A French press produces the fullest body of any camp method, since the metal mesh filter lets more oils through than a paper filter would. Use a coarse grind and a 1:15 ratio (about 2 tablespoons per 8 ounces).
- Add grounds to the empty carafe.
- Pour hot water over the grounds and stir once.
- Place the lid on with the plunger pulled up, and steep for 4 minutes.
- Press the plunger down slowly and evenly.
- Pour immediately; coffee left sitting on the grounds keeps extracting and turns bitter.
The carafe is the weak point for camping since it's usually glass, though insulated stainless steel versions hold up better on rough trips. Capacity makes it a solid choice for two or three people sharing a pot without the bulk of a percolator. Cleanup involves knocking grounds out of the mesh screen, which takes longer than an AeroPress rinse but shorter than scrubbing percolator baskets. Grit in the cup usually means the mesh screen has a gap or the grind was too fine.
Moka Pot and Portable Espresso
A moka pot forces steam-pressured water up through fine grounds, producing an espresso-style shot rather than drip coffee. Use a fine grind, close to espresso consistency, and fill the basket level without tamping.
- Fill the bottom chamber with water up to the valve line.
- Pack the filter basket with grounds and set it in place.
- Screw the top chamber on tightly.
- Set on low to medium heat and listen for a hissing, gurgling sound as coffee rises into the top chamber.
- Remove from heat the moment the gurgling turns loud and sputtering, which signals the brew is done.
This method belongs at a basecamp or car-camping site where the extra weight of a metal pot isn't a dealbreaker. The payoff is a strong, concentrated cup that can be diluted into an Americano or drunk straight. Cleanup takes a few extra minutes since fine grounds cling to the basket mesh. A bitter cup usually means it was left on heat too long after the gurgling started; a weak one means the grind was too coarse for proper pressure buildup.
Instant Coffee
Instant coffee is the zero-equipment option: dissolve a packet or spoonful of crystals directly into hot water. There's no grind size or ratio to master beyond the packet's own instructions, which makes it the fastest method on this list by a wide margin. The tradeoff is flavor. It's thinner and less complex than any brewed method, but for ultralight trips where every ounce and every minute counts, that tradeoff is often worth it.
Cold-Brew Concentrate
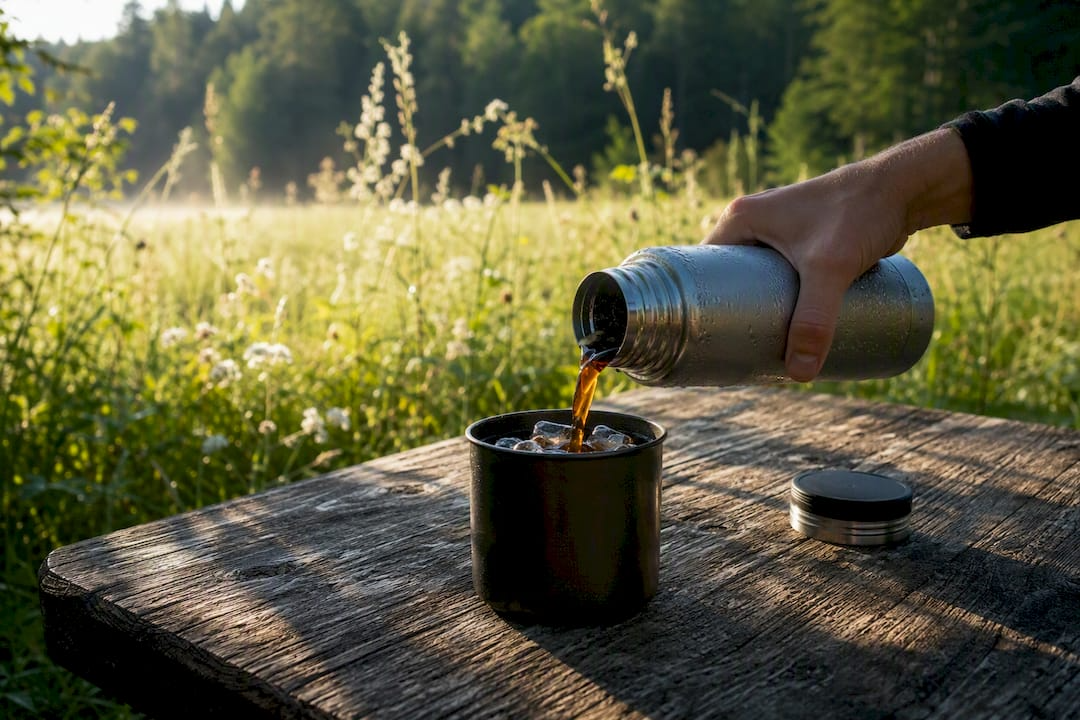
Cold-brew requires no heat source at all, which makes it the best option for hot climates or mornings when you don't want to fire up a stove. Steep coarse grounds in cold water at a 1:4 ratio for 12 to 18 hours, pre-made at home and carried in a leakproof bottle, then dilute the concentrate with water or ice to taste once you're at camp. There's no brewing to do on the trip itself, only mixing, which makes it the closest thing to instant coffee that still tastes brewed.
Building Your Camp Coffee Kit Before You Leave
Most bad camp coffee comes down to preparation, not technique. Getting your grounds, water ratios, and gear sorted the night before saves fumbling in the dark and guessing at scoop sizes with cold hands.
- Pre-measure grounds into daily zip bags or small reusable tins, one per person per day, so there's no guesswork at 6 a.m.
- Label each bag with the scoop count needed, especially if different people in your group prefer different strengths.
- Choose a hand-burr grinder if you're grinding whole beans at camp; it's slower than an electric grinder but needs no power and produces a more even grind than a blade grinder.
- If you're grinding at home instead, pre-ground coffee loses aroma faster, so store it in an airtight container and use it within a week or two of the trip.
- Pack a dedicated dry bag or small stuff sack for your coffee kit, separate from food, so wet grounds and used filters don't contaminate other supplies.
- Backpackers should swap a full percolator or French press for a folding dripper, single-use filters, and a compact kettle, cutting real weight without giving up a proper brewed cup.
A percolator or French press that survives car-camping trips year after year is worth checking against the camping cookware options built for repeated stovetop and campfire use, and pairing your brew method with the right portable camp stove avoids the scorched-coffee problem that comes from mismatched heat output.
Brewing Fundamentals That Apply to Every Method
Every camp coffee method above obeys the same underlying rules, and understanding them means you can adjust any recipe on the fly instead of memorizing separate instructions for each one.
The standard ratio range is 1:15 to 1:17, coffee to water by weight. Without a scale, the accessible rule of thumb is two level tablespoons of grounds per 6 ounces of water, adjusted up or down half a tablespoon for personal taste.
Water temperature matters more than most campers assume. Specialty coffee guidance puts the ideal brewing range at 200°F to 210°F. At camp, without a thermometer, the simplest way to approximate that range is to bring water to a full boil, then let it rest off the heat for about 30 seconds before pouring.
Grind size maps directly to contact time. Methods that give water a long time with the grounds, like percolators and French presses, need a coarse grind to avoid over-extraction and bitterness. Methods with brief, pressurized contact, like AeroPress and pour-over, do best with a medium grind. Moka pots need the finest grind of the group, since they push pressurized steam through a compact basket in seconds, a point echoed in grind-size guidance from the specialty coffee world.
Altitude changes the math slightly. Water boils at a lower temperature the higher you climb, which means less extraction power at the same brew time. The fix is either a slightly finer grind or a longer contact time, not more coffee. Cold weather has a similar effect since it pulls heat out of your water and gear faster than at home, so preheating your brewer and mug before adding coffee helps hold the target temperature through the whole brew.
Matching the Method to the Trip
- Ultralight backpacking: pour-over dripper or instant coffee. Pack: collapsible dripper, a few paper filters, pre-measured grounds. Weight: minimal. Fuel: a few ounces of stove fuel or none for instant. Cleanup: seconds. Time to cup: under 5 minutes.
- Solo car-camping: AeroPress. Pack: AeroPress, filters, a hand grinder if using whole beans. Weight: light. Fuel: enough for one kettle boil. Cleanup: a quick rinse. Time to cup: 3 to 4 minutes.
- Family or group camp: percolator. Pack: percolator, coarse-ground coffee, a larger kettle or direct-fill option. Weight: medium to heavy. Fuel: more, since batches run longer. Cleanup: moderate, dumping grounds and rinsing the basket. Time to cup: 10 to 12 minutes for a full pot.
- Overlanding or basecamp: moka pot or French press. Pack: moka pot or French press, a stable stove, fine or coarse grounds depending on choice. Weight: heavier, justified by a fixed setup. Fuel: moderate. Cleanup: a few extra minutes for fine grounds. Time to cup: 5 to 8 minutes.
Matching the method to what the trip actually demands, rather than what looks best on a gear list, is what separates a smooth camp cooking routine from a frustrating one.
Keeping Your Coffee Kit Clean and Safe at Camp
Cleaning takes on more importance at camp than at home, since bacteria and mold grow fast in a damp bag that sits sealed for days between trips.
- Rinse metal filters, AeroPress chambers, and percolator baskets immediately after use, even with just cold stream or jug water.
- Dispose of paper filters in your trash bag, never in a fire pit or left on the ground, since wet grounds attract wildlife.
- Run a deep clean with a vinegar or baking soda solution once a month at home, especially for percolators and moka pots where oils build up in tight seams.
- Store used grounds in a sealed bag until you can pack them out; never bury them, since coffee grounds decompose slowly and can attract animals.
- Keep your coffee kit in its own stuff sack, dried out fully before the next trip, to avoid a musty smell transferring to other gear.
- Set your stove or fire on level, stable ground before brewing, and pour boiling water away from your body and away from anyone crouched nearby.
Pro Tip: Preheat your mug and brewer with a splash of hot water before the actual brew, especially in cold weather. It only takes a few seconds and keeps the final cup hot noticeably longer once it's in your hands, a habit worth building into your routine any time temperatures drop below 50°F.
Why Lifecampadventure Trusts These Methods
Lifecampadventure builds its outdoor gear recommendations around one core habit: testing methods the same way, repeatedly, before recommending them to readers. That means using the same grounds, the same ratios, and the same preheating routine across different brewers to isolate what the equipment actually changes versus what technique changes.
Consistency is the real test of any camp coffee method. A percolator or AeroPress that performs the same way on a cold morning at 7,000 feet as it does at sea level in July has earned its spot in a pack.
The field-testing checklist behind this guide comes down to four habits: preheat every brewer and mug before use, hold ratios steady rather than eyeballing them, use identical grounds across side-by-side method comparisons, and repeat the same brew at least twice before trusting the result. Anyone can run this same checklist at home with a kitchen scale and a notebook, tracking grind size, steep time, and water temperature against how the cup actually tastes.
The Trip-Style Framework Most Guides Skip
Most camp coffee advice treats brewing methods like a single ranked list, as if one method should beat all the others. That framing misses the point entirely. A percolator isn't a worse AeroPress; it's solving a completely different problem, namely how to make twelve cups at once without babysitting each one.
The bigger error I see in conventional advice is treating grind size and ratio as fixed numbers rather than starting points. Altitude, cold, and even a windy exposed campsite all shift how extraction behaves, and a rigid "always use two tablespoons" rule ignores that reality. The campers who get consistently good coffee are the ones who adjust grind and steep time by feel, in small increments, trip after trip.
If you take one thing from this framework, prioritize matching the method to your actual constraints, weight limit, group size, cleanup tolerance, before you worry about chasing the "best" cup in the abstract. A flawless pour-over technique is worthless if you're carrying eight days of food and can't spare the ounces. Pick the method that fits the trip first, then refine the recipe.
— Billy
Gear That Makes Every Method Easier
A great camp coffee method still depends on the gear behind it. A warped percolator basket, a dull hand grinder, or a mug that loses heat in ten minutes will undercut even a perfect ratio.
Lifecampadventure's camping cookware lineup covers the kettles, percolators, and French-press-compatible pots referenced throughout this guide, built to hold up to repeated campfire and stove use rather than degrading after one season. Insulated mugs keep your preheated coffee hot longer in cold-weather conditions, and a reliable hand grinder means fresher grounds than anything pre-packaged. Orders ship with standard return windows if a piece of cookware doesn't fit your setup. Browse the cookware category, match a kettle or percolator to your trip style, and get your coffee kit sorted before your next departure date.
Sources
- COLETTI Guide to Bold Campfire Coffee and Outdoor Brewing
- How to Brew Coffee While Camping: 7 Methods That Work – Planetary Design
- How to Make Camping Coffee Like a Barista – Jetboil
