TL;DR:
- A reliable outdoor safety workflow depends on practicing risk assessment, preparedness, and emergency protocols consistently.
- Understanding natural hazards, using appropriate gear, and practicing rescue steps ensure confidence and safety in backcountry adventures.
Picture this: you're three miles into a backcountry trail when your hiking partner slips on wet rock and hits the ground hard. Your phone has one bar. Your group hasn't talked about who takes the lead in an emergency. Sound familiar? These moments happen more than most adventurers admit, and the difference between a manageable crisis and a catastrophic one almost always comes down to one thing: a practiced, reliable safety workflow. This guide walks you through every step, from risk assessment to evacuation decisions, so you can hike, camp, and explore with real confidence.
Key Takeaways
| Point | Details |
|---|---|
| Assess risks first | Understand and plan for environmental hazards before your trip for better safety. |
| Gear and training matter | Bring reliable equipment and practice your skills to prepare for emergencies. |
| Follow proven protocols | Use step-by-step workflows like MARCH or ABCDE to respond effectively in the field. |
| Communicate and evacuate smartly | Know when and how to call for help, document clearly, and avoid common mistakes. |
| Regular review is key | Continuously update and practice your workflows to keep them effective and second nature. |
Know your risks: Foundations of outdoor safety
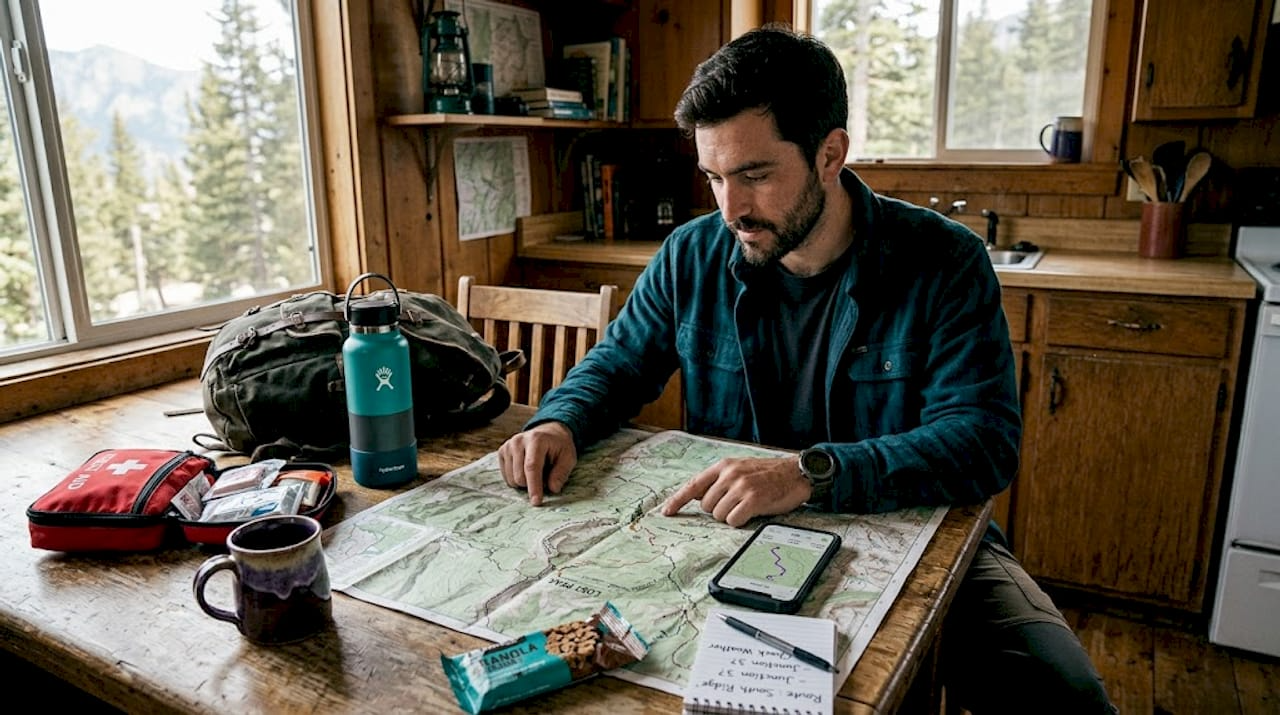
Every solid safety workflow begins before you ever set foot on the trail. Risk identification is not just a checkbox exercise. It is the mental foundation that shapes every decision you make outdoors.
Natural hazards fall into a few broad categories you should always review: weather patterns and sudden changes, terrain features like unstable slopes or river crossings, wildlife encounters specific to the region, and potential medical emergencies within your group. Each category demands its own set of responses. For example, a flash flood scenario in a canyon requires completely different actions than a lightning storm on an exposed ridge.
Managing natural hazards in adventure settings follows a formal process: identify and assess hazards, apply the hierarchy of controls (eliminate, isolate, or engineer solutions), and review your emergency plans regularly before each outing. The hierarchy of controls is worth memorizing. Eliminating a hazard means avoiding the risky route altogether. Isolating means keeping your group away from a known danger zone. Engineering means building in safeguards, like clipping into a fixed line on exposed terrain.Before you leave home, assess your route using current weather forecasts, recent trail reports, and topographic maps. During your trip, reassess constantly. Conditions change. A trail that was dry at 7 a.m. can become dangerously slick by noon after a passing storm.
Your emergency preparedness steps should always adapt to your destination. A checklist that works for a day hike in a state park will not cover you adequately on a week-long alpine route.
Here is a quick checklist to update your safety plan for each new location:
- Research local hazards specific to the region and season
- Check evacuation routes and nearest medical facilities
- Identify communication dead zones on your route
- Confirm group members' physical limitations and medical conditions
- Review updated weather forecasts 24 hours before departure
Pro Tip: Create a hazard log specific to each trip type in your notes app. After every outing, add one new observation about conditions or risks you encountered. Over time, this becomes a personalized risk database that makes future planning much faster and more accurate.
What you'll need: Essential tools and safety gear
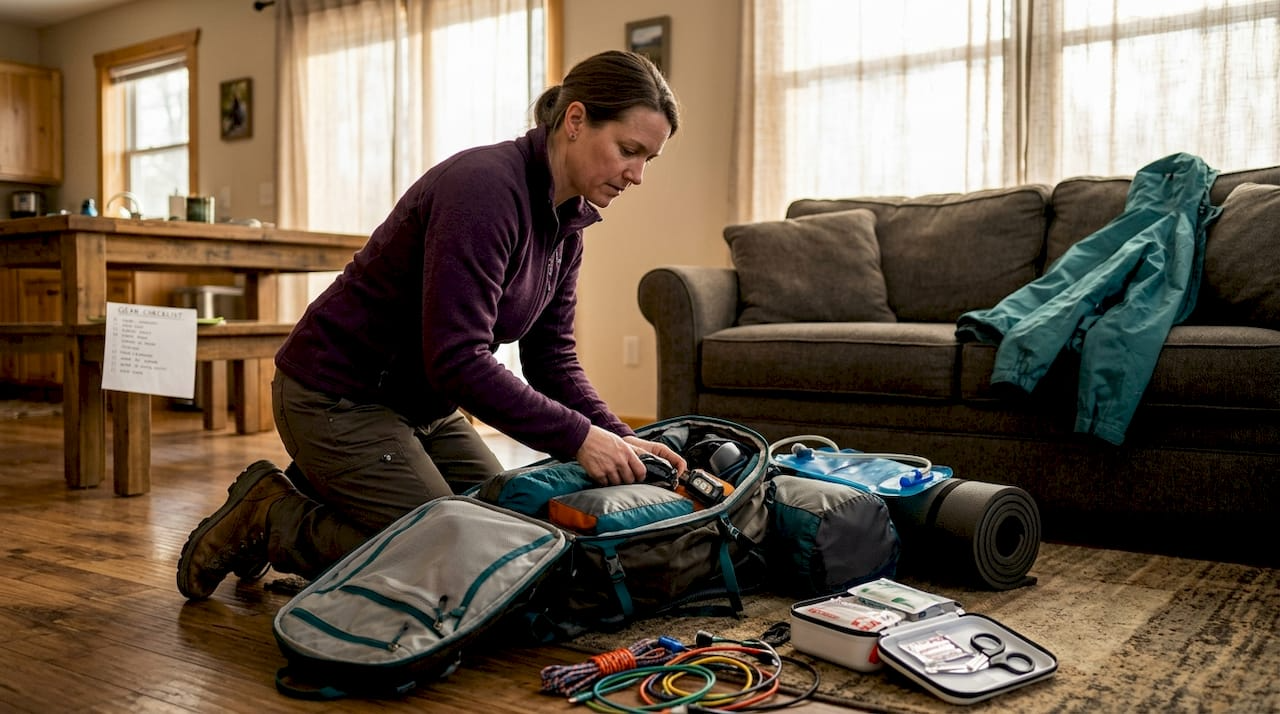
Once you understand your risks, you can build a gear kit that actually matches the environment. The biggest mistake adventurers make is packing for the best-case scenario instead of the worst.
First aid kits should be customized by trip length, group size, and remoteness, and always paired with real training like a Wilderness First Aid course. A kit you cannot use is just extra weight. Non-electronic backups are equally essential because batteries die, screens crack, and satellites lose signal at the worst possible moments.Here is a breakdown of critical tools and recommended backups:
| Primary Tool | Purpose | Backup Option |
|---|---|---|
| GPS device | Navigation | Paper topographic map and compass |
| Satellite communicator | Emergency messaging | Signal mirror and whistle |
| Digital thermometer | Patient assessment | Clinical judgment and pulse check |
| Headlamp with batteries | Visibility | Chemical glow sticks |
| First aid kit | Injury treatment | Improvised materials (clothing, sticks) |
| Water filter pump | Hydration | Iodine tablets or boiling |
| Emergency bivy | Shelter | Space blanket, tarp, natural shelter |
The table above covers the basics, but your kit should grow based on where you're going. A desert canyon trip demands extra water storage and heat management tools. An alpine route calls for blister care, altitude sickness medication options, and cold-weather wound management supplies.
When it comes to choosing a first aid kit, look for kits designed for backcountry use rather than car camping. Backcountry kits are lighter, more durable, and organized for speed. You want to find supplies in the dark or under stress without digging through a cluttered bag.
Key gear categories to always cover:
- Trauma care: Tourniquets, wound packing gauze, pressure bandages
- Signaling: Whistle, mirror, personal locator beacon (PLB)
- Navigation: GPS unit, paper map, compass, written route description
- Shelter: Emergency bivy, space blanket, fire-starting tools
- Communication: Satellite messenger, written emergency contact list
Follow up your packing with a gear maintenance routine before every trip. Check expiration dates on medications and sterile supplies. Test your batteries. Confirm your GPS has the correct maps loaded.
Pro Tip: Run a timed gear check before every outing. Set a three-minute timer and see how quickly you can locate each critical item in your pack. If you struggle, reorganize until your muscle memory kicks in automatically.
Step-by-step: Implementing your outdoor safety workflow
Gear and knowledge mean nothing if you freeze under pressure. The most battle-tested emergency workflows used in wilderness medicine give you a sequence to follow even when your brain is flooded with adrenaline.
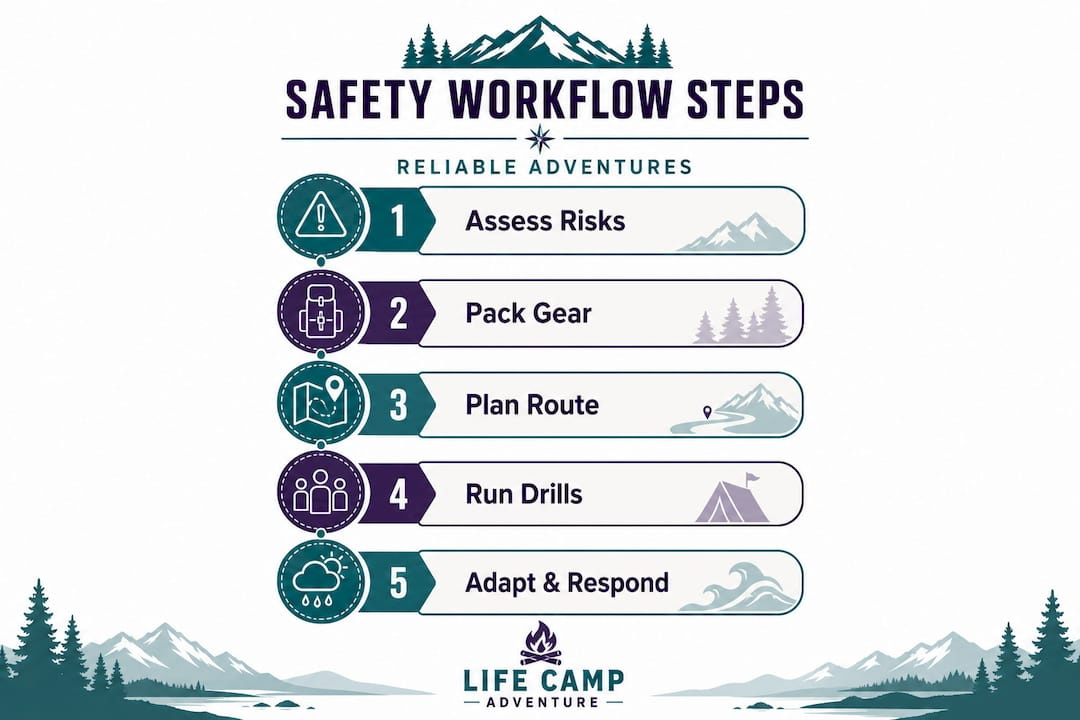
The MARCH and ABCDE frameworks are the gold standard. Wilderness trauma protocols like S-CABCDEG adapt these for field use: address Massive hemorrhage first using a tourniquet, then Airway, then Respiration, then Circulation and shock, and finally Environment and Hypothermia prevention. You cycle through these steps repeatedly, not just once.
Here is the step-by-step execution for an outdoor emergency:
- Scene safety first. Confirm the area is free of ongoing danger before approaching the patient. A second victim helps no one.
- Stop major bleeding. Apply a tourniquet or wound packing immediately. Uncontrolled bleeding kills within 3 to 5 minutes.
- Open and maintain the airway. Tilt the head back if no spinal injury is suspected. Airway compromise becomes fatal within 4 to 6 minutes.
- Assess breathing and chest. Look for sucking chest wounds or labored breathing requiring a chest seal.
- Check circulation. Look for signs of shock: pale skin, rapid weak pulse, confusion, or cold extremities.
- Prevent heat loss. Hypothermia dramatically worsens all other injuries. Get the patient off the ground and insulated immediately.
- Reassess and repeat. Conditions change. Cycle back through each step every few minutes until help arrives.
Critical note: Do not skip or reorder these steps based on what looks the worst. A broken arm is alarming, but a spurting artery is the actual priority. Massive hemorrhage first. Always.
Standard urban first aid protocols assume rapid EMS response. Wilderness protocols assume you are on your own for hours, maybe days. The comparison matters:
| Protocol Element | Standard (Urban) | Wilderness |
|---|---|---|
| Response time assumed | Under 10 minutes | Hours to days |
| Primary focus | Airway first (ABC) | Bleeding first (MARCH/CABCDE) |
| Patient movement | Avoid until EMS arrives | May require immediate relocation |
| Documentation | EMS takes over | You maintain all records |
| Hypothermia prevention | Low priority | High priority, begins immediately |
Building fluency with these protocols takes practice. The wilderness first aid workflow you develop through training should feel automatic, not theoretical. And if you want a strong foundation, review these essential first aid steps tailored specifically for outdoor adventurers.
Respond and adapt: Evacuation and emergency decision-making
Stabilizing a patient is only half the battle. The next critical skill is knowing when and how to get that person to higher-level care.
Evacuation decisions fall into three levels. Self-rescue applies to minor issues where the patient can walk out with assistance. An assisted walk-out covers moderate injuries where the group can safely support the patient over manageable terrain. SAR extraction becomes necessary for altered mental status, suspected spinal injuries, fractures, anaphylaxis, or any situation where further movement could cause serious harm.
Use this sequence when deciding on evacuation:
- Assess the patient's condition against the three evacuation levels above
- Check your current location using GPS or map coordinates
- Identify the fastest and safest route to the trailhead or road
- Activate your satellite communicator if SAR is needed, providing GPS coordinates, patient status, and group size
- Document a SOAP note: Subjective (patient's complaint), Objective (vital signs), Assessment (your working diagnosis), Plan (what you are doing)
- Stay with the patient and continue monitoring until help arrives
Your communication to rescuers needs to be fast and precise. Use these bullet points as a quick reference:
- GPS coordinates of your exact location
- Patient's age, sex, and chief complaint
- Current vital signs (pulse, breathing rate, level of consciousness)
- Mechanism of injury (how it happened)
- Treatment already given
- Number of people in your group and their condition
Poor documentation is one of the most common and damaging mistakes groups make during backcountry emergencies. Rescuers need accurate information to prepare the right resources before they reach you. Writing vitals on your forearm if you have no paper works fine. What does not work is trying to recall details from memory an hour later under stress.
For broader context on decision-making during crises, review these survival steps for emergencies to reinforce your evacuation planning.
Pro Tip: Practice documenting SOAP notes at home by narrating a fake emergency scenario out loud while writing it down under a two-minute time limit. This sounds almost too simple, but it forces your brain to organize chaotic information quickly, which is exactly the skill you need when adrenaline is spiking.
Training and verification: Preparing before every adventure
Workflows, checklists, and gear all depend on one variable: the humans using them. Skills erode faster than most people expect, especially skills you rarely use. A safety workflow that has not been practiced under simulated pressure is little more than a list of good intentions.
NOLS risk management research consistently shows that successful outdoor programs rely on trained staff, crisis rehearsal templates, and aligned group knowledge rather than gear alone. The same principle applies to your personal adventuring team. Everyone in your group should know the basics, not just the most experienced person.Pre-trip verification checklist:
- Confirm all group members understand their assigned roles in an emergency
- Walk through one emergency scenario verbally before departure
- Test all electronic gear and verify backup supplies are accessible
- Review the evacuation route and nearest hospital location together
- Confirm satellite communicator is registered and has a clear signal
Running drills does not have to be dramatic. A ten-minute tabletop exercise before a weekend trip where one person describes an emergency and the group talks through their response builds real competency over time. The goal is reducing the decision-making lag that happens when stress hits.
Explore outdoor tools for practice that can support your training setup, from navigation aids to communication gear.
Pro Tip: Simulate real pressure by doing skills practice after a hard workout when you are physically tired. Emergency response skills almost always get used when your body is already depleted. Training under fatigue reveals weaknesses you would never find at a desk.
What most outdoor safety guides overlook
Most safety content focuses on what to do and almost none of it addresses why workflows collapse under actual field conditions. The uncomfortable truth is that most outdoor accidents do not happen because people lacked information. They happen because the workflow broke down under stress, group pressure, or fatigue.
The biggest gap we see is the absence of realism in practice. Reading about tourniquet application is not the same as applying one with cold, wet hands while someone is panicking next to you. Knowing the evacuation levels conceptually does not prepare you for the moment the group is divided on whether to call SAR. Real preparedness requires friction, discomfort, and honest post-incident reviews.
Group dynamics are deeply underestimated as a safety factor. In real emergencies, the most confident person often takes over, even when they are not the most qualified. Your group needs a pre-agreed protocol for who leads, and that leader needs to have practiced saying hard things calmly, like "We are not moving until I finish assessing."
We also want to push back on gear complexity. More features are not more safety. Adventurers who rely on multi-function electronic devices without understanding their failure modes are actually more vulnerable than someone carrying a simple map, compass, and well-stocked kit they know inside out. Simplicity builds habits. Habits save lives.
The benefits of outdoor adventure are real and worth pursuing. But those benefits are earned by people who respect the environment enough to prepare properly, practice honestly, and stay humble about what they do not know yet.
Upgrade your outdoor safety workflow with trusted gear and knowledge
You have now got the framework. Risk assessment, gear preparation, emergency protocols, evacuation decisions, and training verification are all pieces of the same system. The next step is making sure the gear supporting that system is actually up to the job.
At Life Camp Adventure, we equip adventurers with survival essentials and safety gear built for real conditions, not just fair weather. Whether you need a backcountry-ready first aid kit, a reliable signaling device, or a complete step-by-step survival guide to anchor your workflow, we have got you covered. Explore our curated gear collections and resources at lifecampadventure.com and take your outdoor safety from theoretical to tested.
Frequently asked questions
What is included in an outdoor safety workflow?
An outdoor safety workflow covers risk assessment, gear preparation, emergency procedures, and communication steps tailored to your activities. Identifying natural hazards and applying the hierarchy of controls is the foundational starting point for every workflow.
How do I decide when to evacuate during a backcountry emergency?
Evacuate immediately for severe conditions like altered mental status, spinal injuries, or anaphylaxis, and communicate vital information to rescuers when possible. Evacuation levels range from self-rescue for minor issues to full SAR extraction for life-threatening conditions.
Why should I have non-electronic backups for outdoor safety?
Non-electronic backups like paper maps and analog compasses ensure you can navigate and communicate if electronics fail. Non-electronic backups are essential because batteries and screens fail under the cold, wet, and impact conditions common in outdoor emergencies.
How often should I update my outdoor safety SOP?
Review and update your safety protocols before every new type of trip or environment, and conduct a full review at least once per season. Regular SOP reviews keep your emergency plans matched to current conditions, routes, and group capabilities.
What is the most critical first step in wilderness first aid?
Control major bleeding immediately, because uncontrolled bleeding kills within 3 to 5 minutes, making it the highest-priority action before addressing any other injury.
